Ricoh GR carrying bag
In May, I bought a Ricoh GRIII. I'll write more about that in my next article. Today, we're just talking about how to carry it.
The GR is famously pocketable. Indeed, it does fit in a jeans pocket.

But the thing is, you really have to devote the entire pocket to it, because it is somewhat of a tight fit on its own and I wouldn't want other stuff banging around or scratching the screen or buttons. Also, it looks pretty awkward.
It is "convenient" to carry this way, in the sense that it doesn't require learning anything new, but I found it extremely inconvenient to extract from the pocket and take a picture. The specifics of all this will depend on your pants, of course.
But I'm the type of person that carries a lot of stuff in both of my pockets already, so I can't just move everything else over to the other side. So although the GR is the internet's favorite pocket camera, it won't be staying in my pocket.
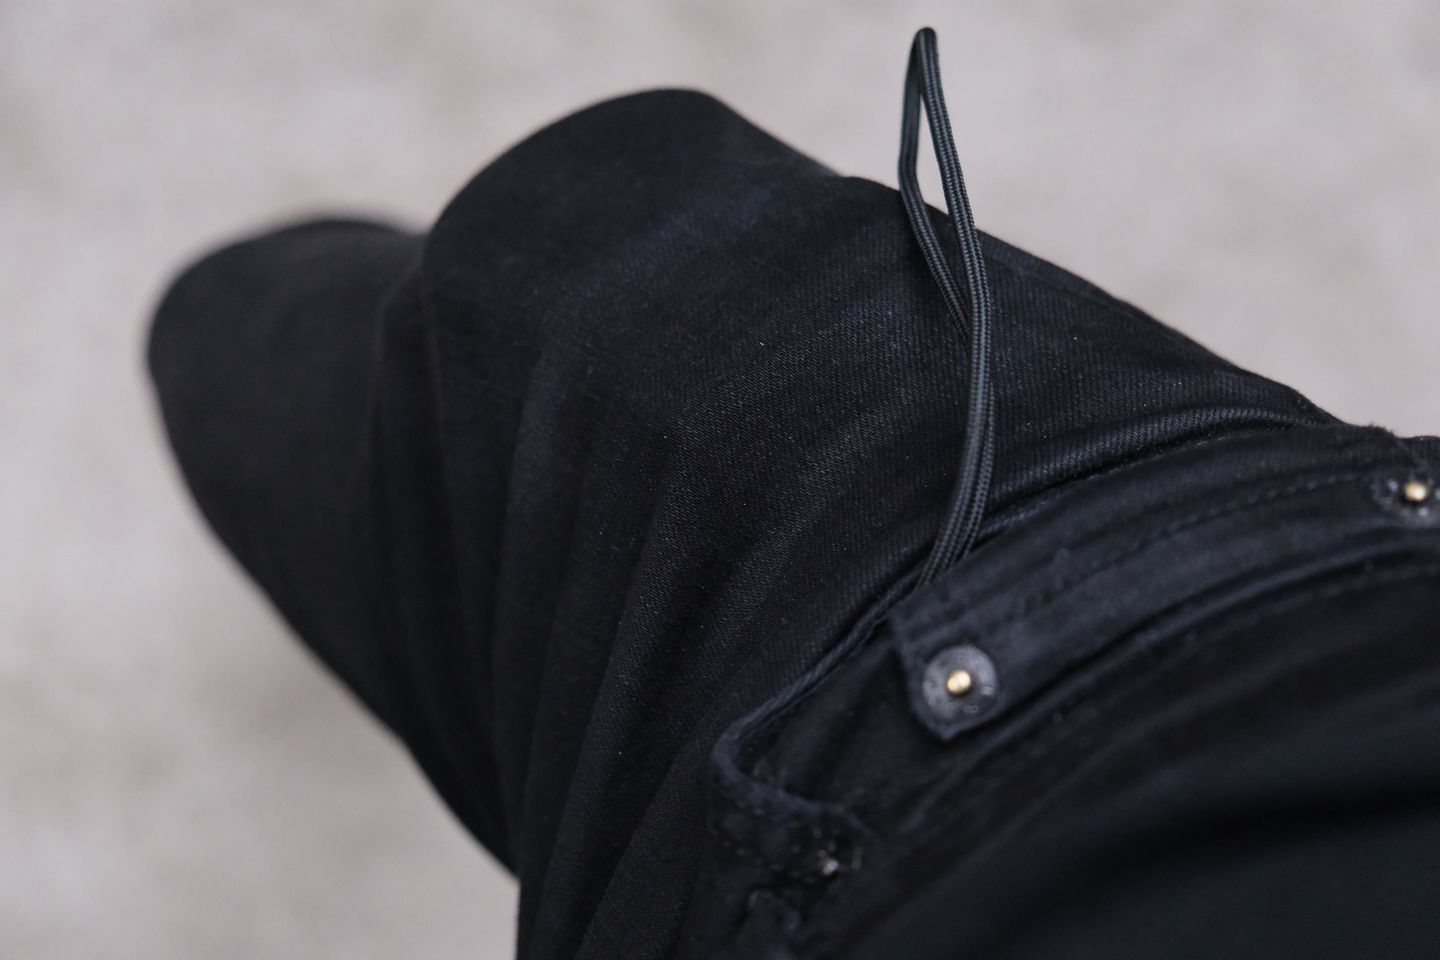
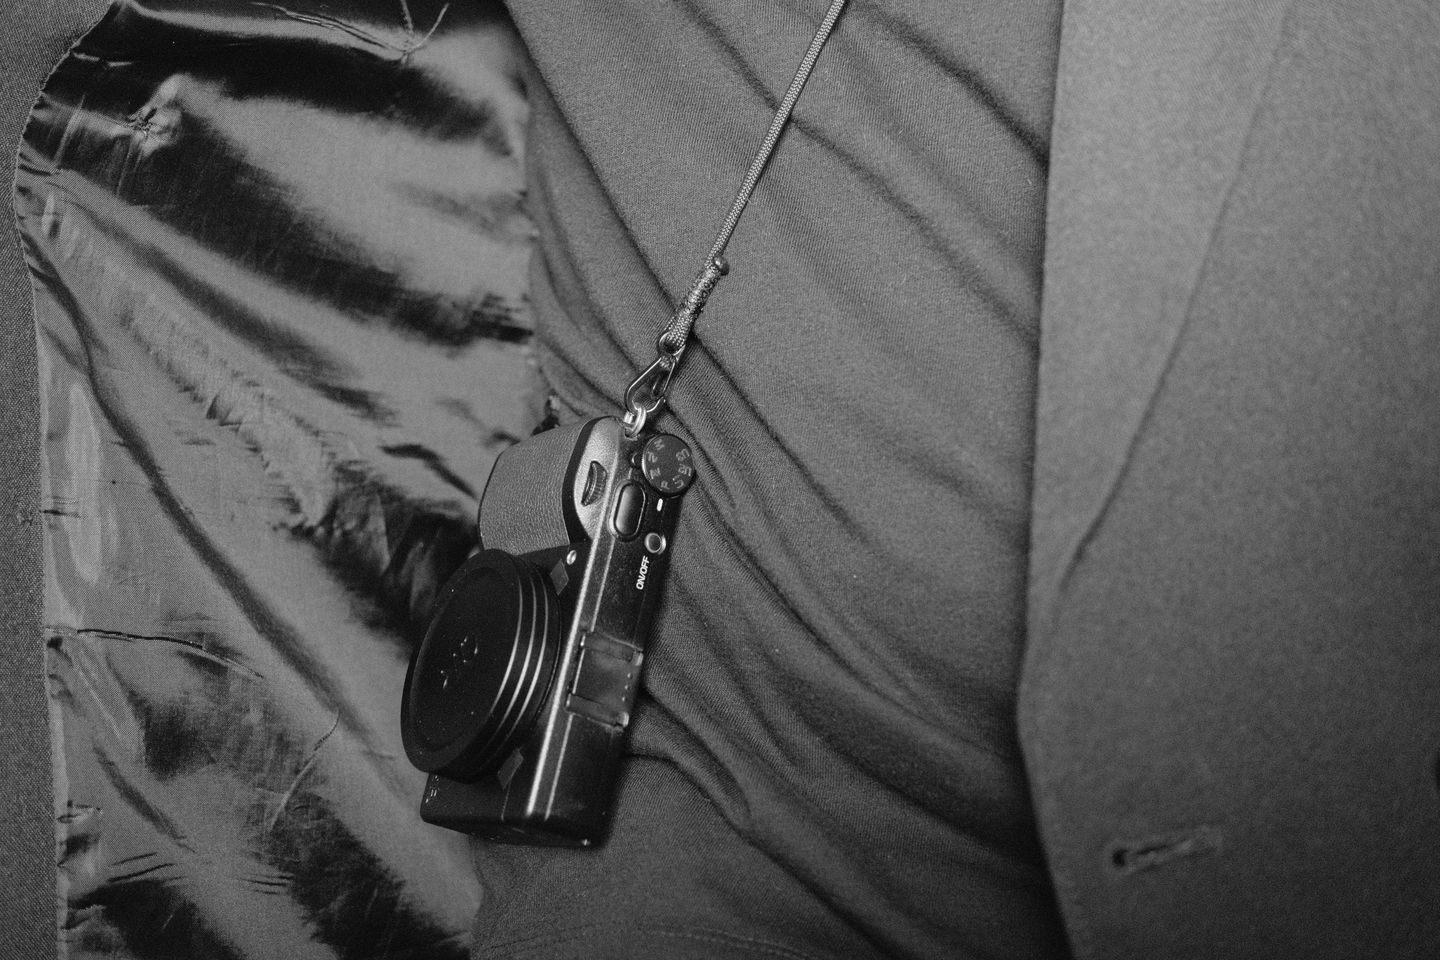
I also tried putting some split rings through the holes in the camera body (scratching it up in the process — the lugs are so tiny) and strapping directly to it.
This works ok as long as the camera is concealed under a jacket, but without the jacket I would feel weird wearing an exposed camera like this.
Also, I found the strap inconvenient when actually taking pictures. You see, the strap needs to be short enough that the camera hangs around waist level during carry, but long enough that when taking a picture you can comfortably maneuver the camera out in front of you. I found that when the strap was the right length for carrying, it was too tight for actually taking pictures. And furthermore, the split rings being up against the palm and near the shutter button make the camera less pleasant to the touch.
Before we go any further, I'll let you know that I did go ahead and purchase a crossbody sling bag (man purse) which I now bring with me on day trips.
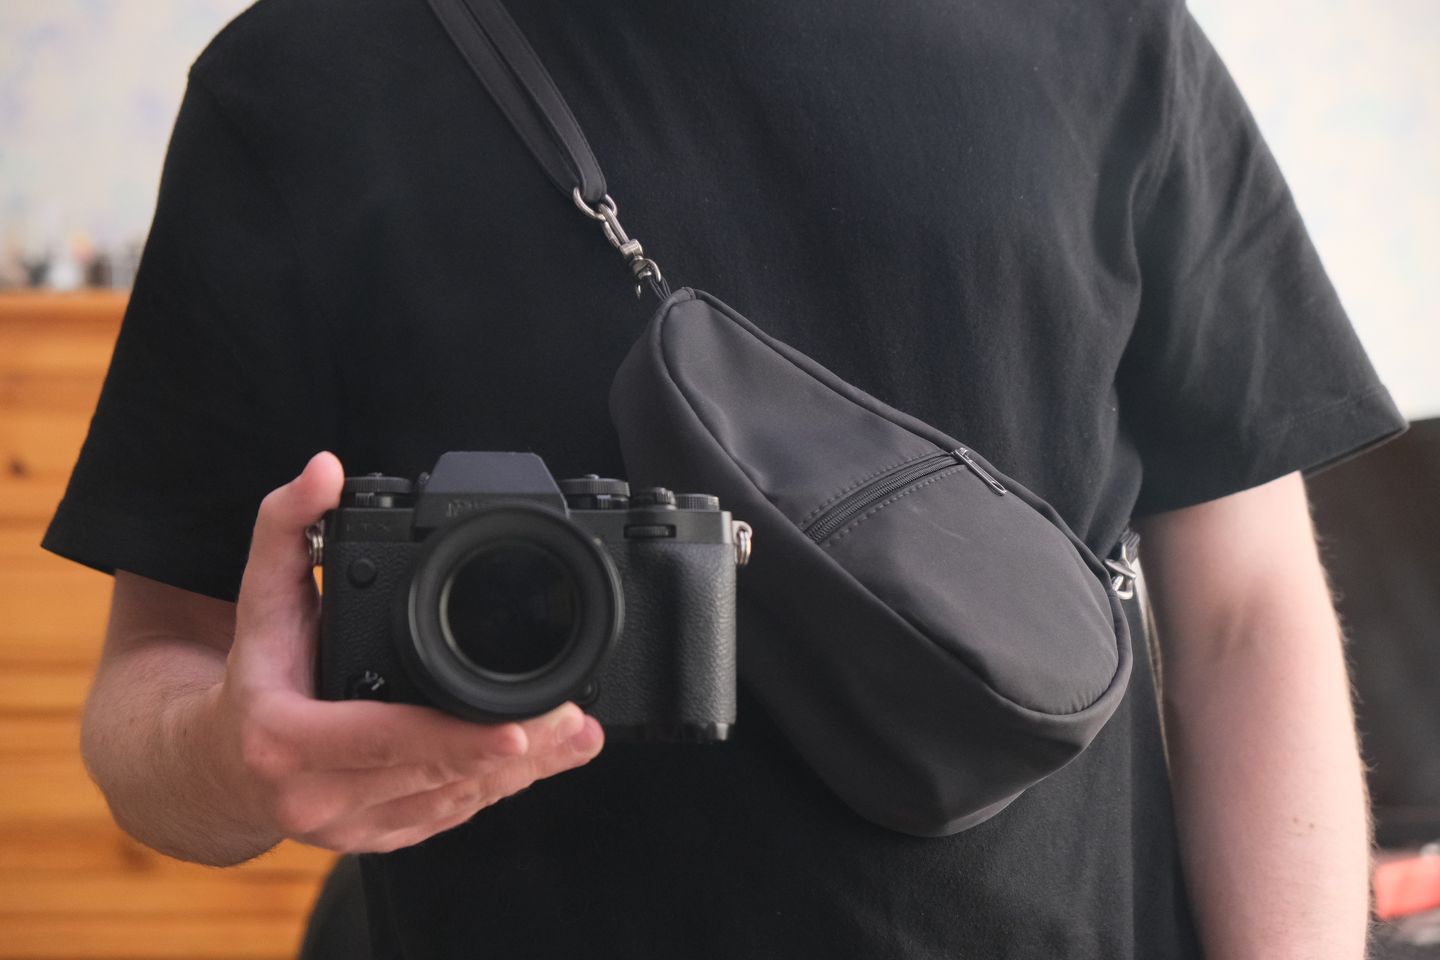
However, on a typical workday I don't need to carry a purse worth of stuff, I really just want to carry the camera. I wanted a carry method that can fit discretely under a jacket, and also doesn't look totally silly without the jacket. A little silly I can tolerate.
I was inspired by the simple construction of a drawstring pouch, and I decided to practice my sewing skills and make a custom bag specifically for the GR. Then, I use a wrist lanyard when shooting so I have free mobility.
In this article I'll be showing you my third draft of the pouch.
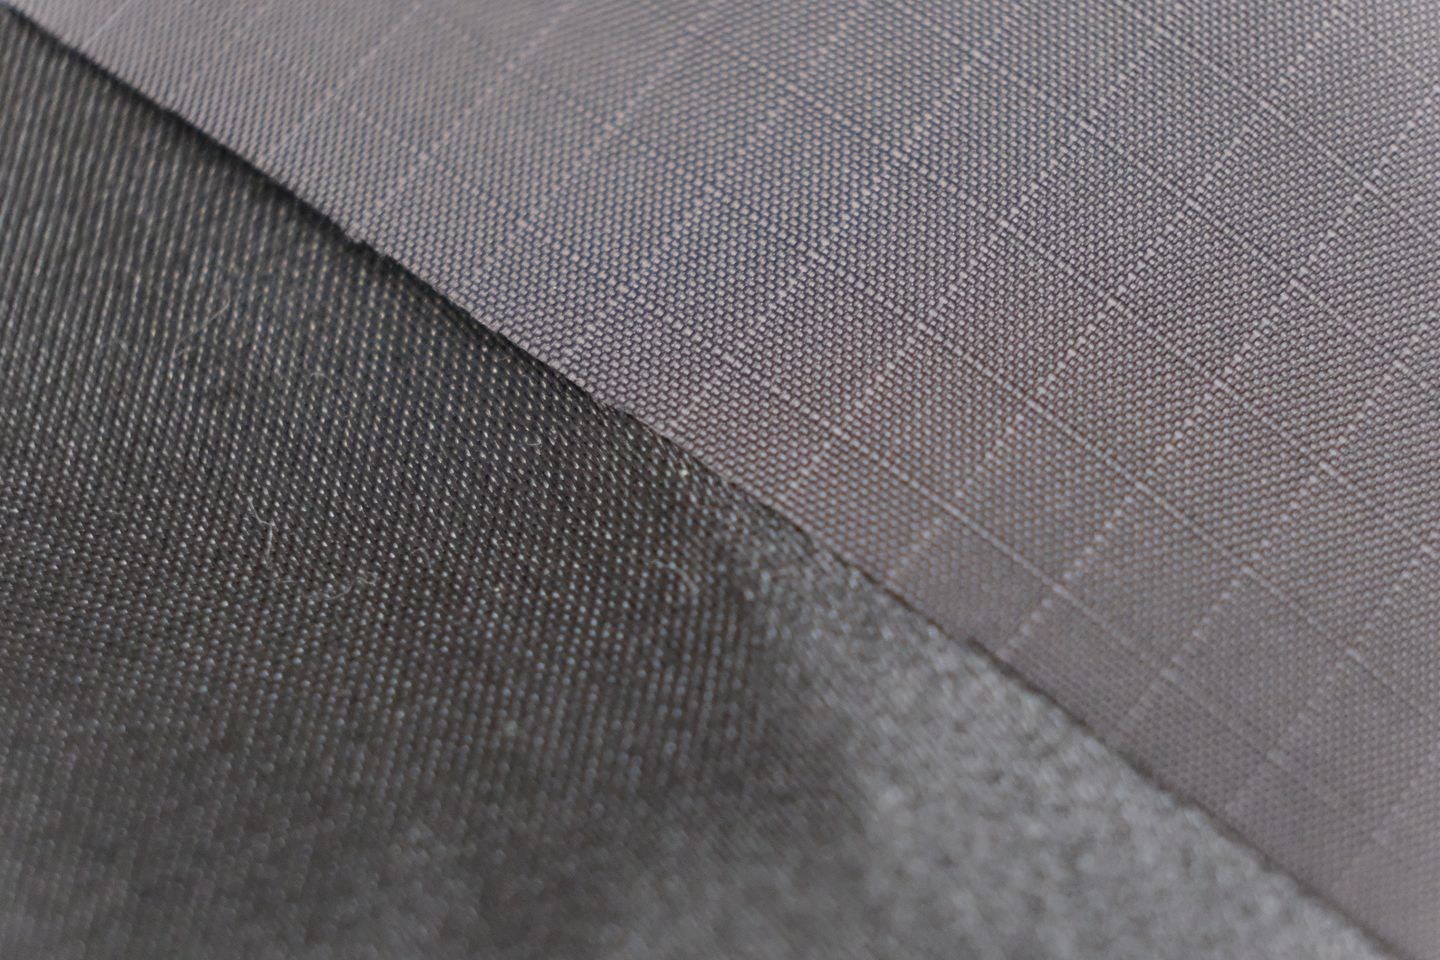
I went to the fabric store and bought some ripstop nylon for the exterior and polyester satin for the interior. Later, I also bought some adhesive basting spray after I realized how hard proper pinning and basting is.
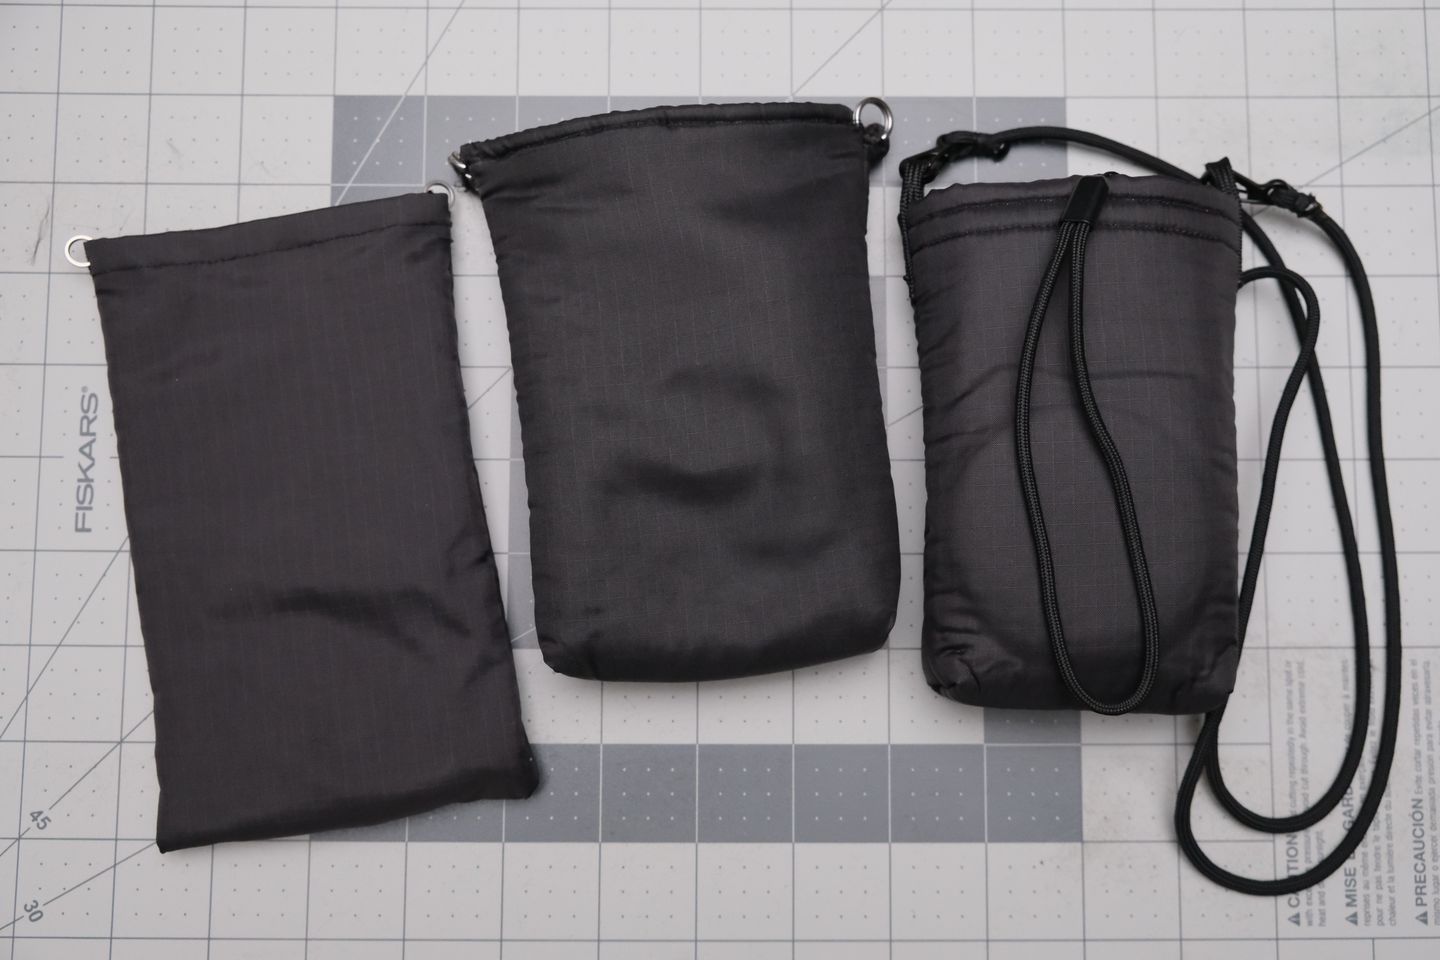
The first draft of this bag was just the nylon and satin layers, with split rings stitched in at the top.
There were two things I did not like about this draft. First, because these are thin materials, the buttons were too easy to feel and press through the bag, and I thought they should be better protected. Second, when I'm done taking a picture and I'm trying to put the camera back into the pouch, the pouch has already self-closed, again because the materials are thin and light. Then it becomes a fiddly operation instead of a smooth holstering.
In the second draft, I added a layer of felt between the other layers. This padding gives protection from bumps and makes the bag a little less floppy, the top staying open by itself more easily for holstering.
The problem with the second draft was that I did not feel comfortable putting the camera in the bag without its aluminum lens cap. Even with the felt padding, I imagine a nice bump against the corner of a table could punch the lens protector blades in a bad way.
The lens cap is a seemingly small but significant friction against taking pictures. It takes longer to get the camera ready to shoot, and then the lens cap must itself be pocketed for as long as I want to use the camera. I found it was really discouraging me from taking smaller opportunities.
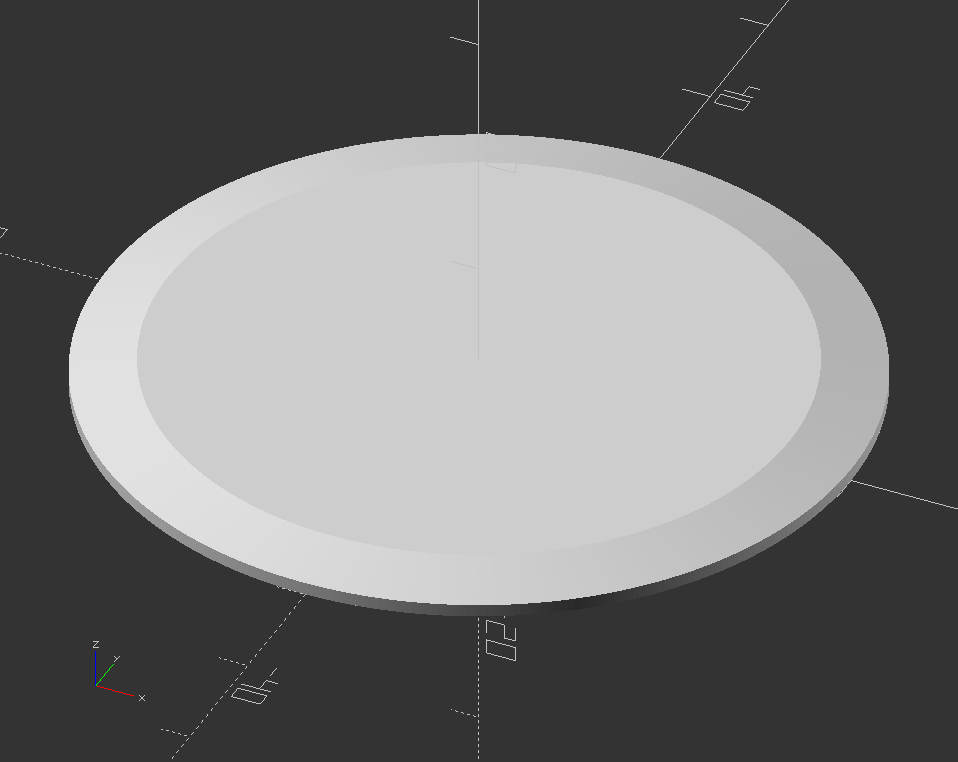
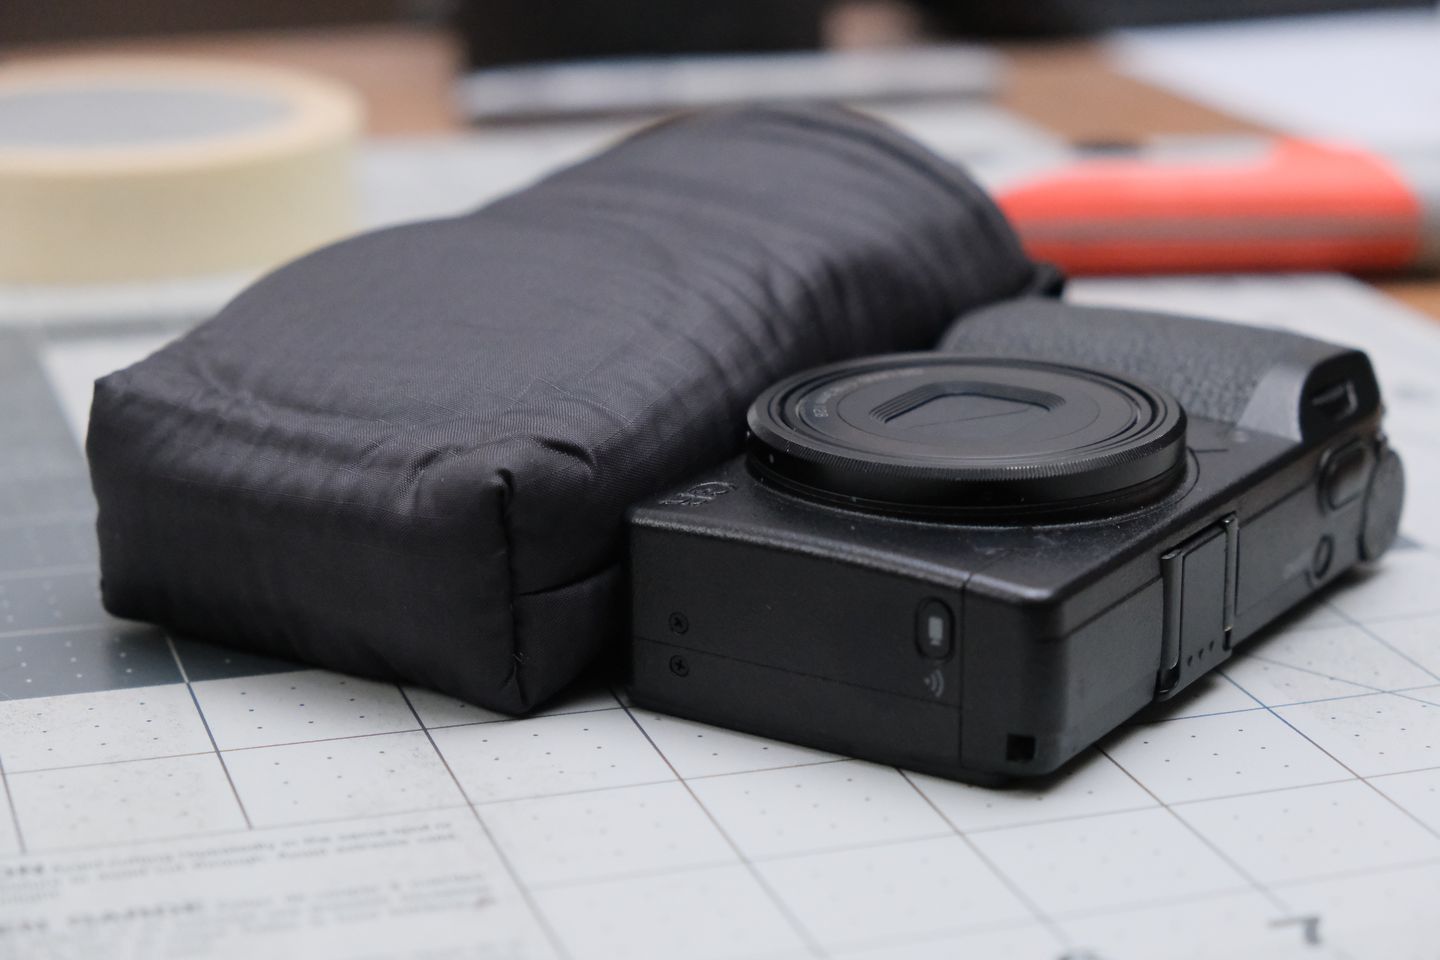
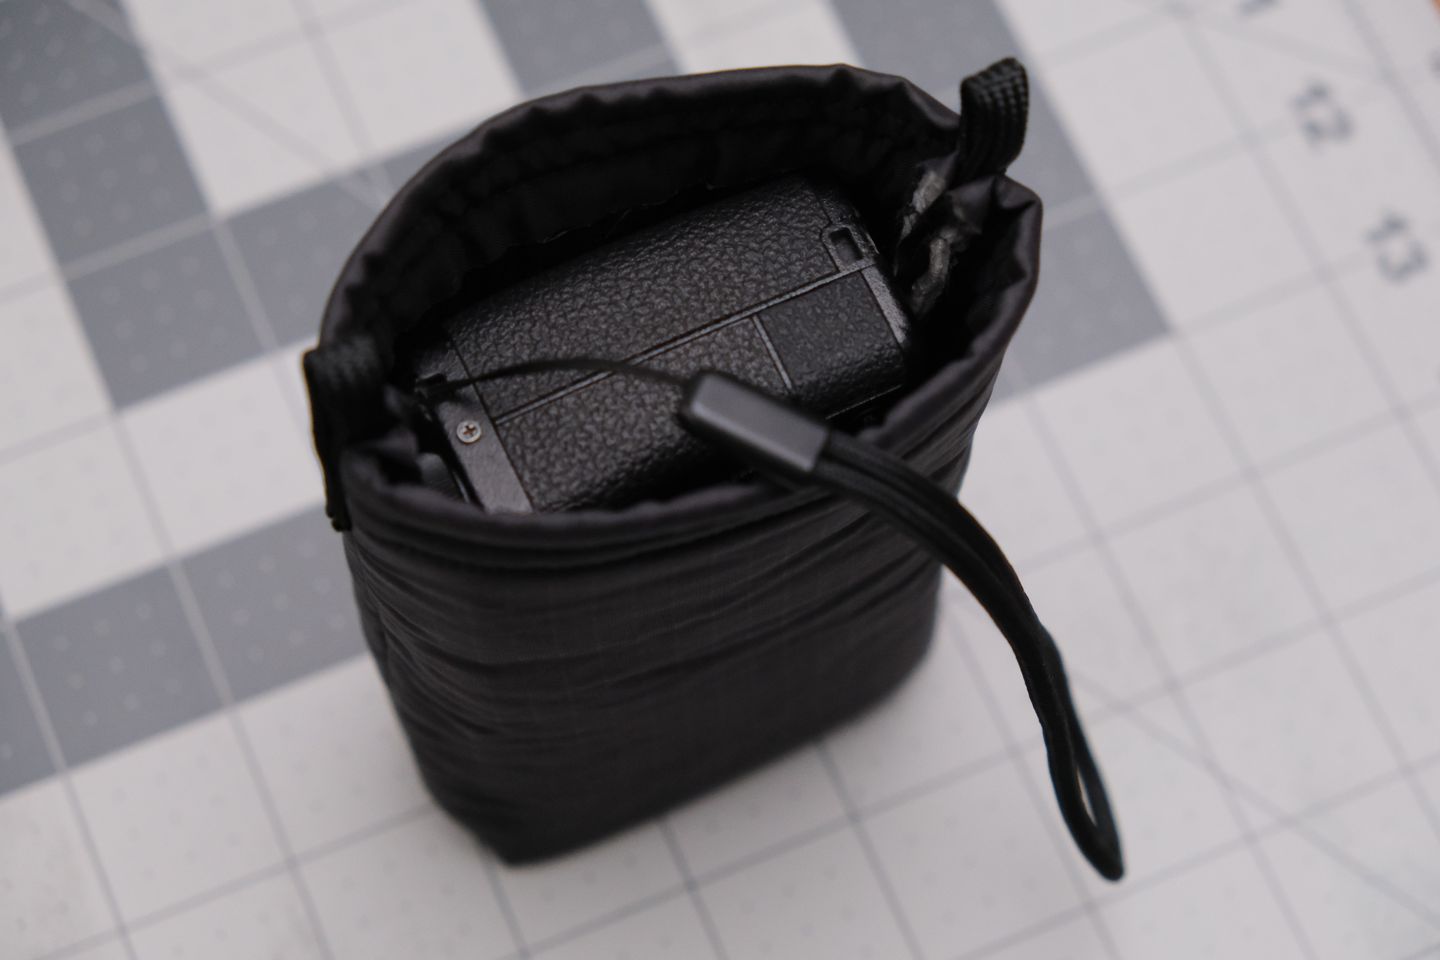
So, for the third draft, I made a 60mm × 2mm disc of plastic on the 3D printer, and I integrated this directly into the front face of the bag by patching over it and sewing it tight. I feel much more confident that the lens is protected from impact now.
Please sign up for my six-month CAD course and you too can become a modeling master like me.
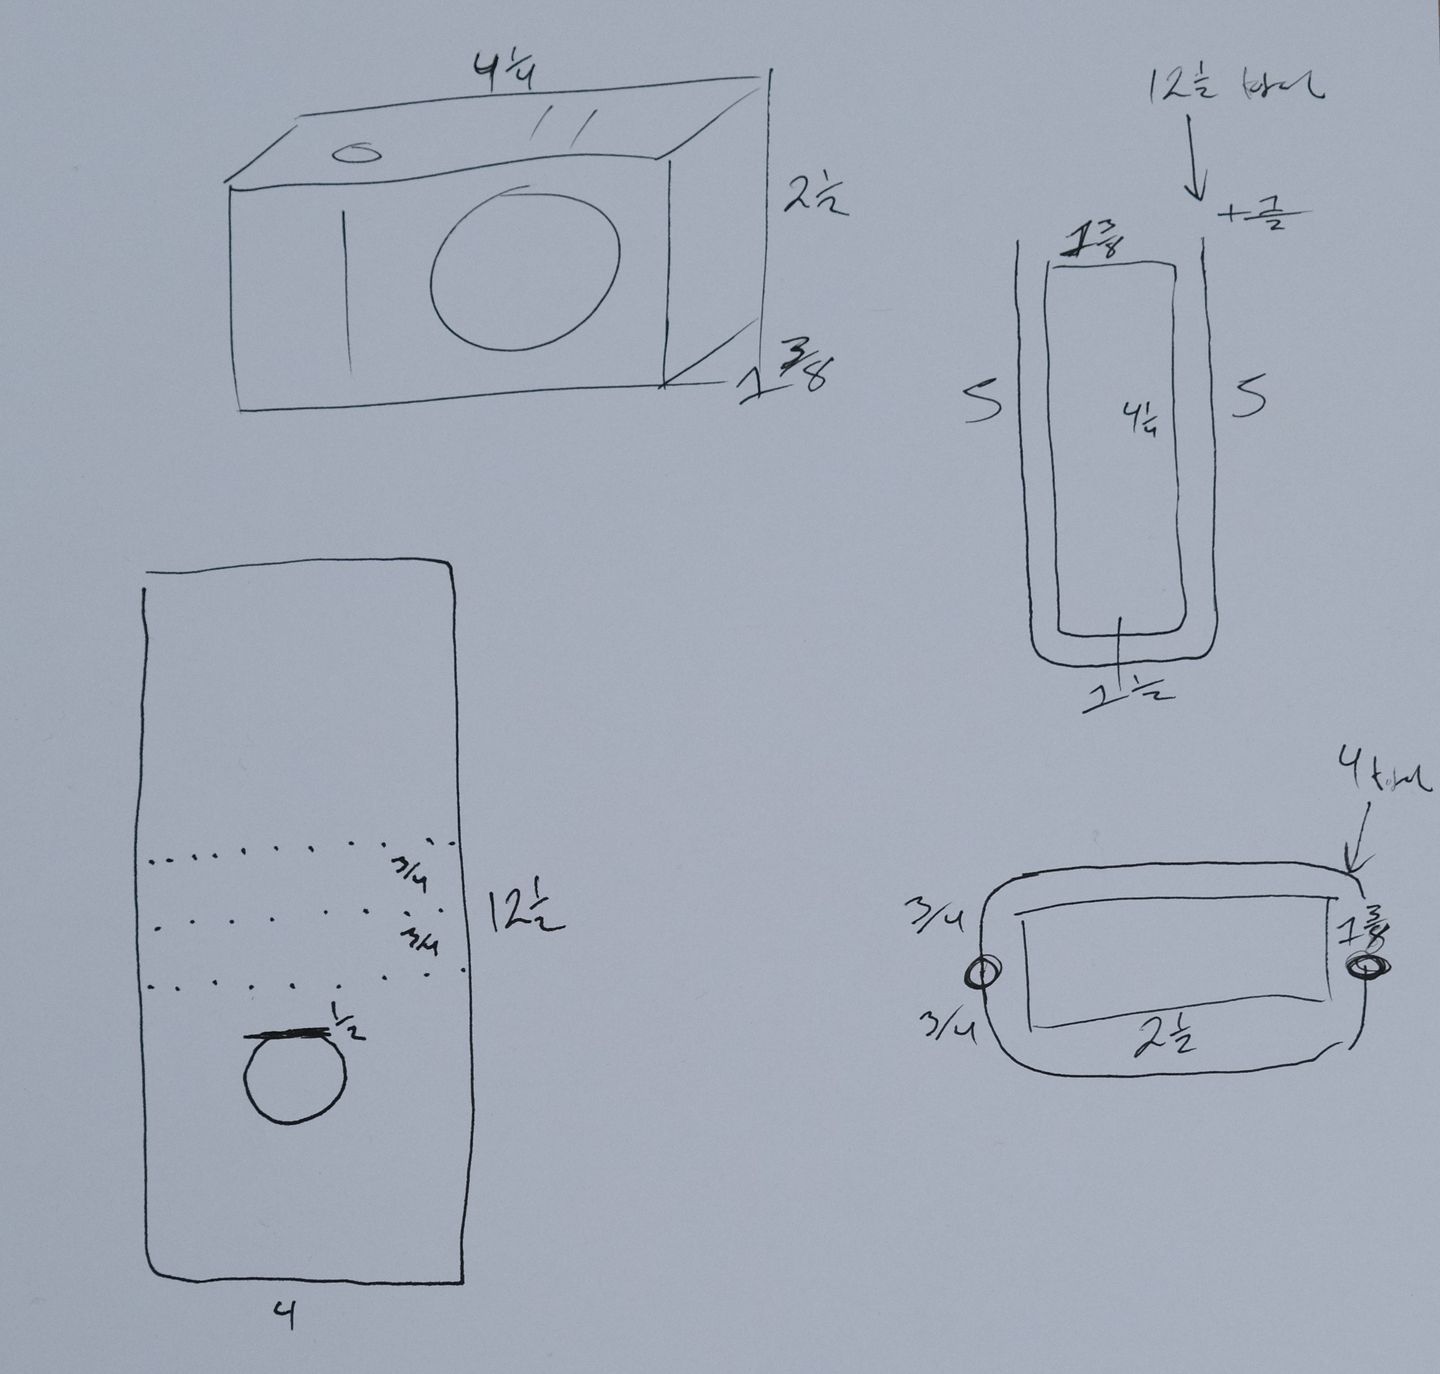
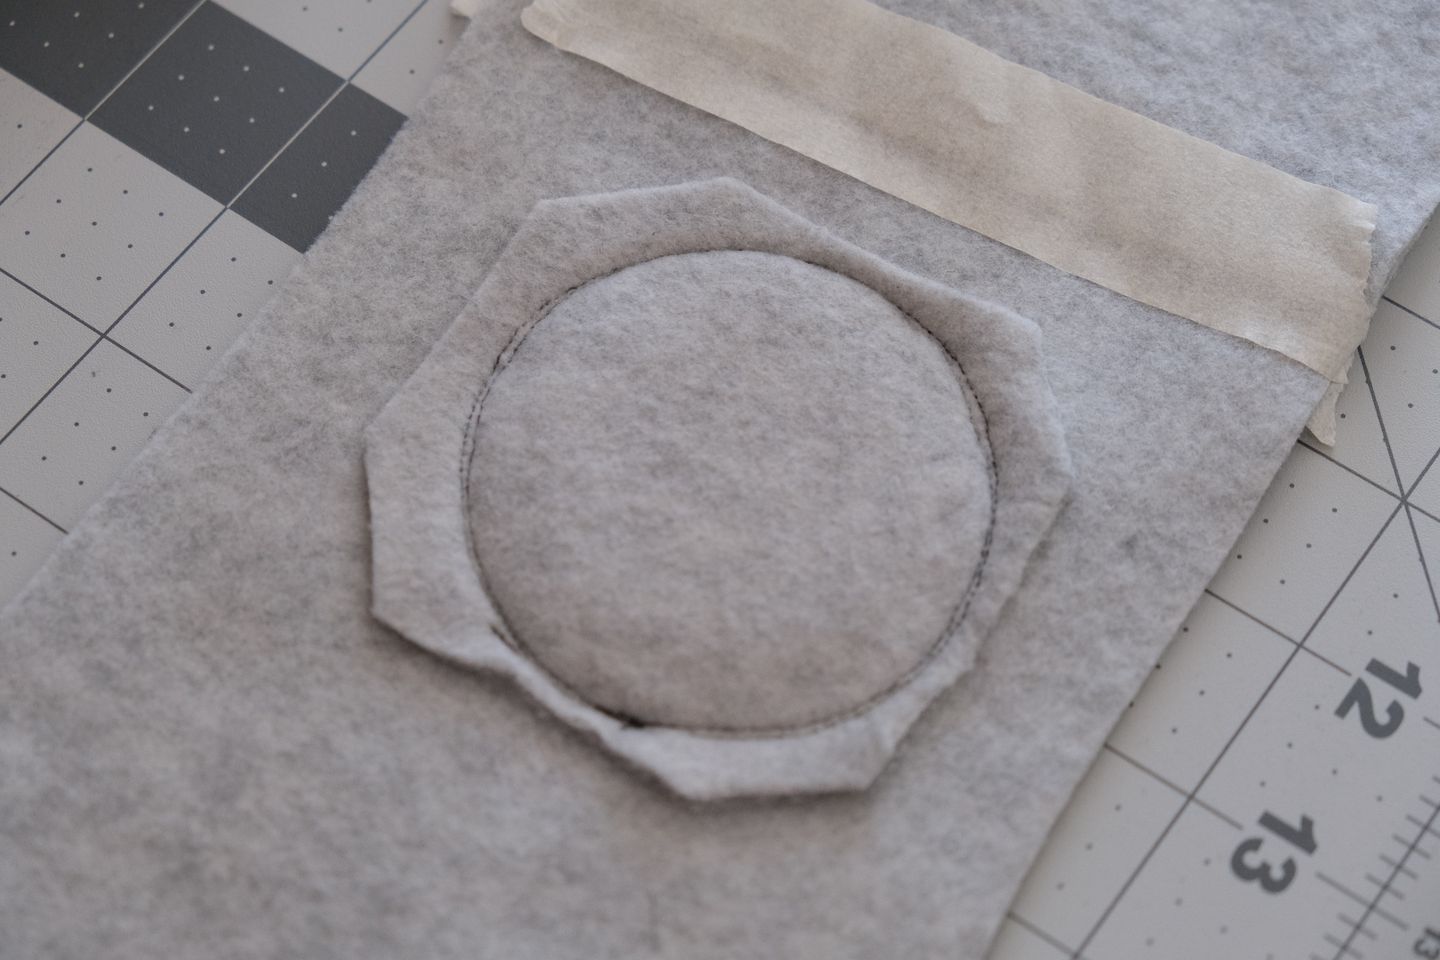
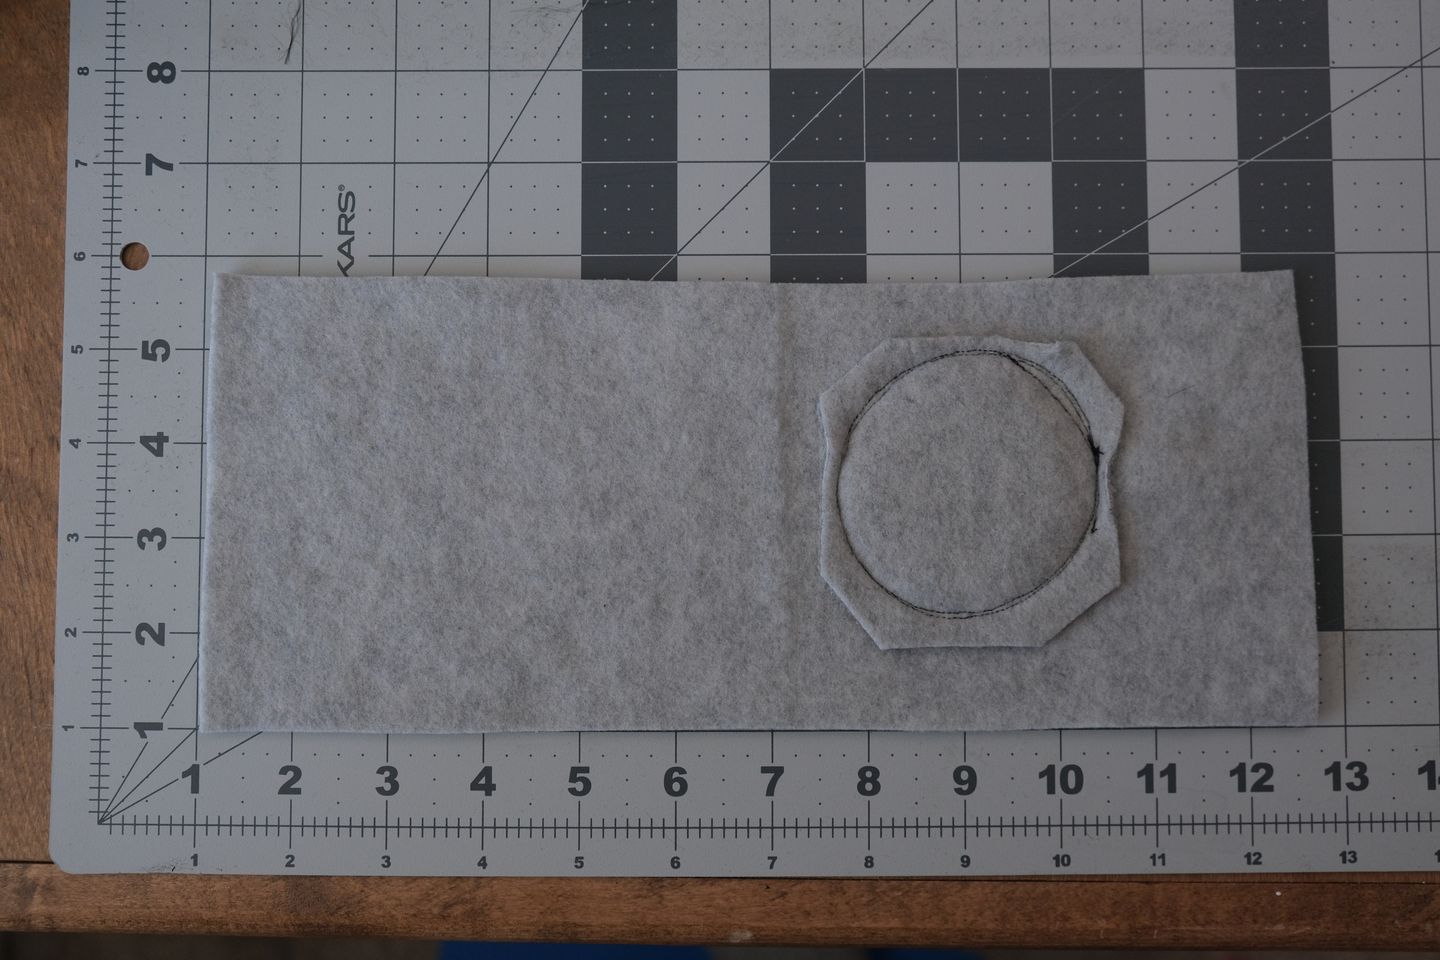
The felt layer is the one that has to be sized accurately to align the plastic disc with the lens, then the other layers are just trimmed to that. I had estimated 4in × 12.5in but it turned out more like 4.75in × 11.5in.
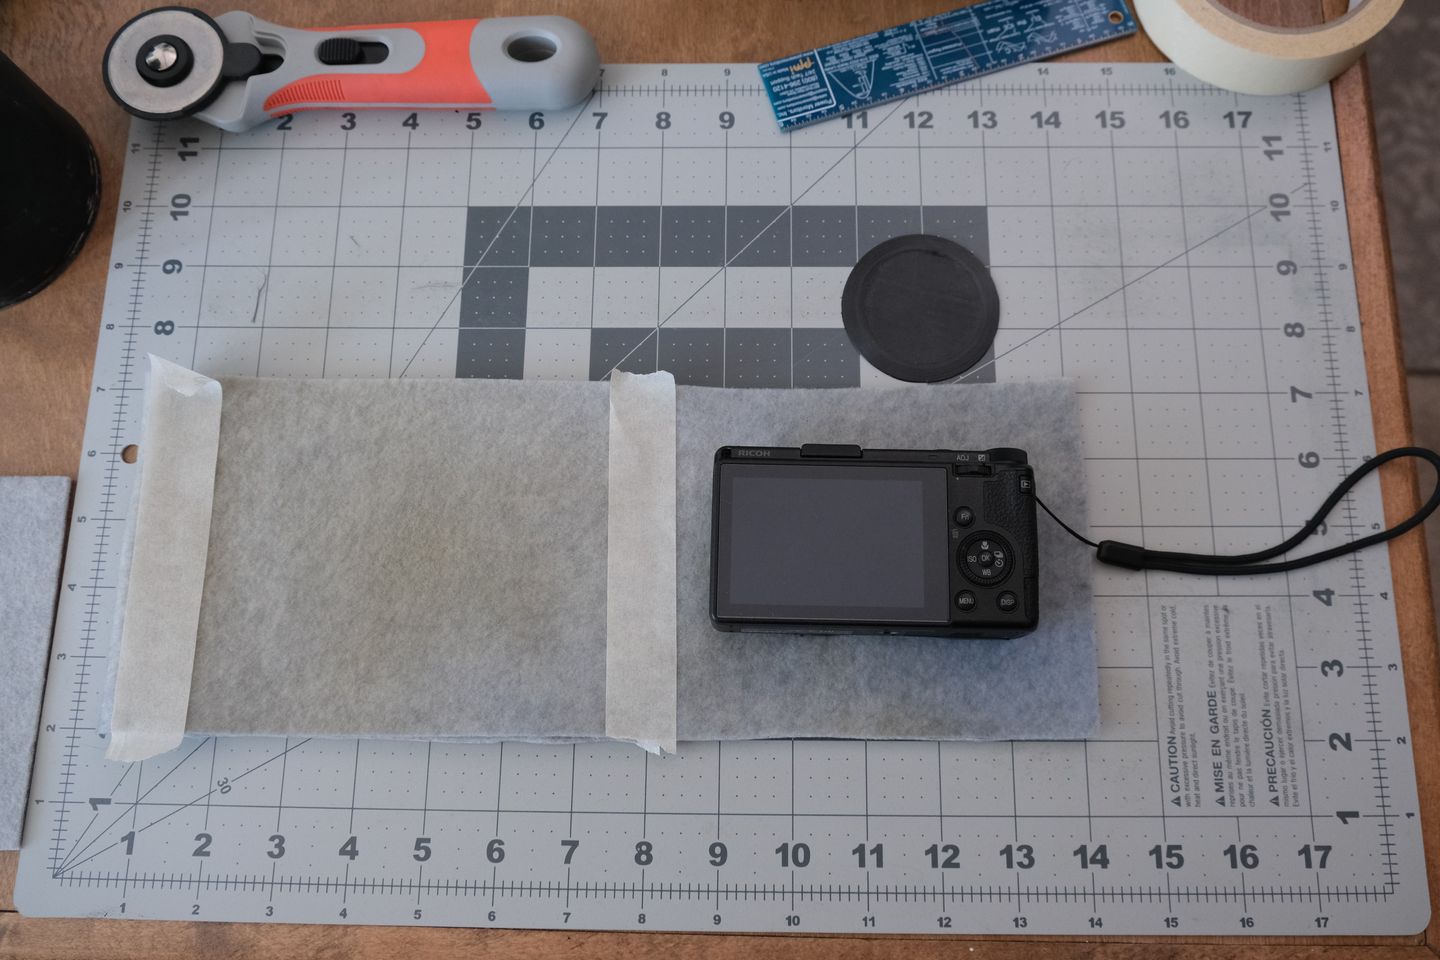
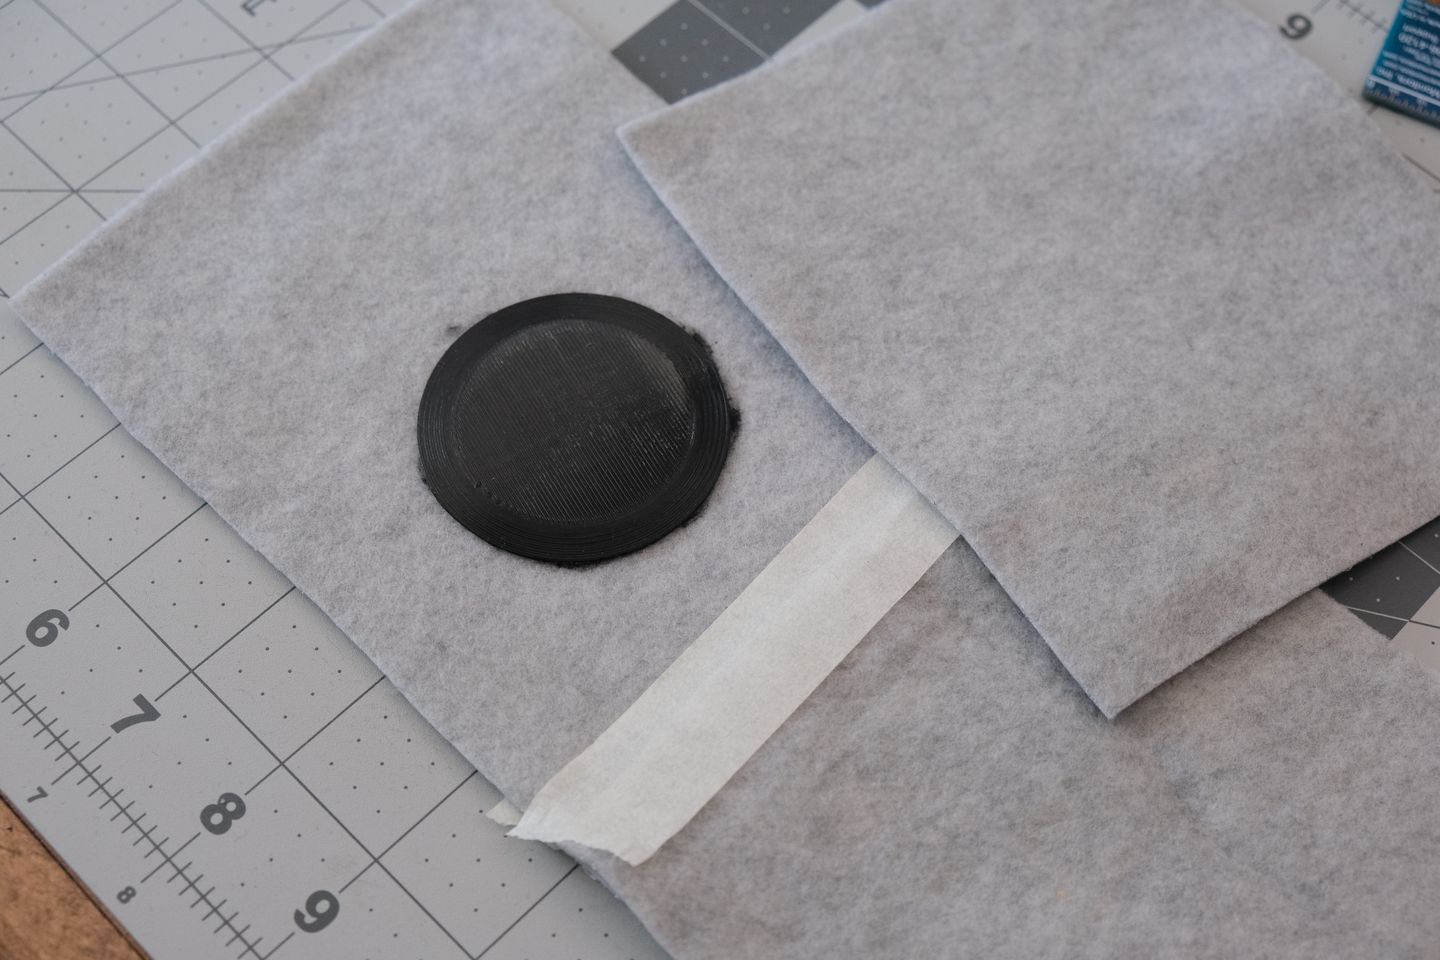
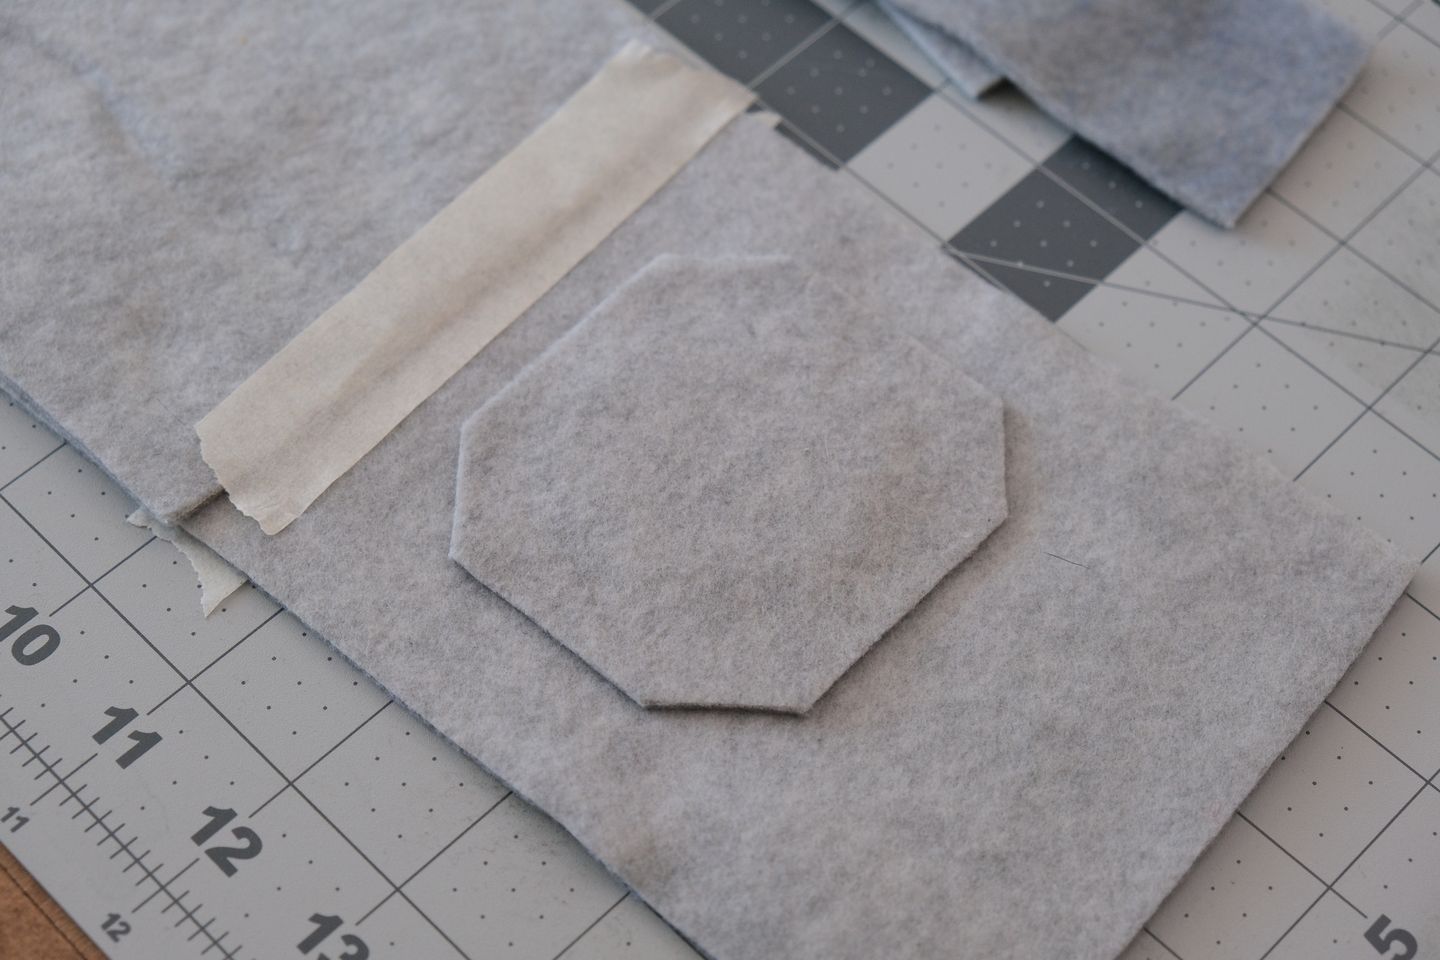
I laid out where the camera would be on the inside, then prepared the patch for the disc which goes facing outward. I spray-basted the disc and the patch together, then amateurishly sewed two laps around the circle.
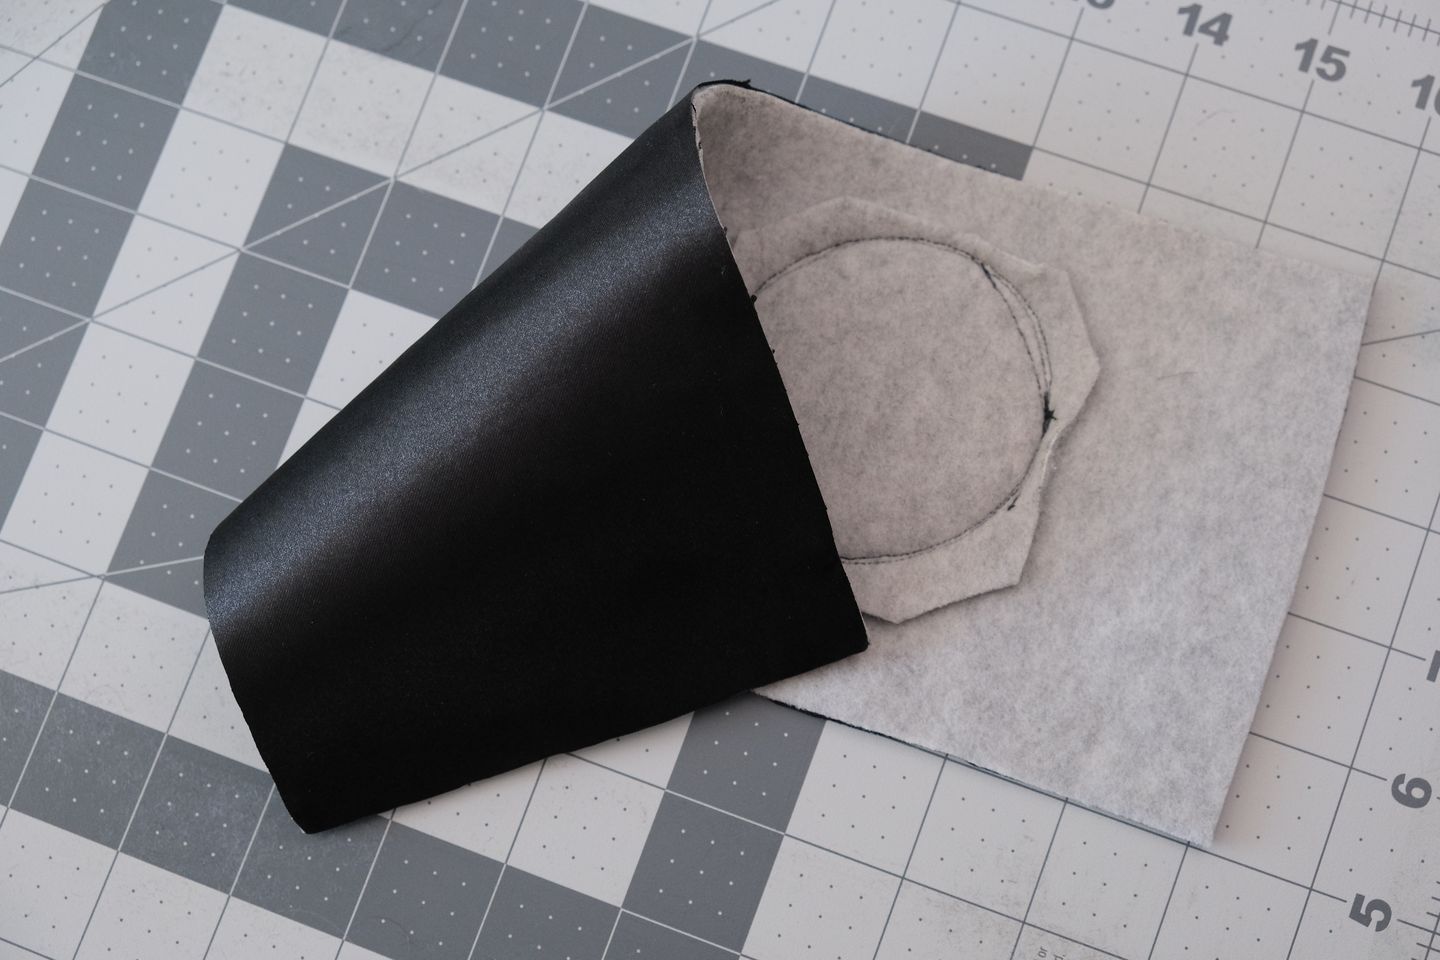
I sprayed the satin and felt together, then trimmed the satin to size. I used an electric arc lighter to melt the edges of the satin to prevent it from fraying. The arc lighter has a much smaller area of effect than a flame lighter and is much more controllable when targeting the edges.
I made sure to cut the satin so the weave is facing longways. When you rub your finger against the fabric, you can feel it is more slippery in one direction than the other, and I wanted that along the length of the interior instead of the width.
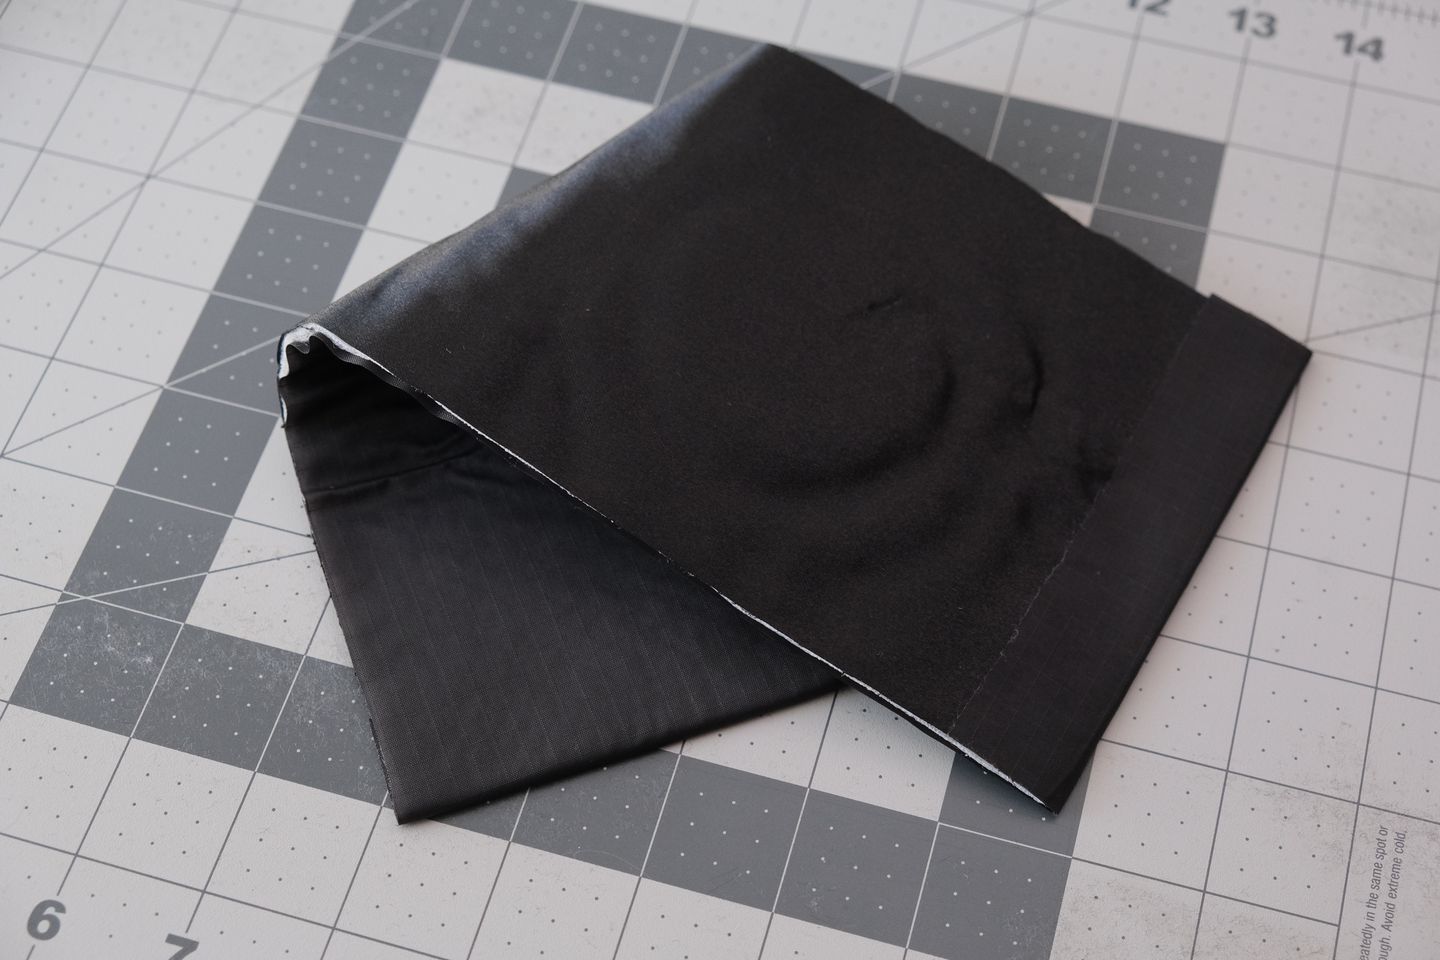
I sprayed the nylon and felt together, trimming the width to size but leaving some extra length to be folded over the top and bottom, which are sewn together.
My stitches are much straighter on this third draft than they were on the first two.
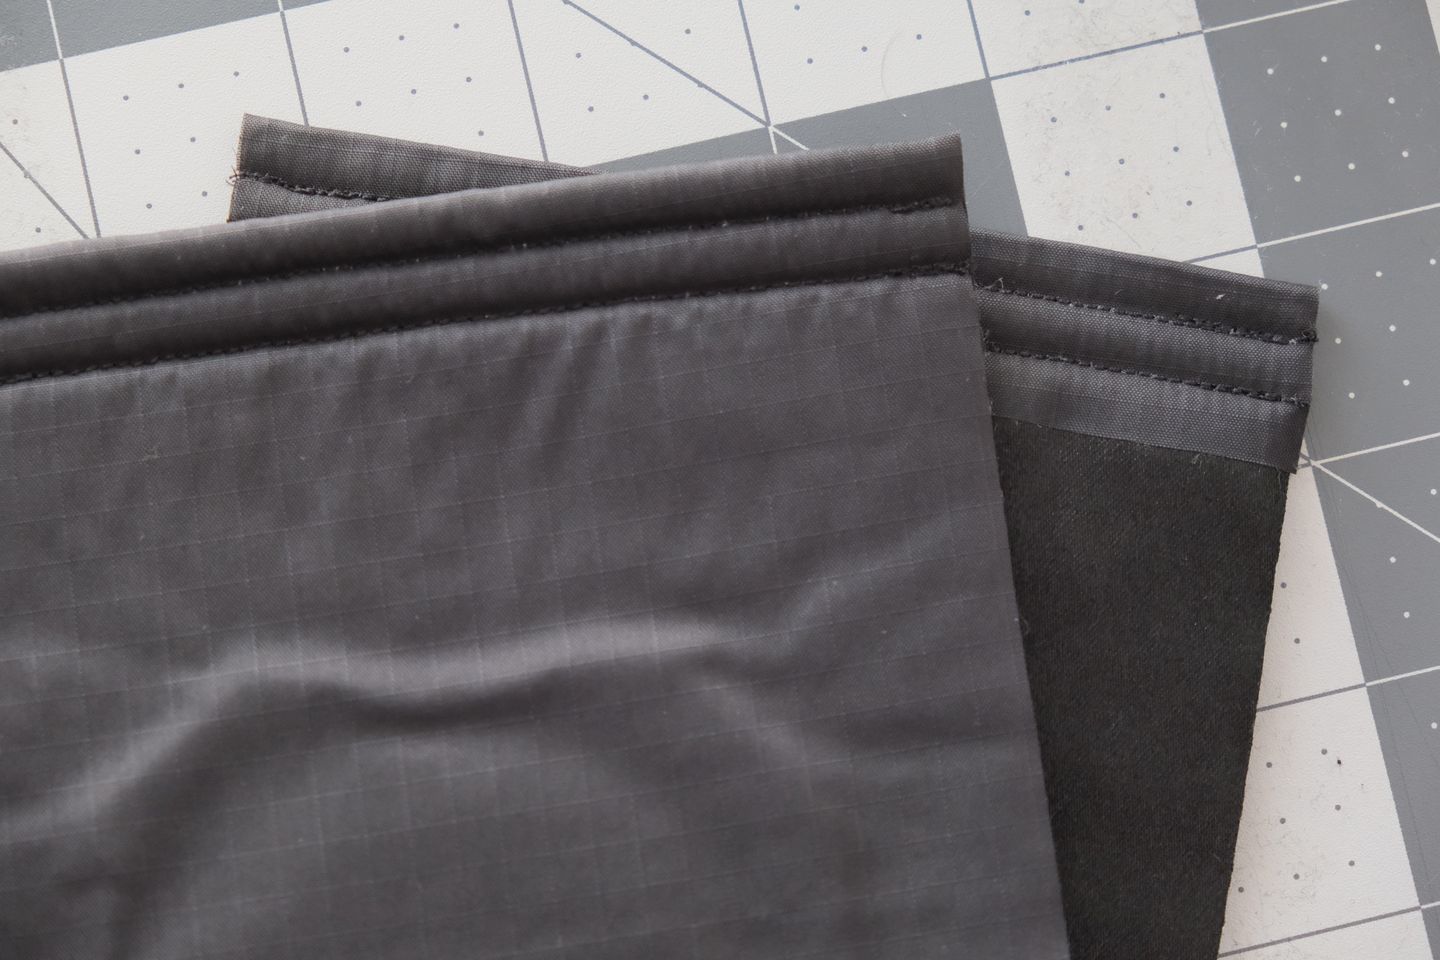
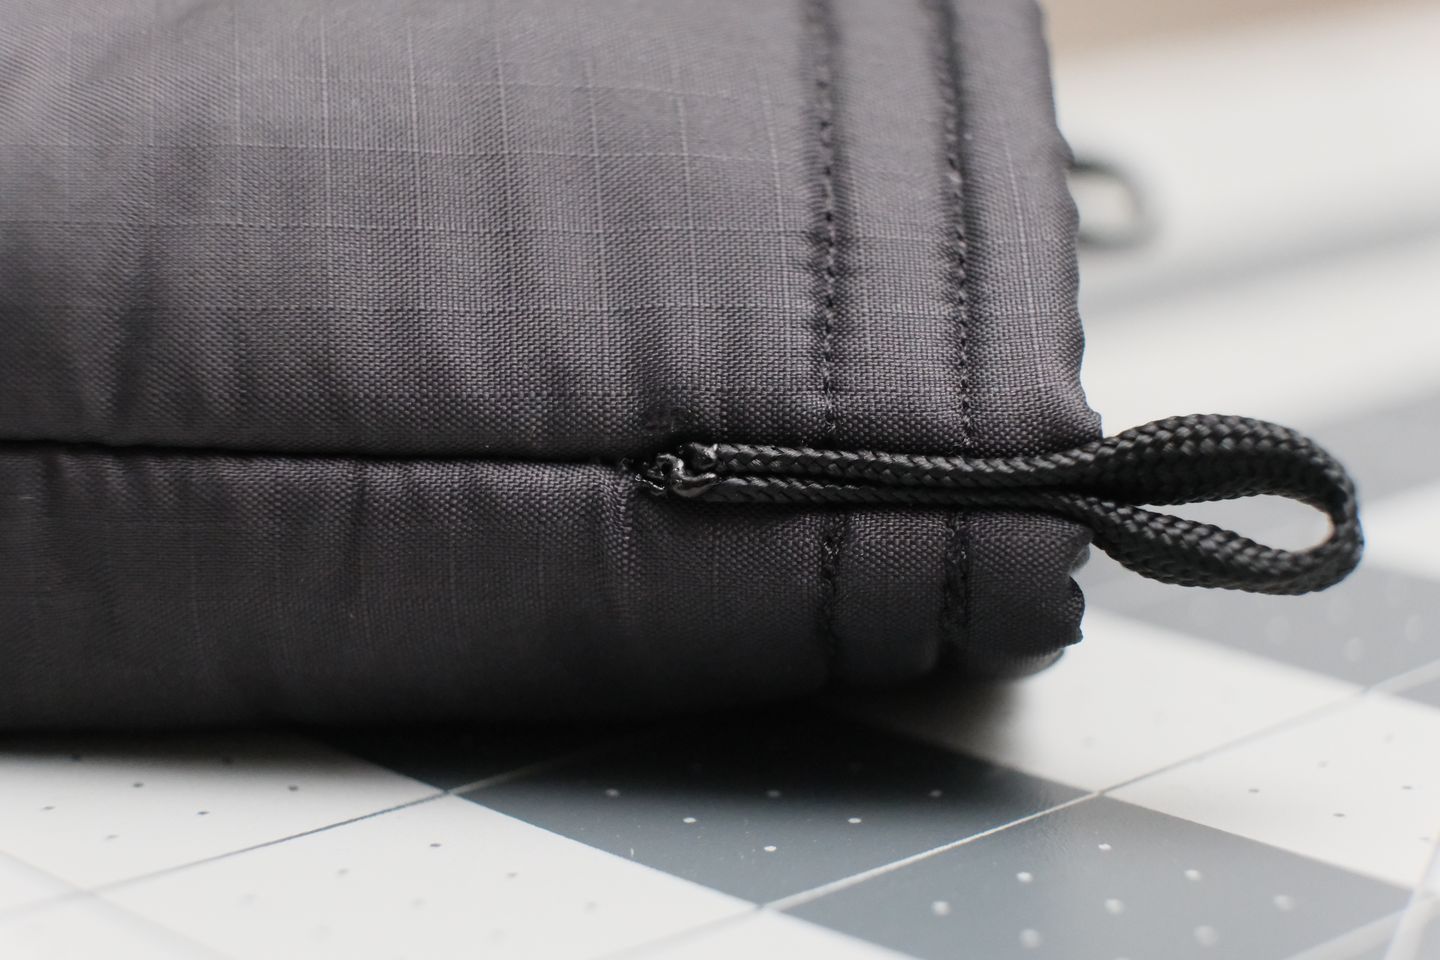
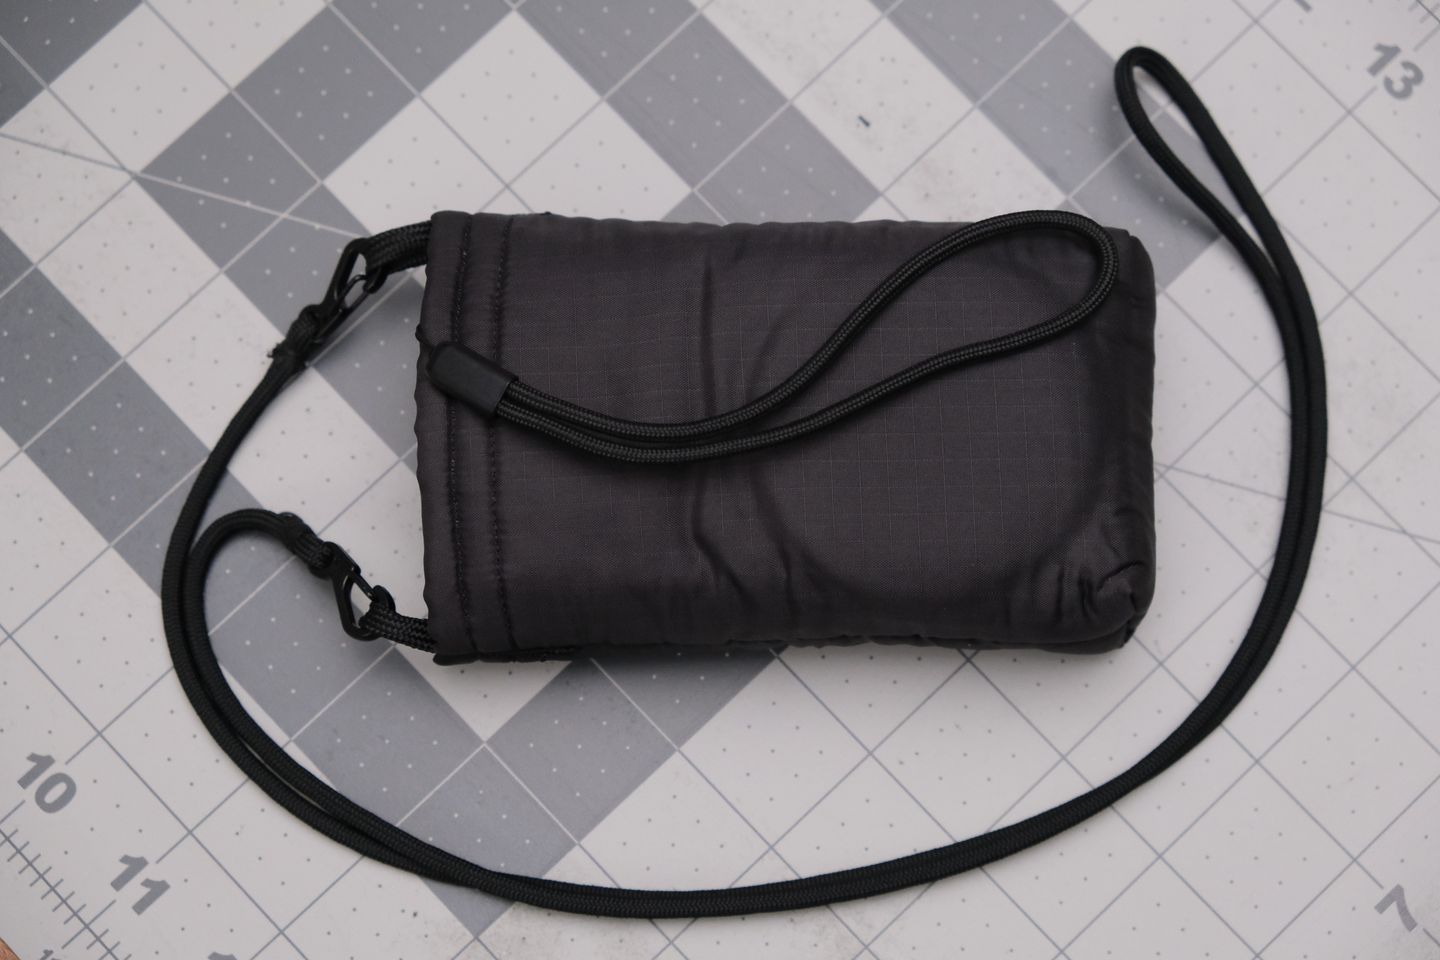
In the previous two bags, I hand-stitched the split rings in after the bag was already formed. This was functional but somewhat ugly. I took this opportunity to do away with the split rings by locking in folded-over pieces of paracord with the inner strands removed, just at the last inch of the side seams. I crudely backstitched over them several times so hopefully it will be sturdy.

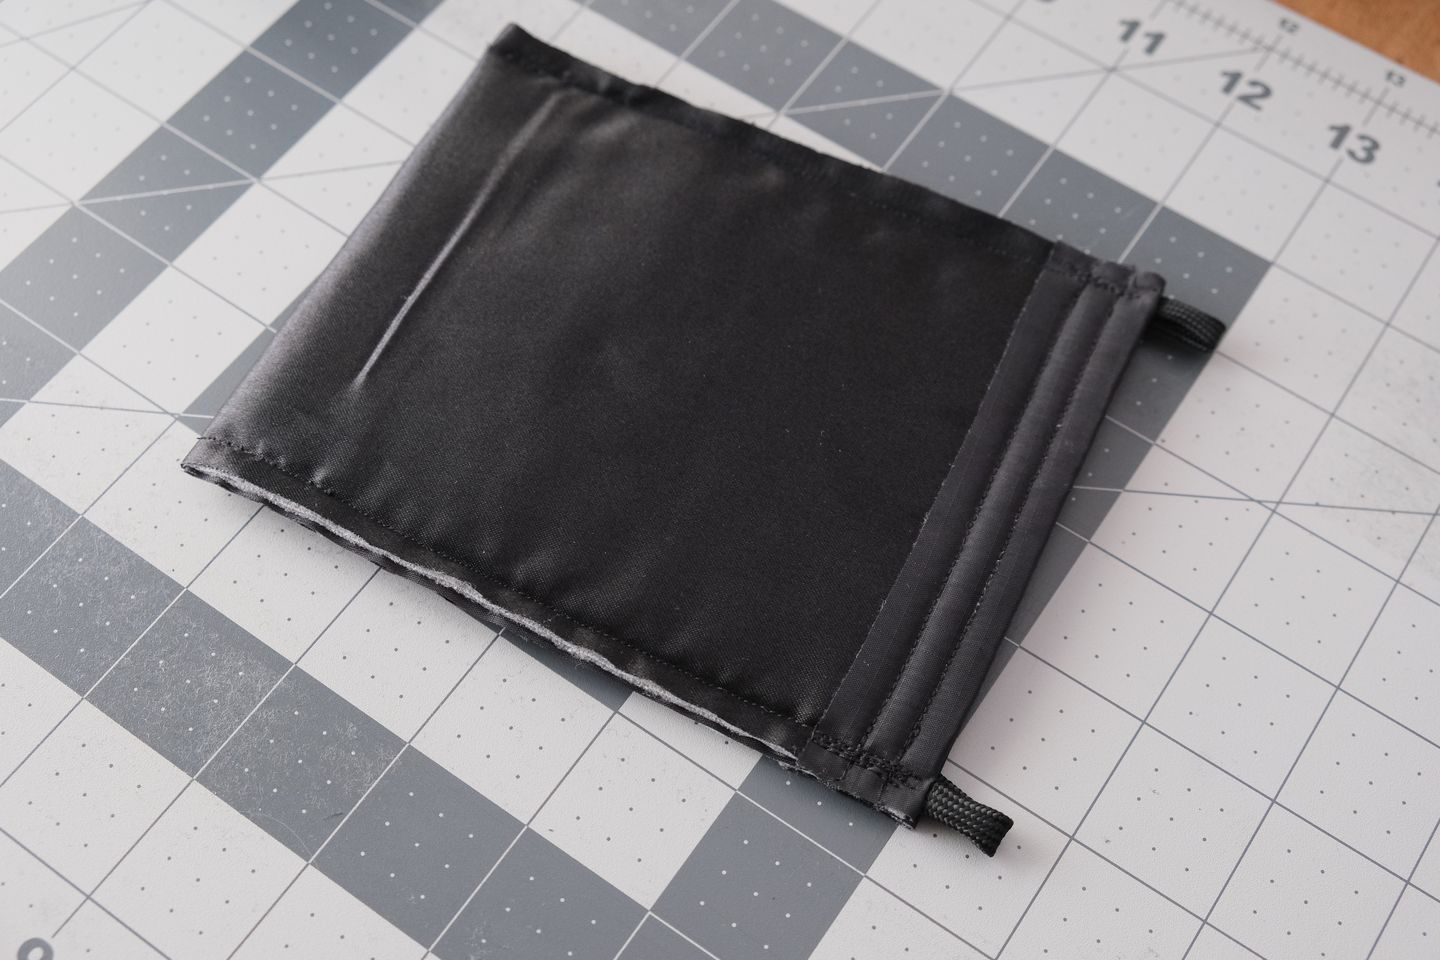
When the bag is turned right-side out, the paracord does not look as professional as I hoped because I didn't run my seam tightly enough against the edge that matters, so it sticks out a bit off the sides. But it will have to do until draft four.
It almost looks like an intentional design element, and it would probably look good if it ran all the way to the bottom.
Finally, it was time to box the corners. Without boxing, the two bottom corners of the bag flare out stupidly when the camera is inside. This has something to do with the world being three dimensional.
I had to do this stitch by hand because the bag does not fit through the machine at that angle, especially not with the big plastic disc inside of it. I drew a line 0.75in from the tip of the triangle. I spent a lot of time pinning and pre-visualising this stitch because it's very important for it to be accurately perpendicular to the main body line. Luckily it went ok.
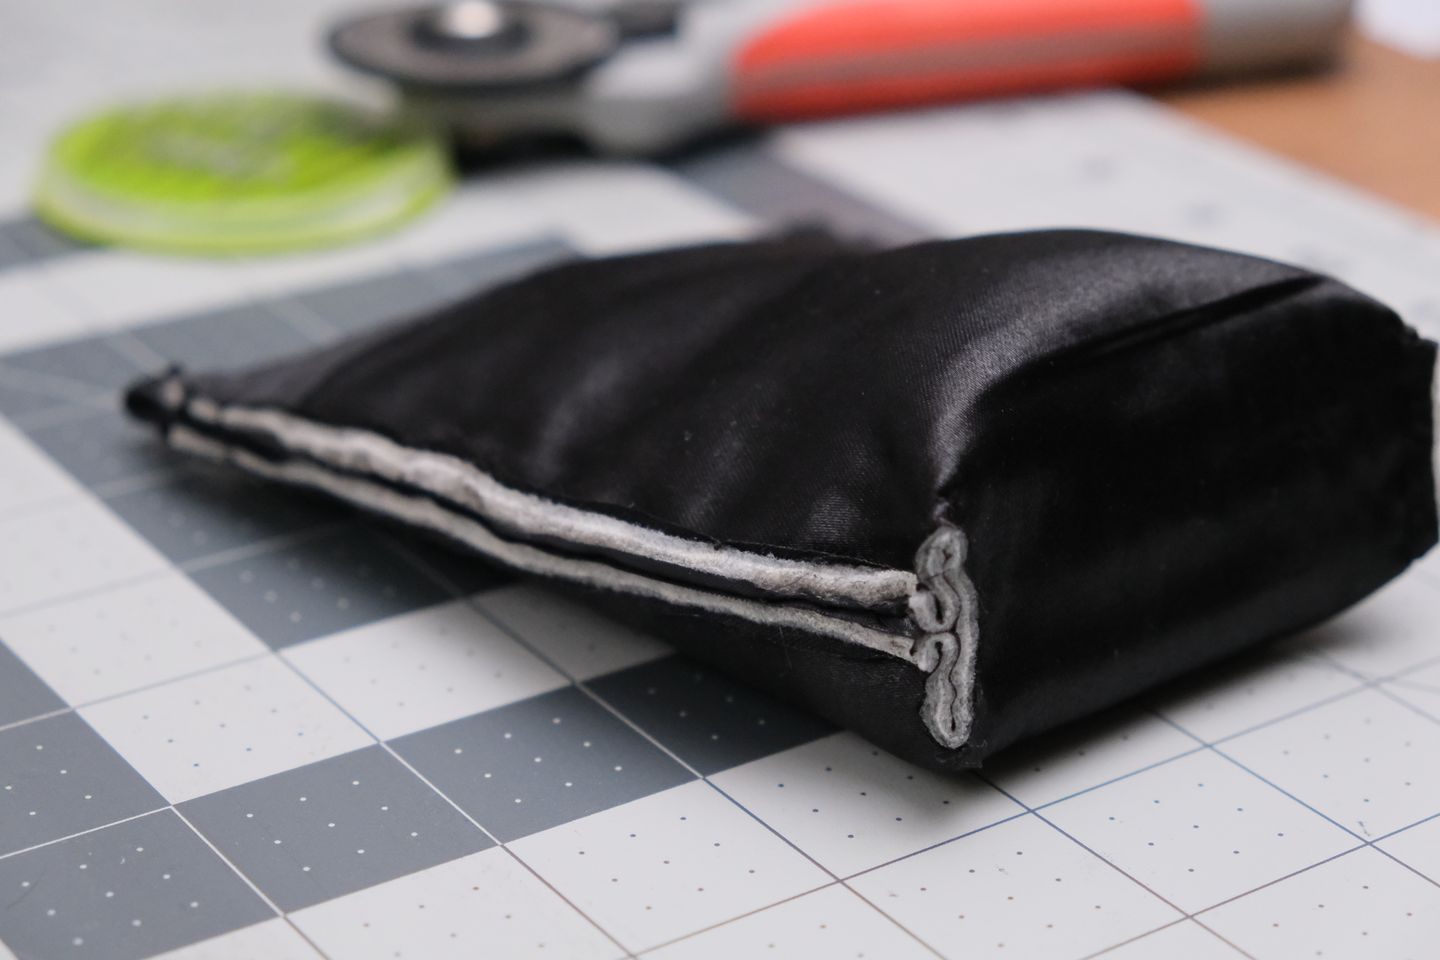

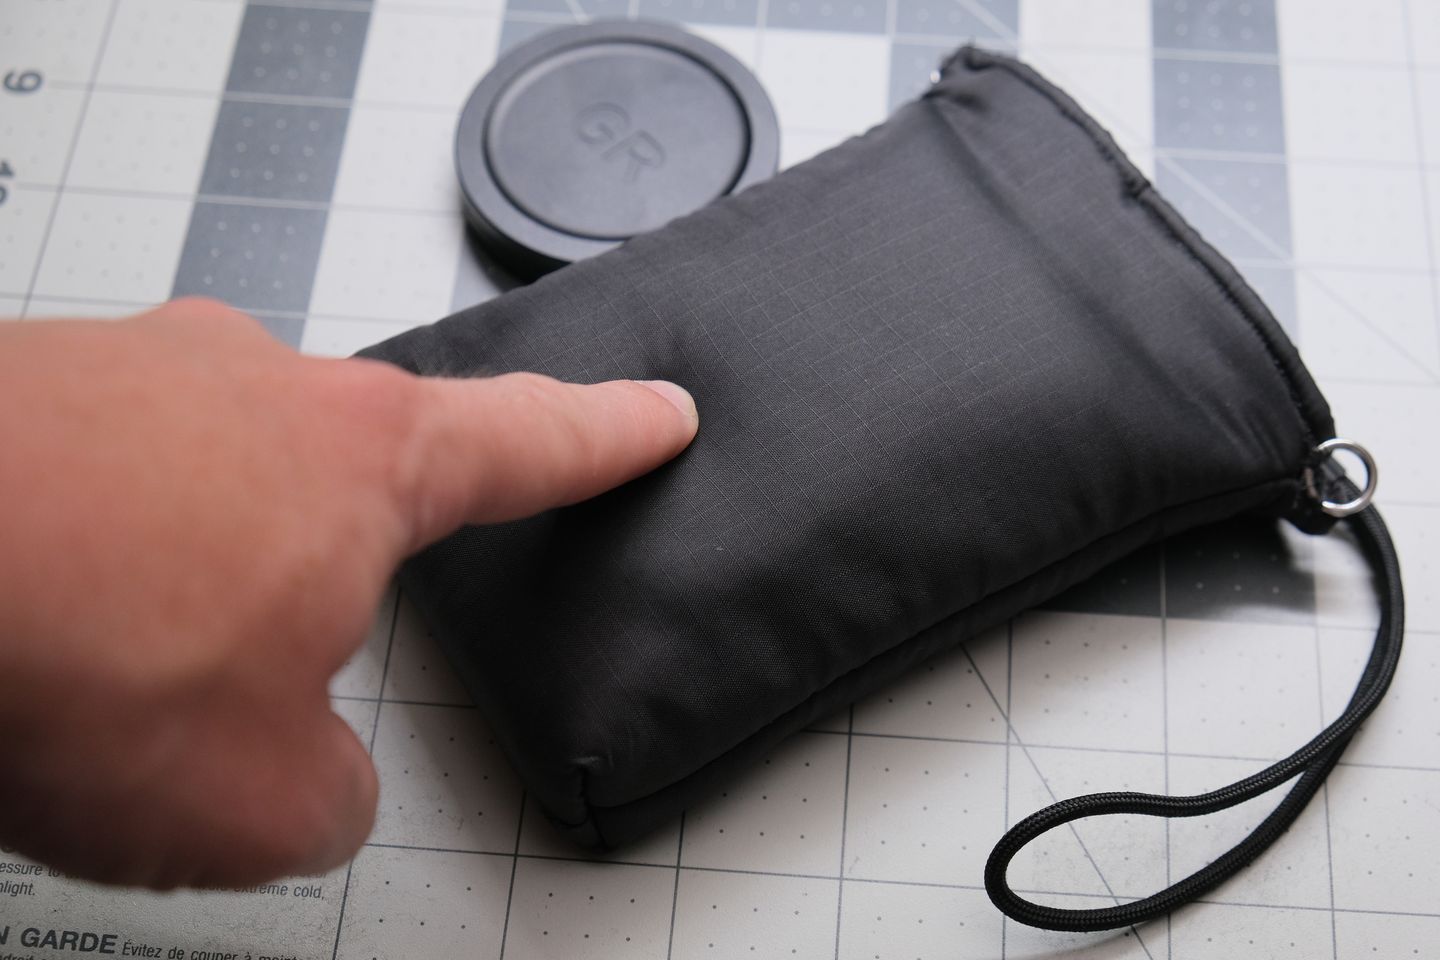
It takes a minute to turn this bag out due to the puffy felt layer and the big plastic disc that at first feels like it won't go through the mouth of the bag. It comes out looking like a wrinkly old raisin, but after some massaging it smooths out.
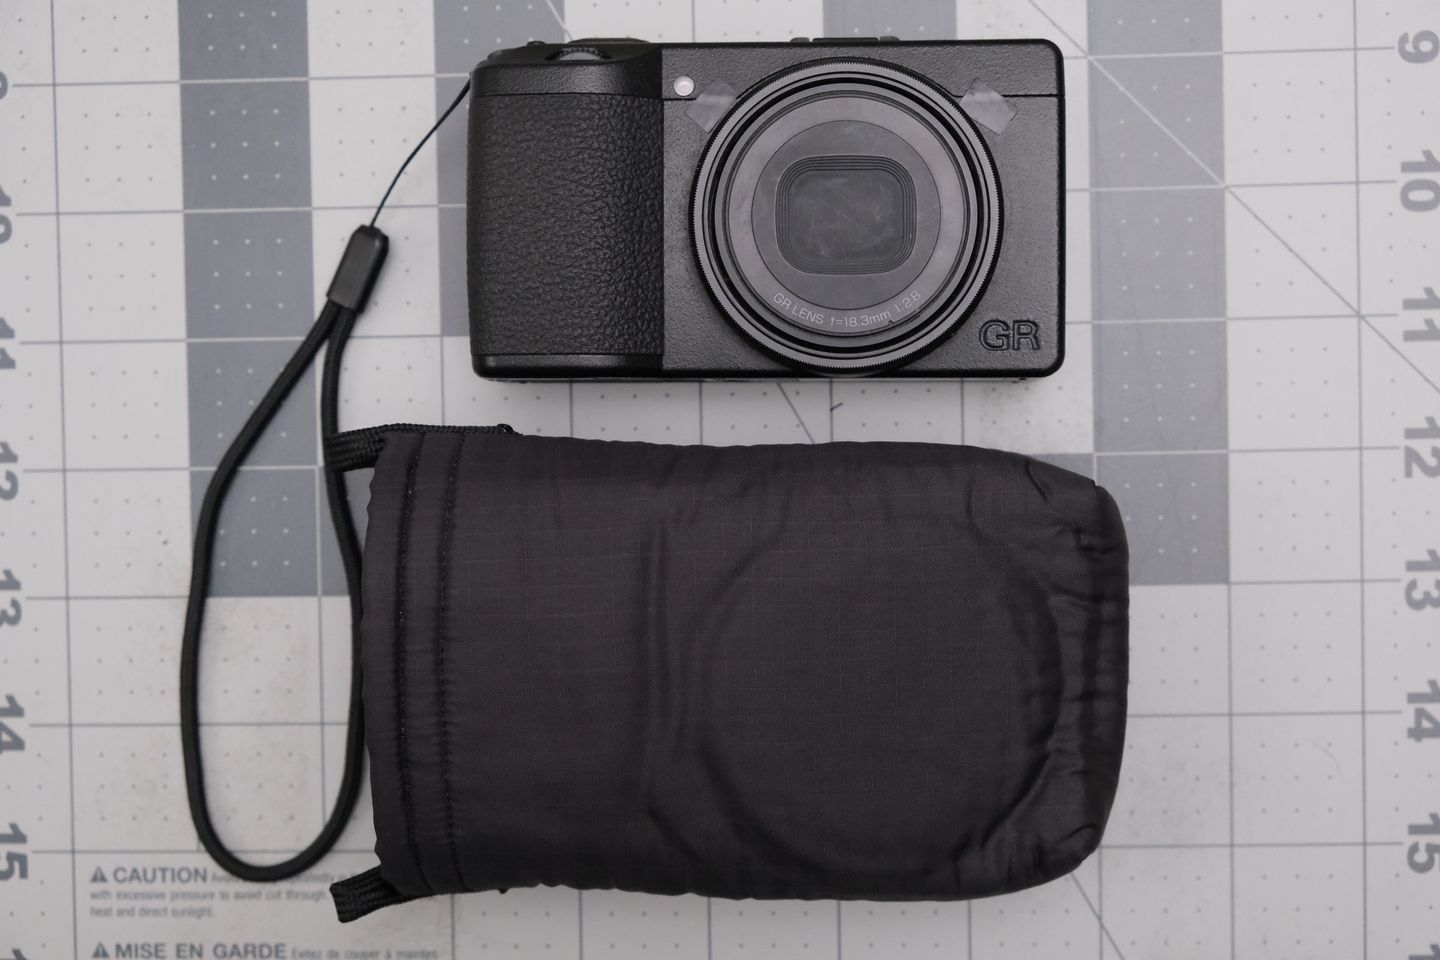
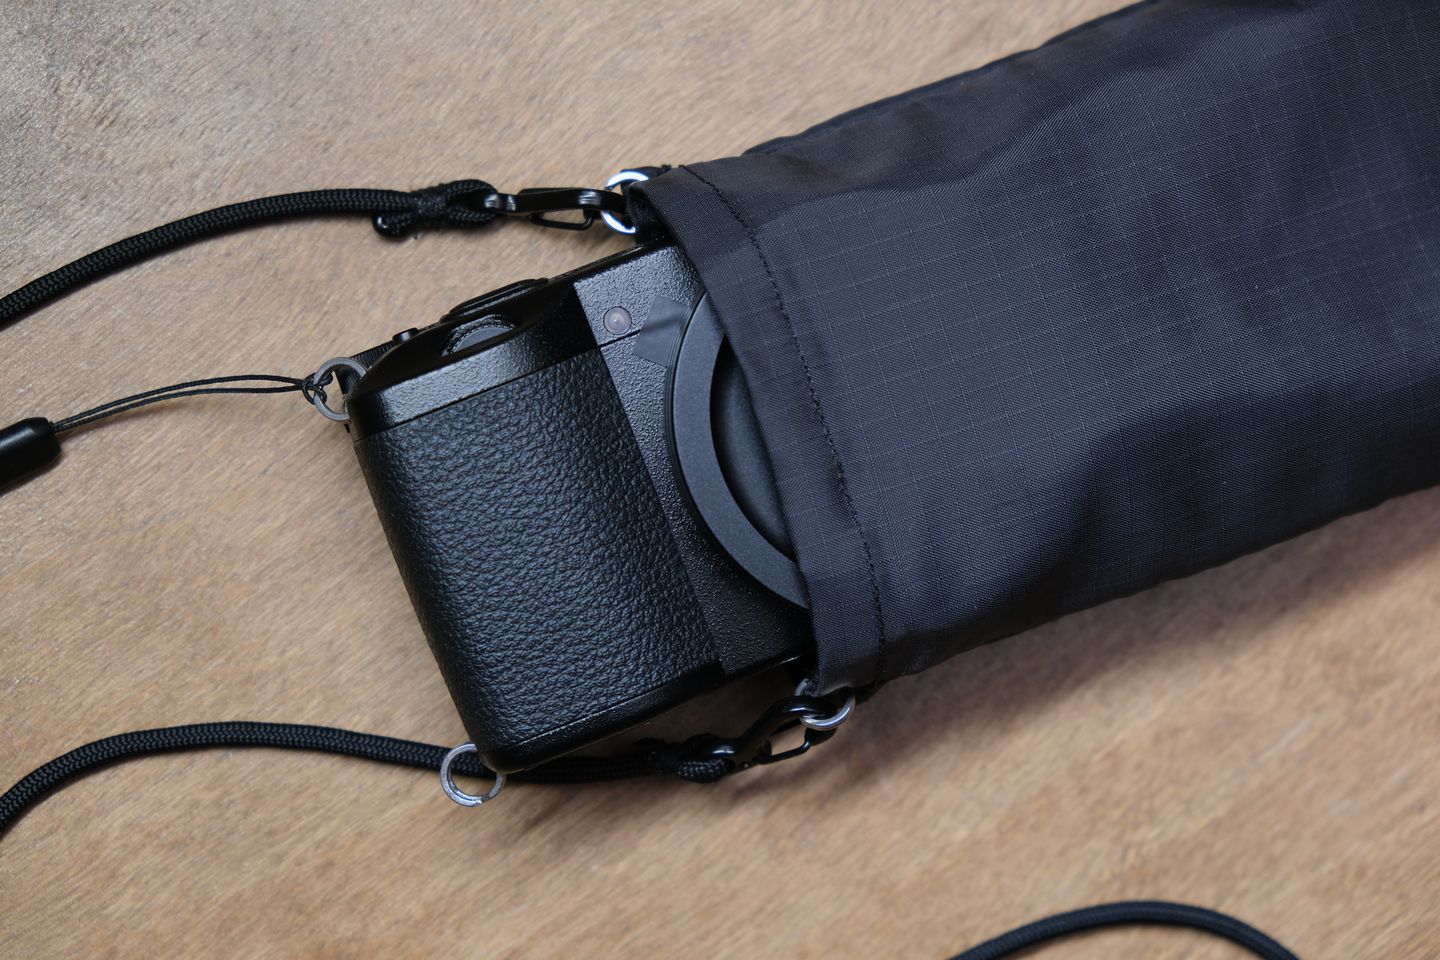
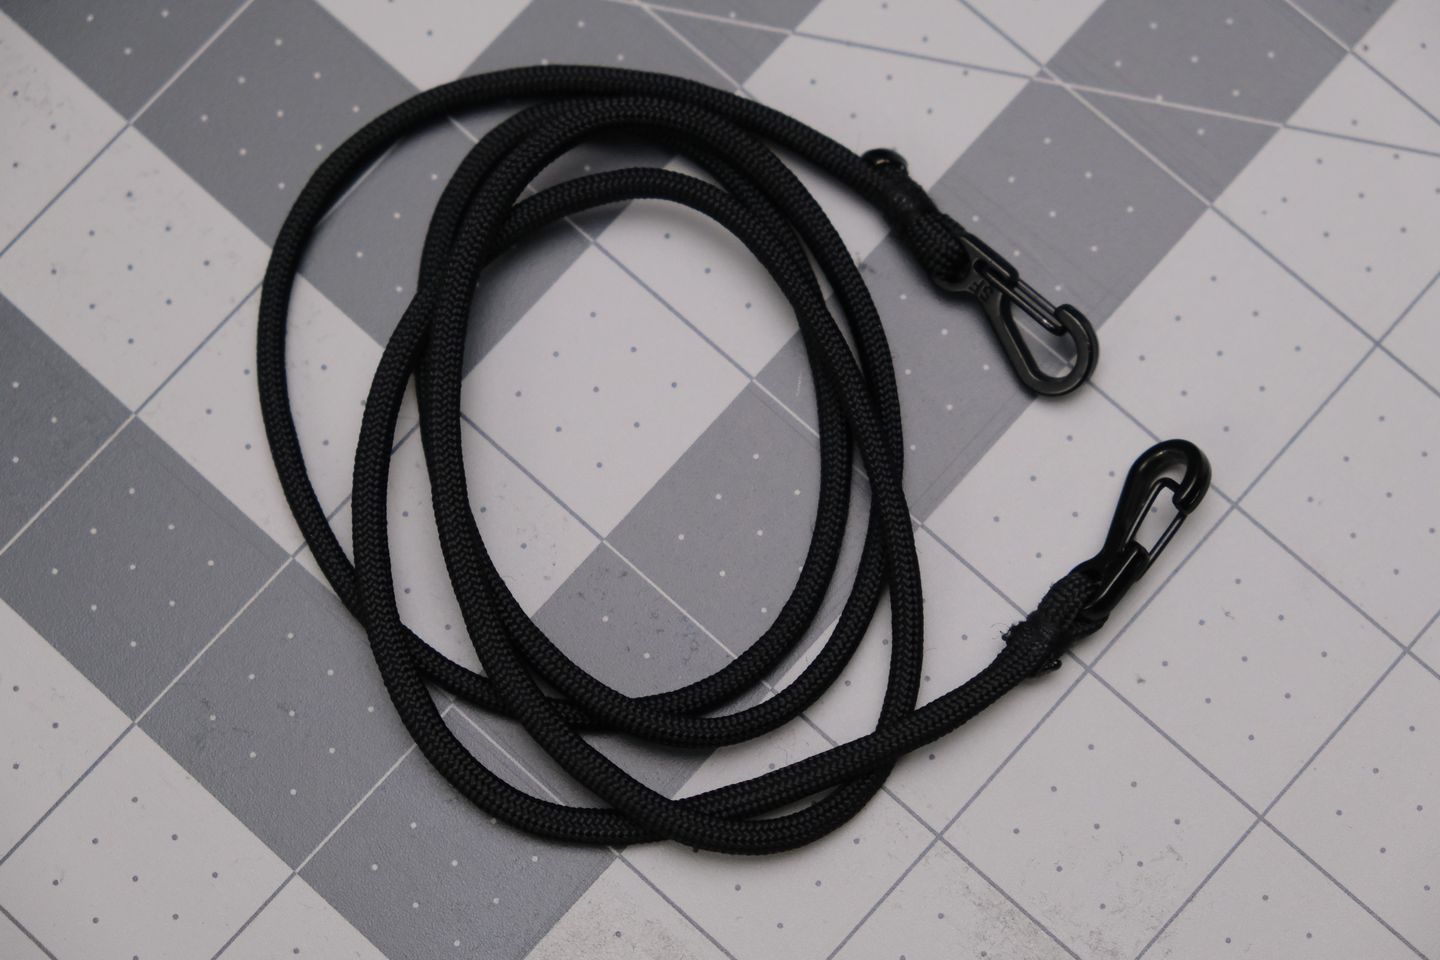
The carrying strap is a single piece of paracord with mini carabiners on the ends. It doesn't need to be adjustable when it's bespoke!
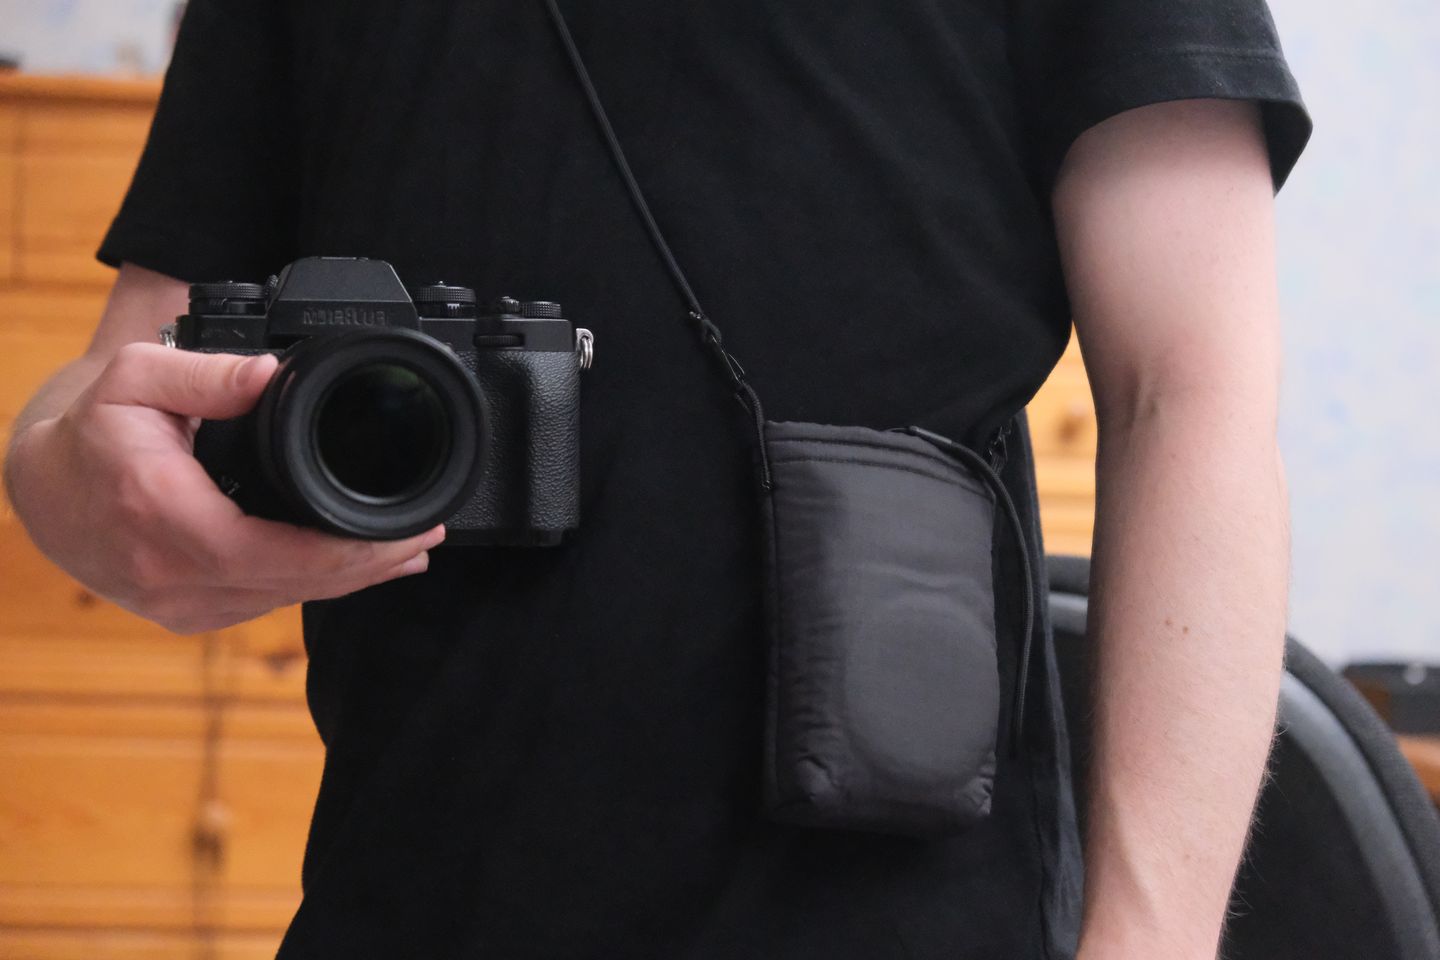
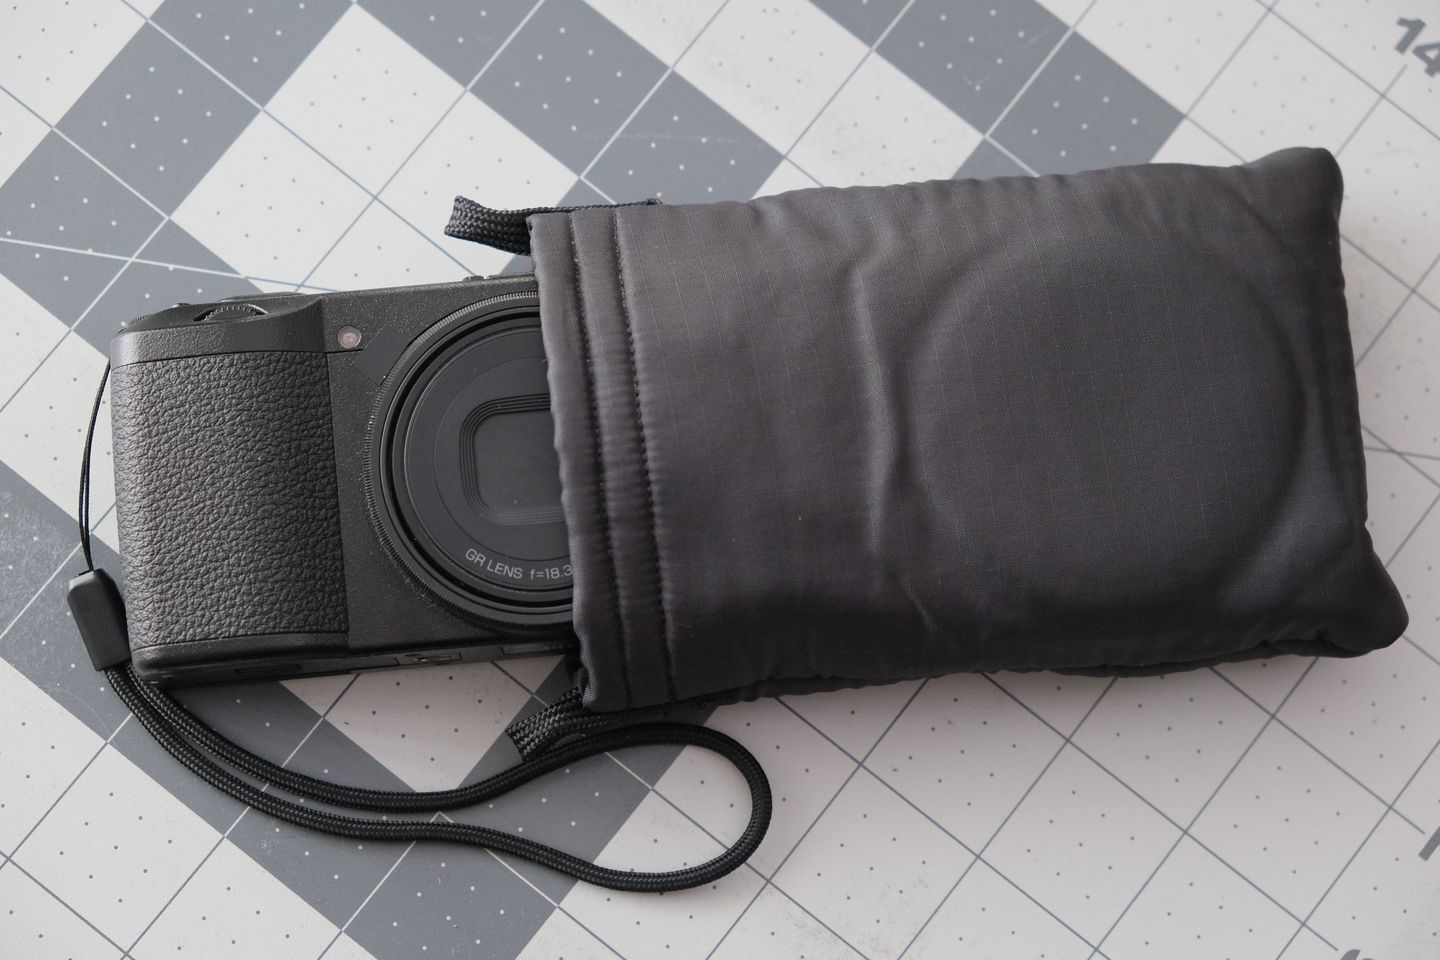
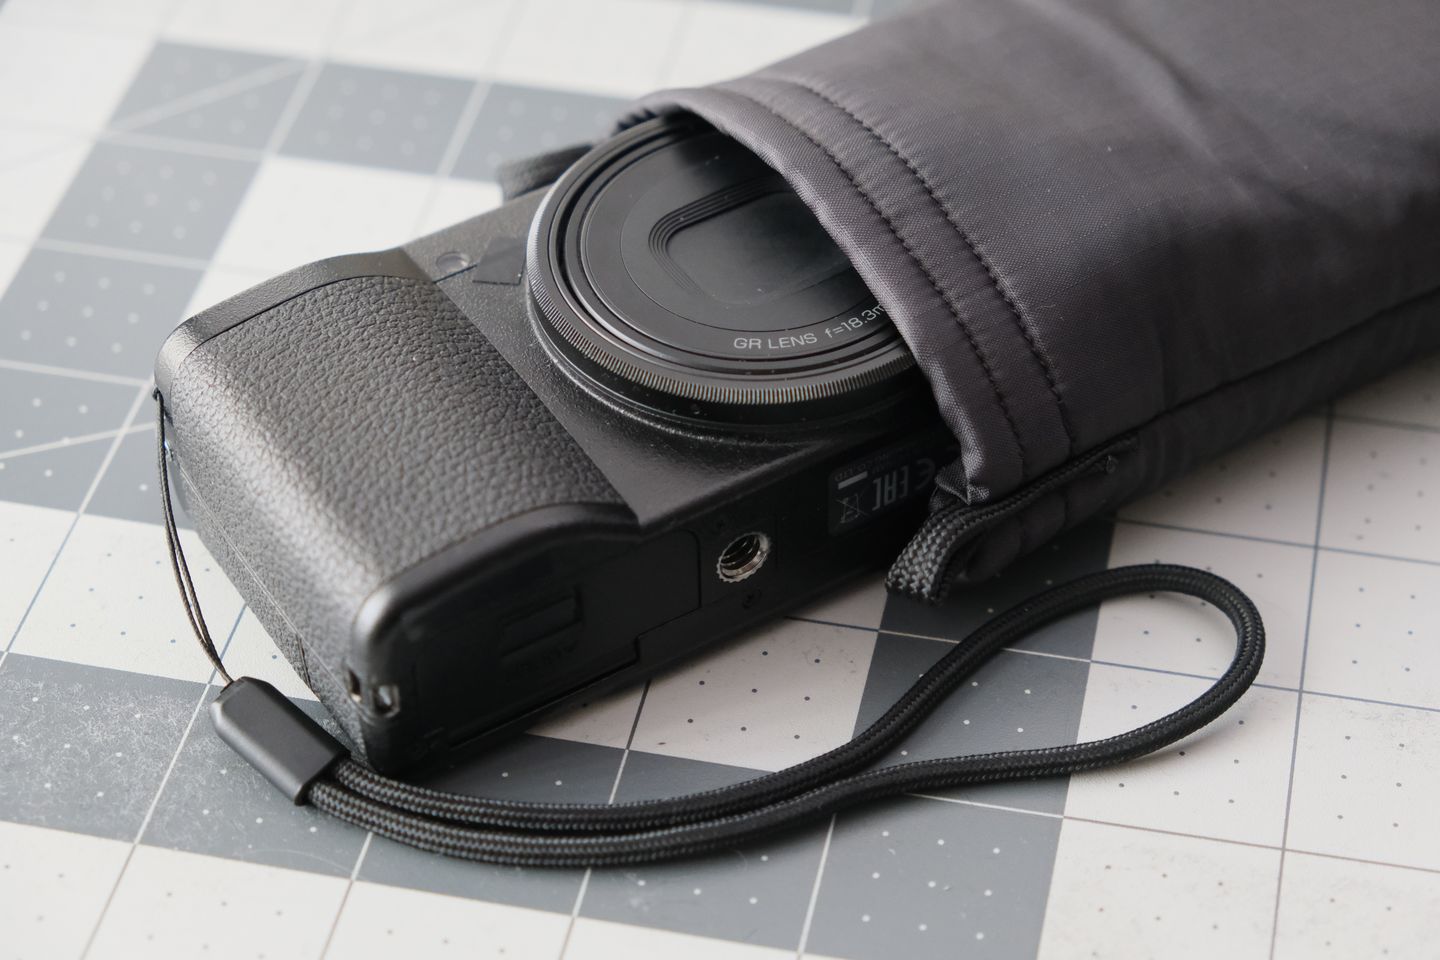
I've been carrying this third draft for ten days now and I can definitely feel the improvement over the first and second. It is easy to withdraw and holster the camera and although the lens cap cost me $15 I'm glad not to use it. Now the goal is to keep this up for... ever.
I am comfortable wearing this out in public since most people do not pay enough attention to strangers to think that it's weird. However, when I'm at work I leave it on my desk instead of wearing it all day because I cannot shake the feeling that I'm playing some kind of character by trying to carry a camera literally all the time in front of everyone. When I wear a jacket I do feel comfortable carrying the camera under the jacket all day since it's out of sight, but it's summer now and it's too hot for that.
1,500 words and 30 pictures for a project on par with Baby's First Sewing Pattern? I still feel like this kind of thing doesn't deserve to be posted as if it's some kind of accomplishment. But I'll say more about that in the next article, too.
Contact me: writing@voussoir.net
If you would like to subscribe for more, add this to your RSS reader: https://voussoir.net/writing/writing.atom