[electronics] [today_i_did_this]
Modding a rechargeable mouse to USB-C
I have a wireless mouse that uses USB micro-B to recharge. I'd like for it to charge over USB type-C instead so I can use the cables that I already have around my desk.
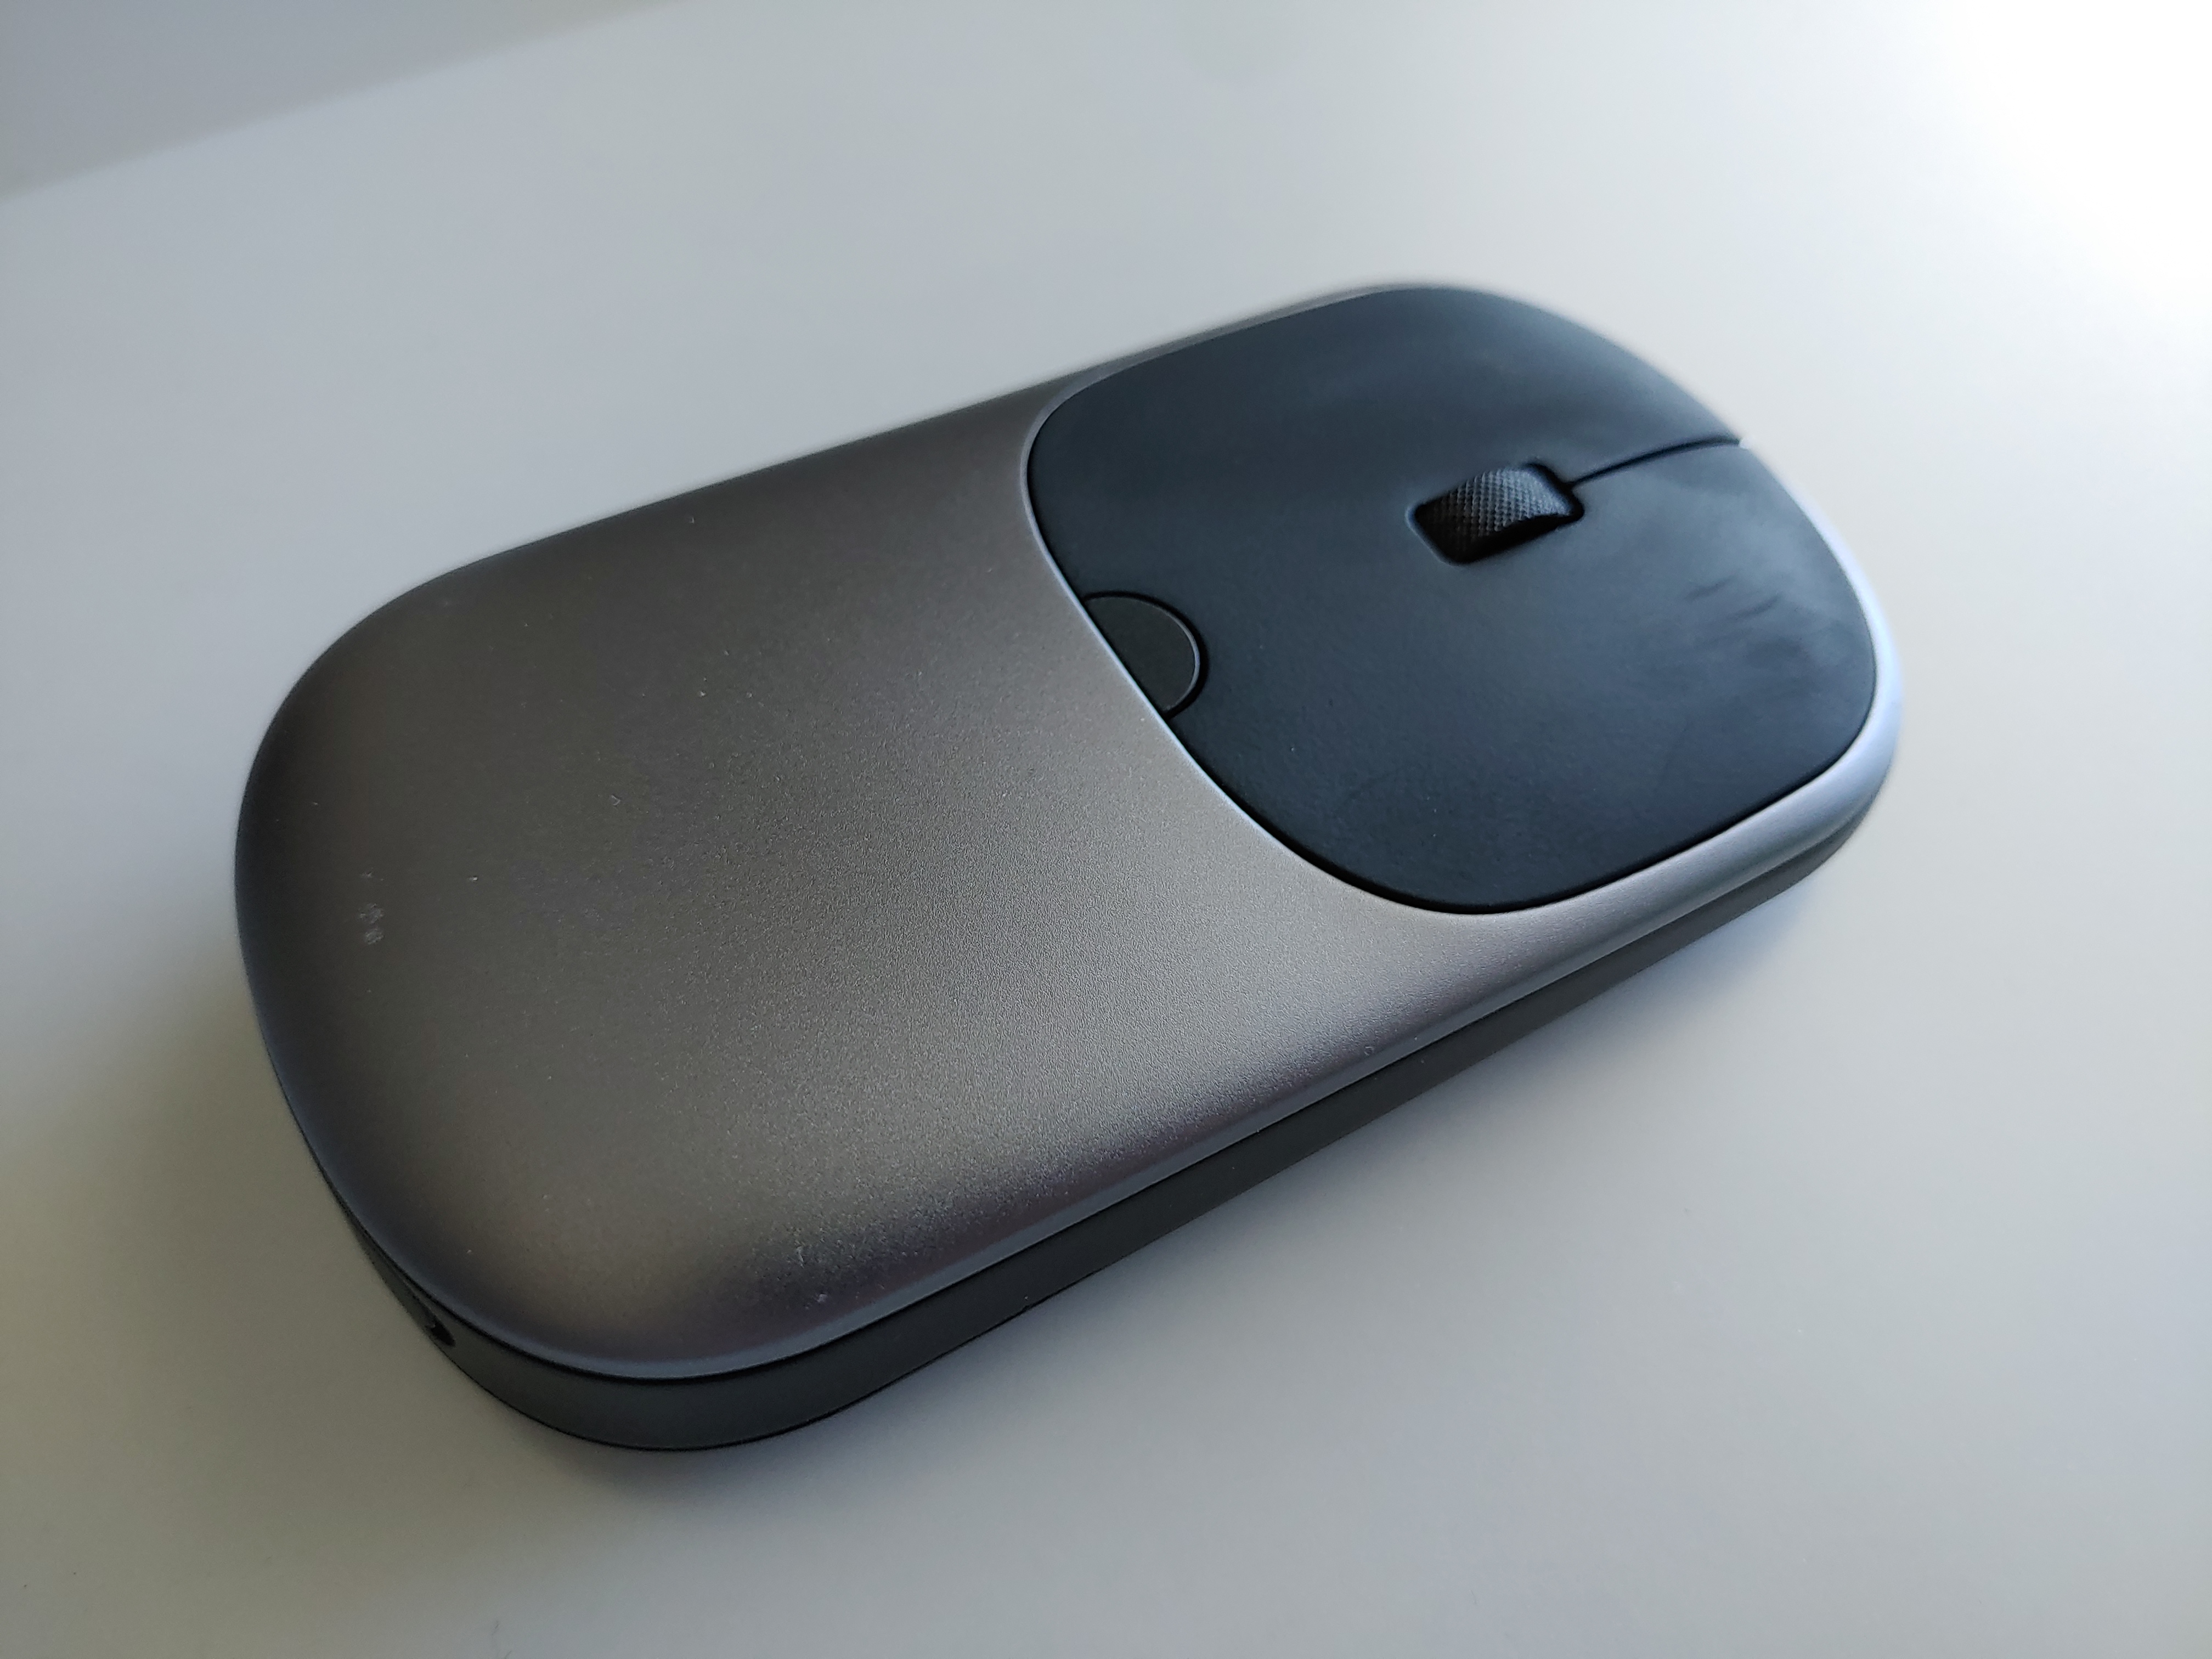
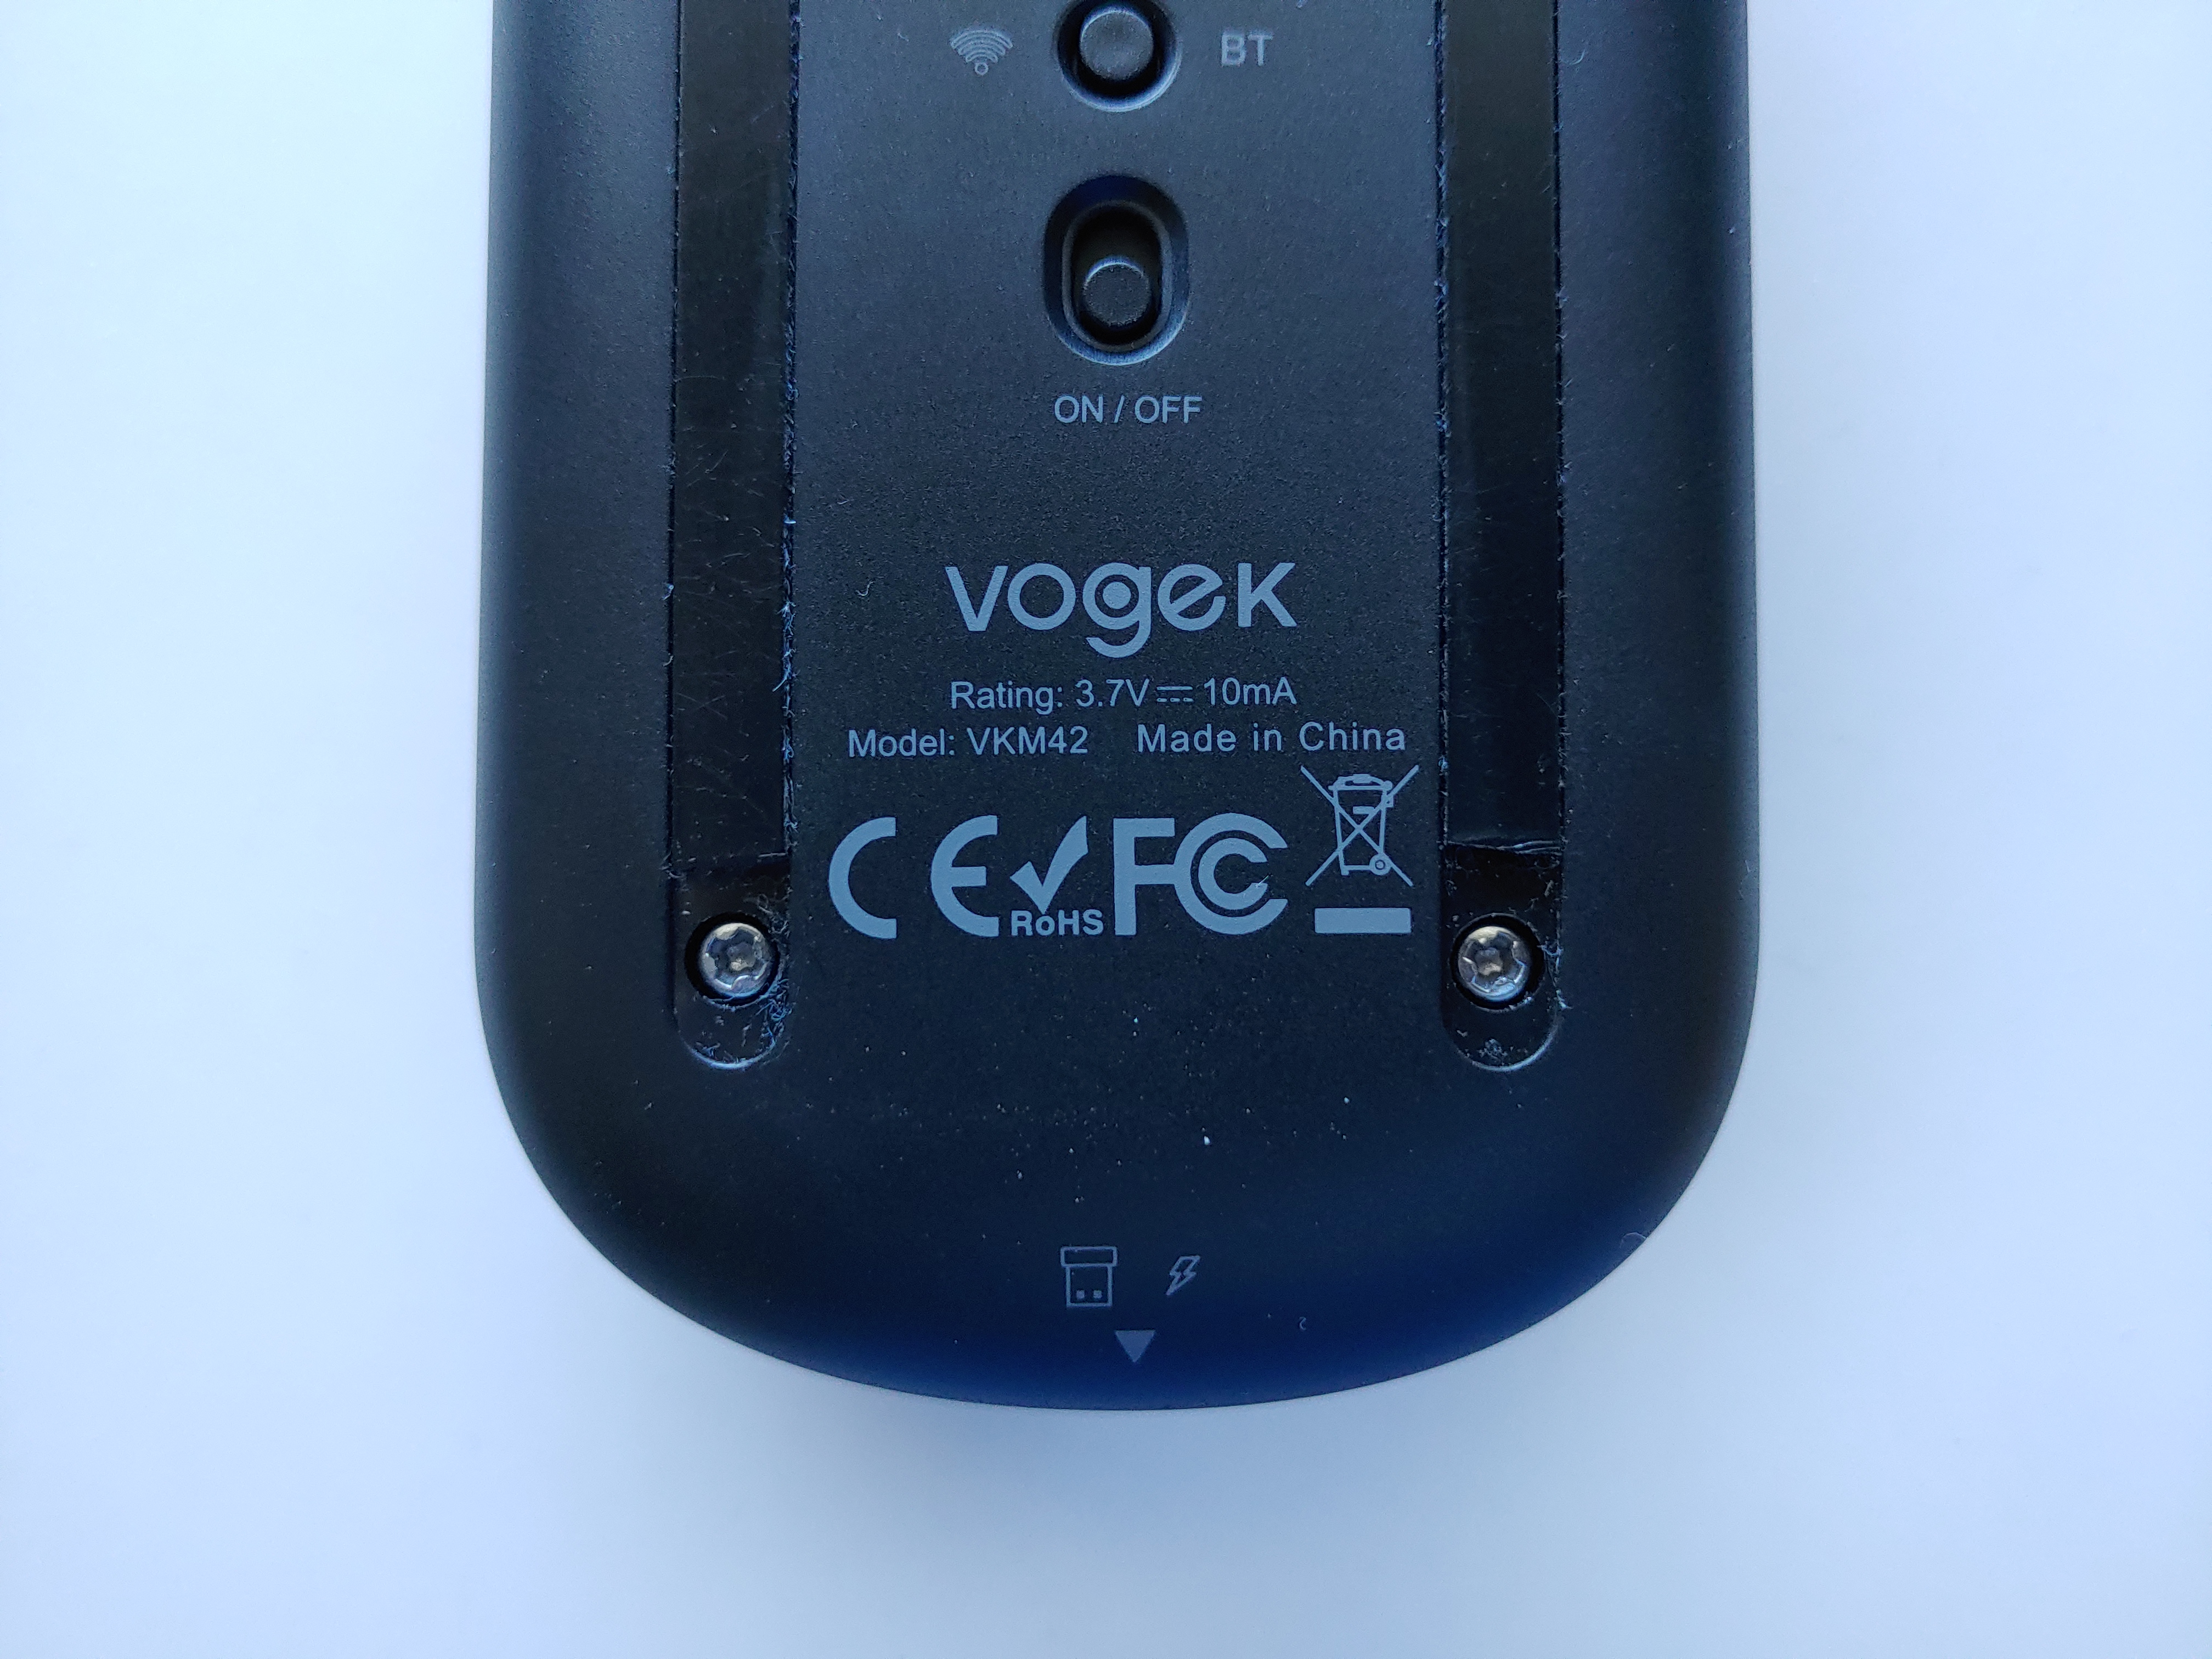
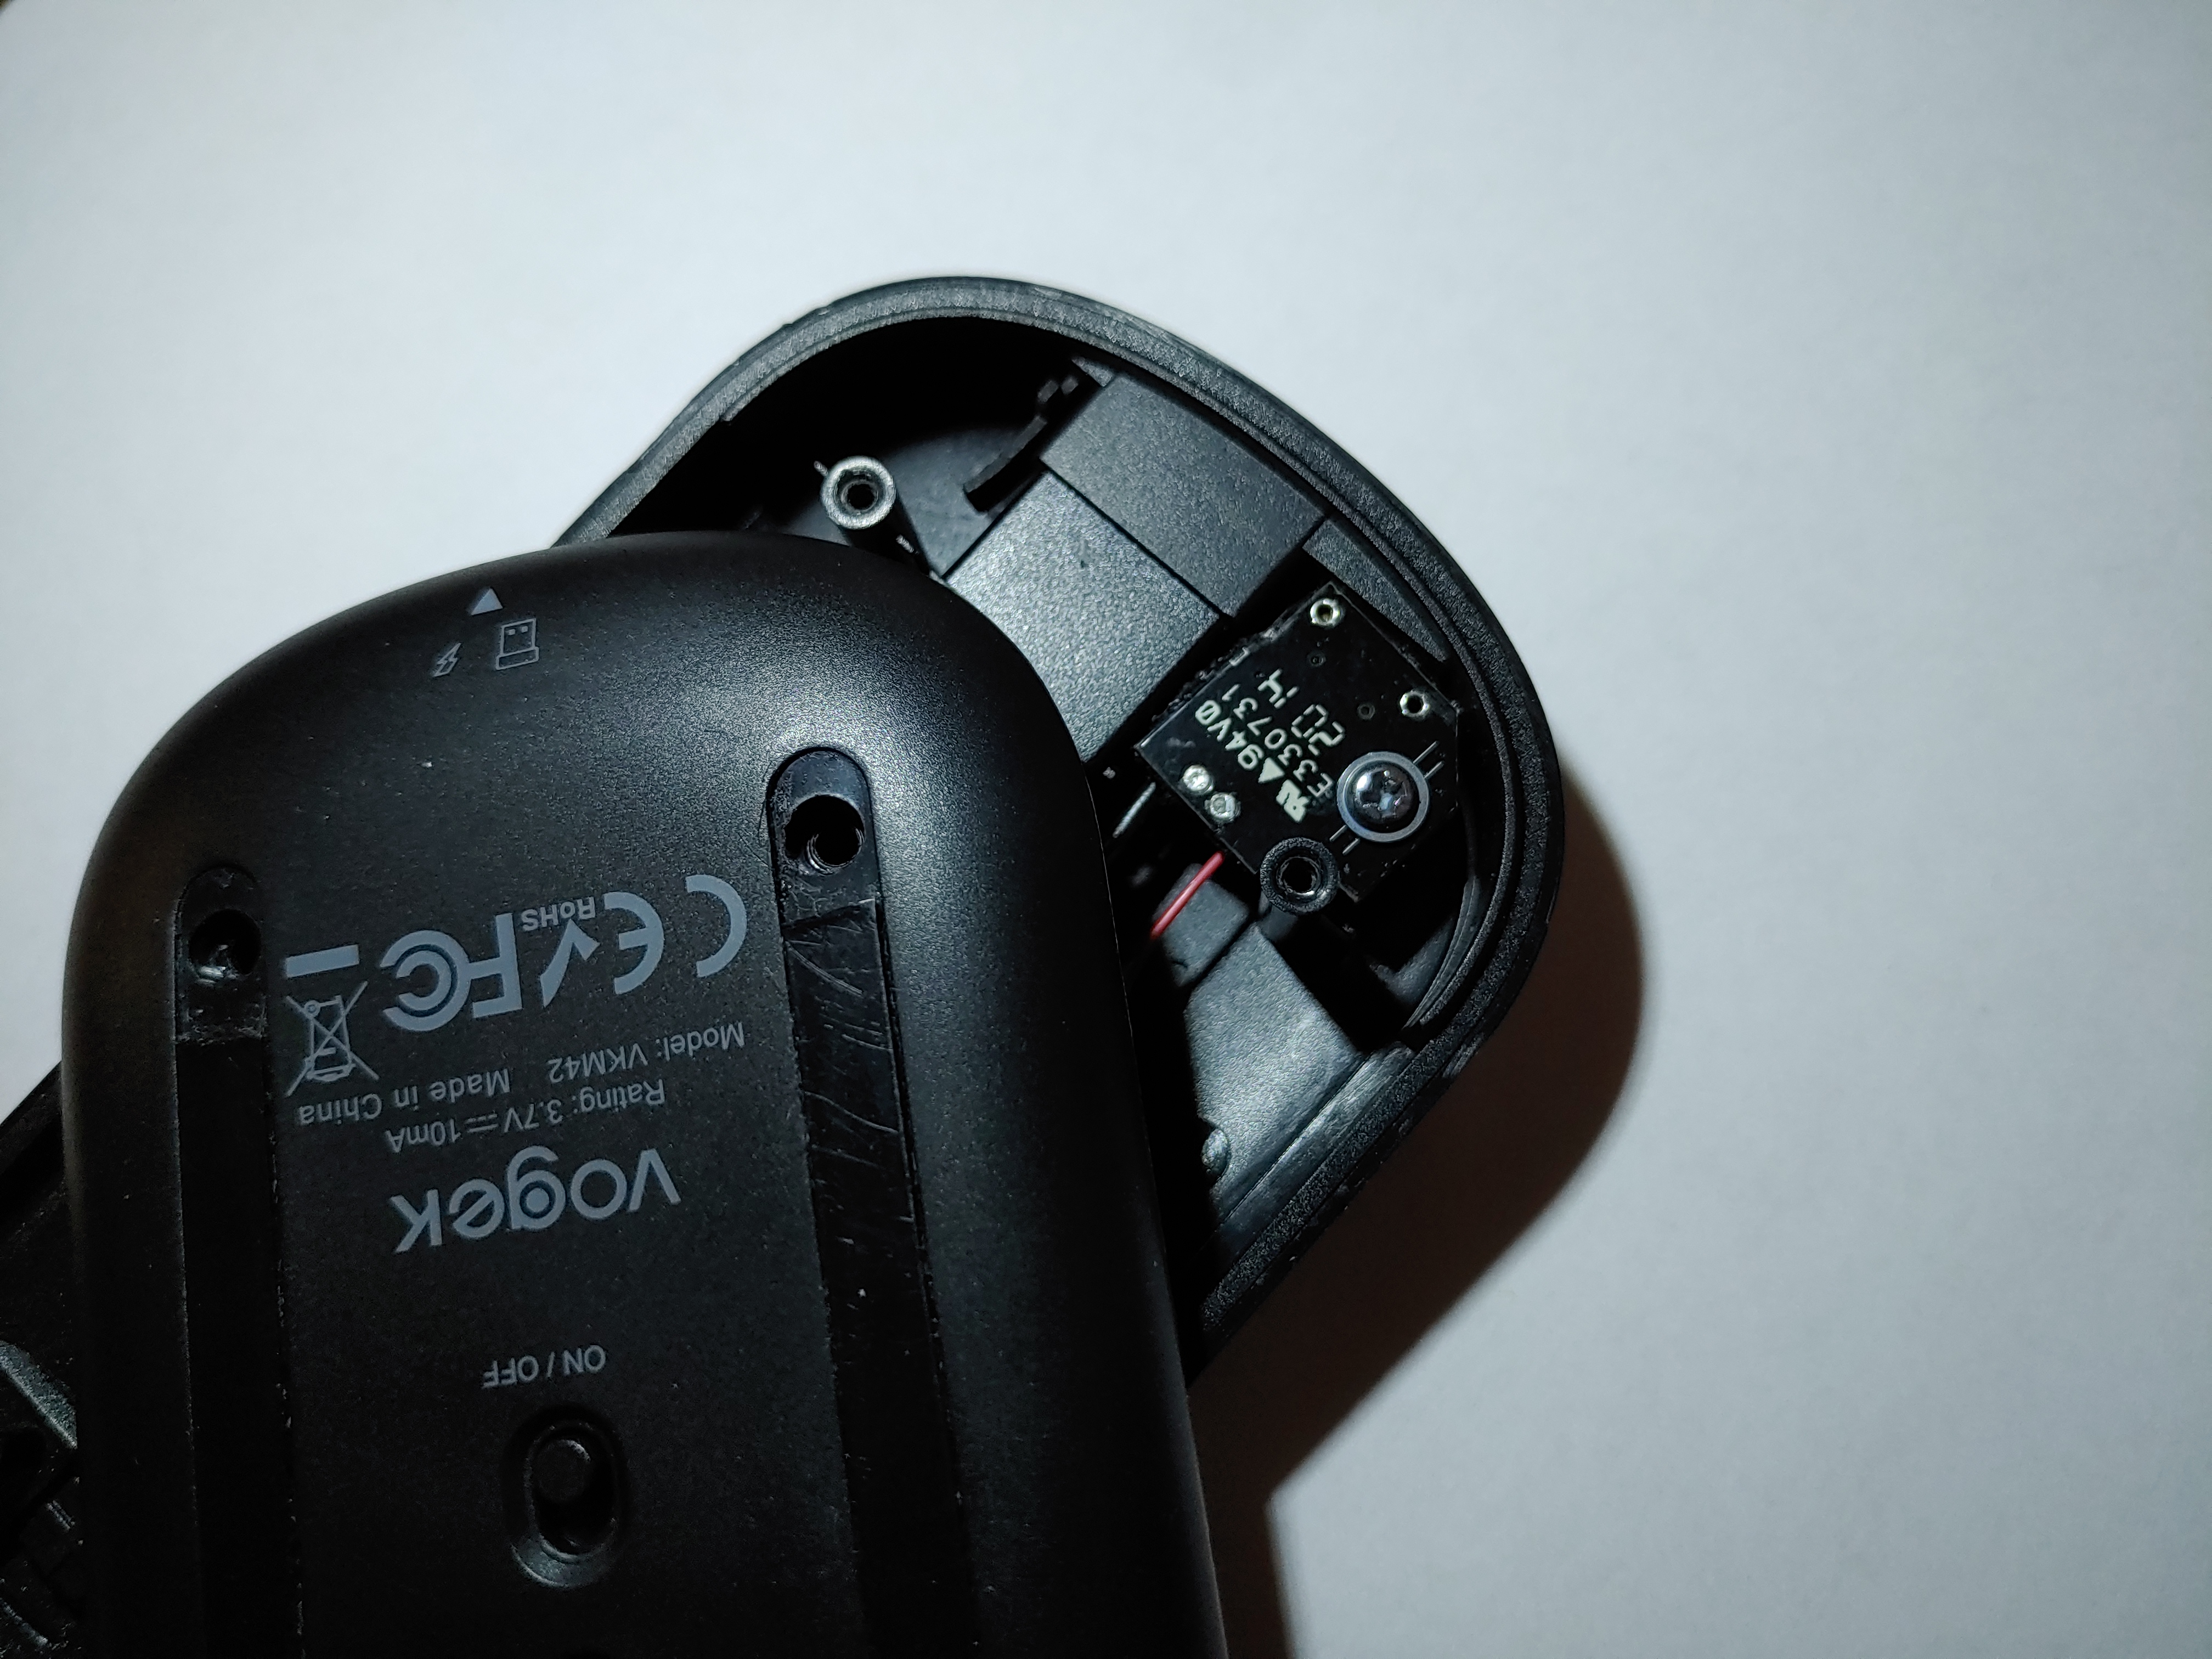
It is a Vogek VKM42. You've never heard of Vogek and you never will again. I got the mouse for free and it is obviously very cheap, so I decided I wouldn't feel bad if I damaged it and the idea of replacing the socket was worth exploring.
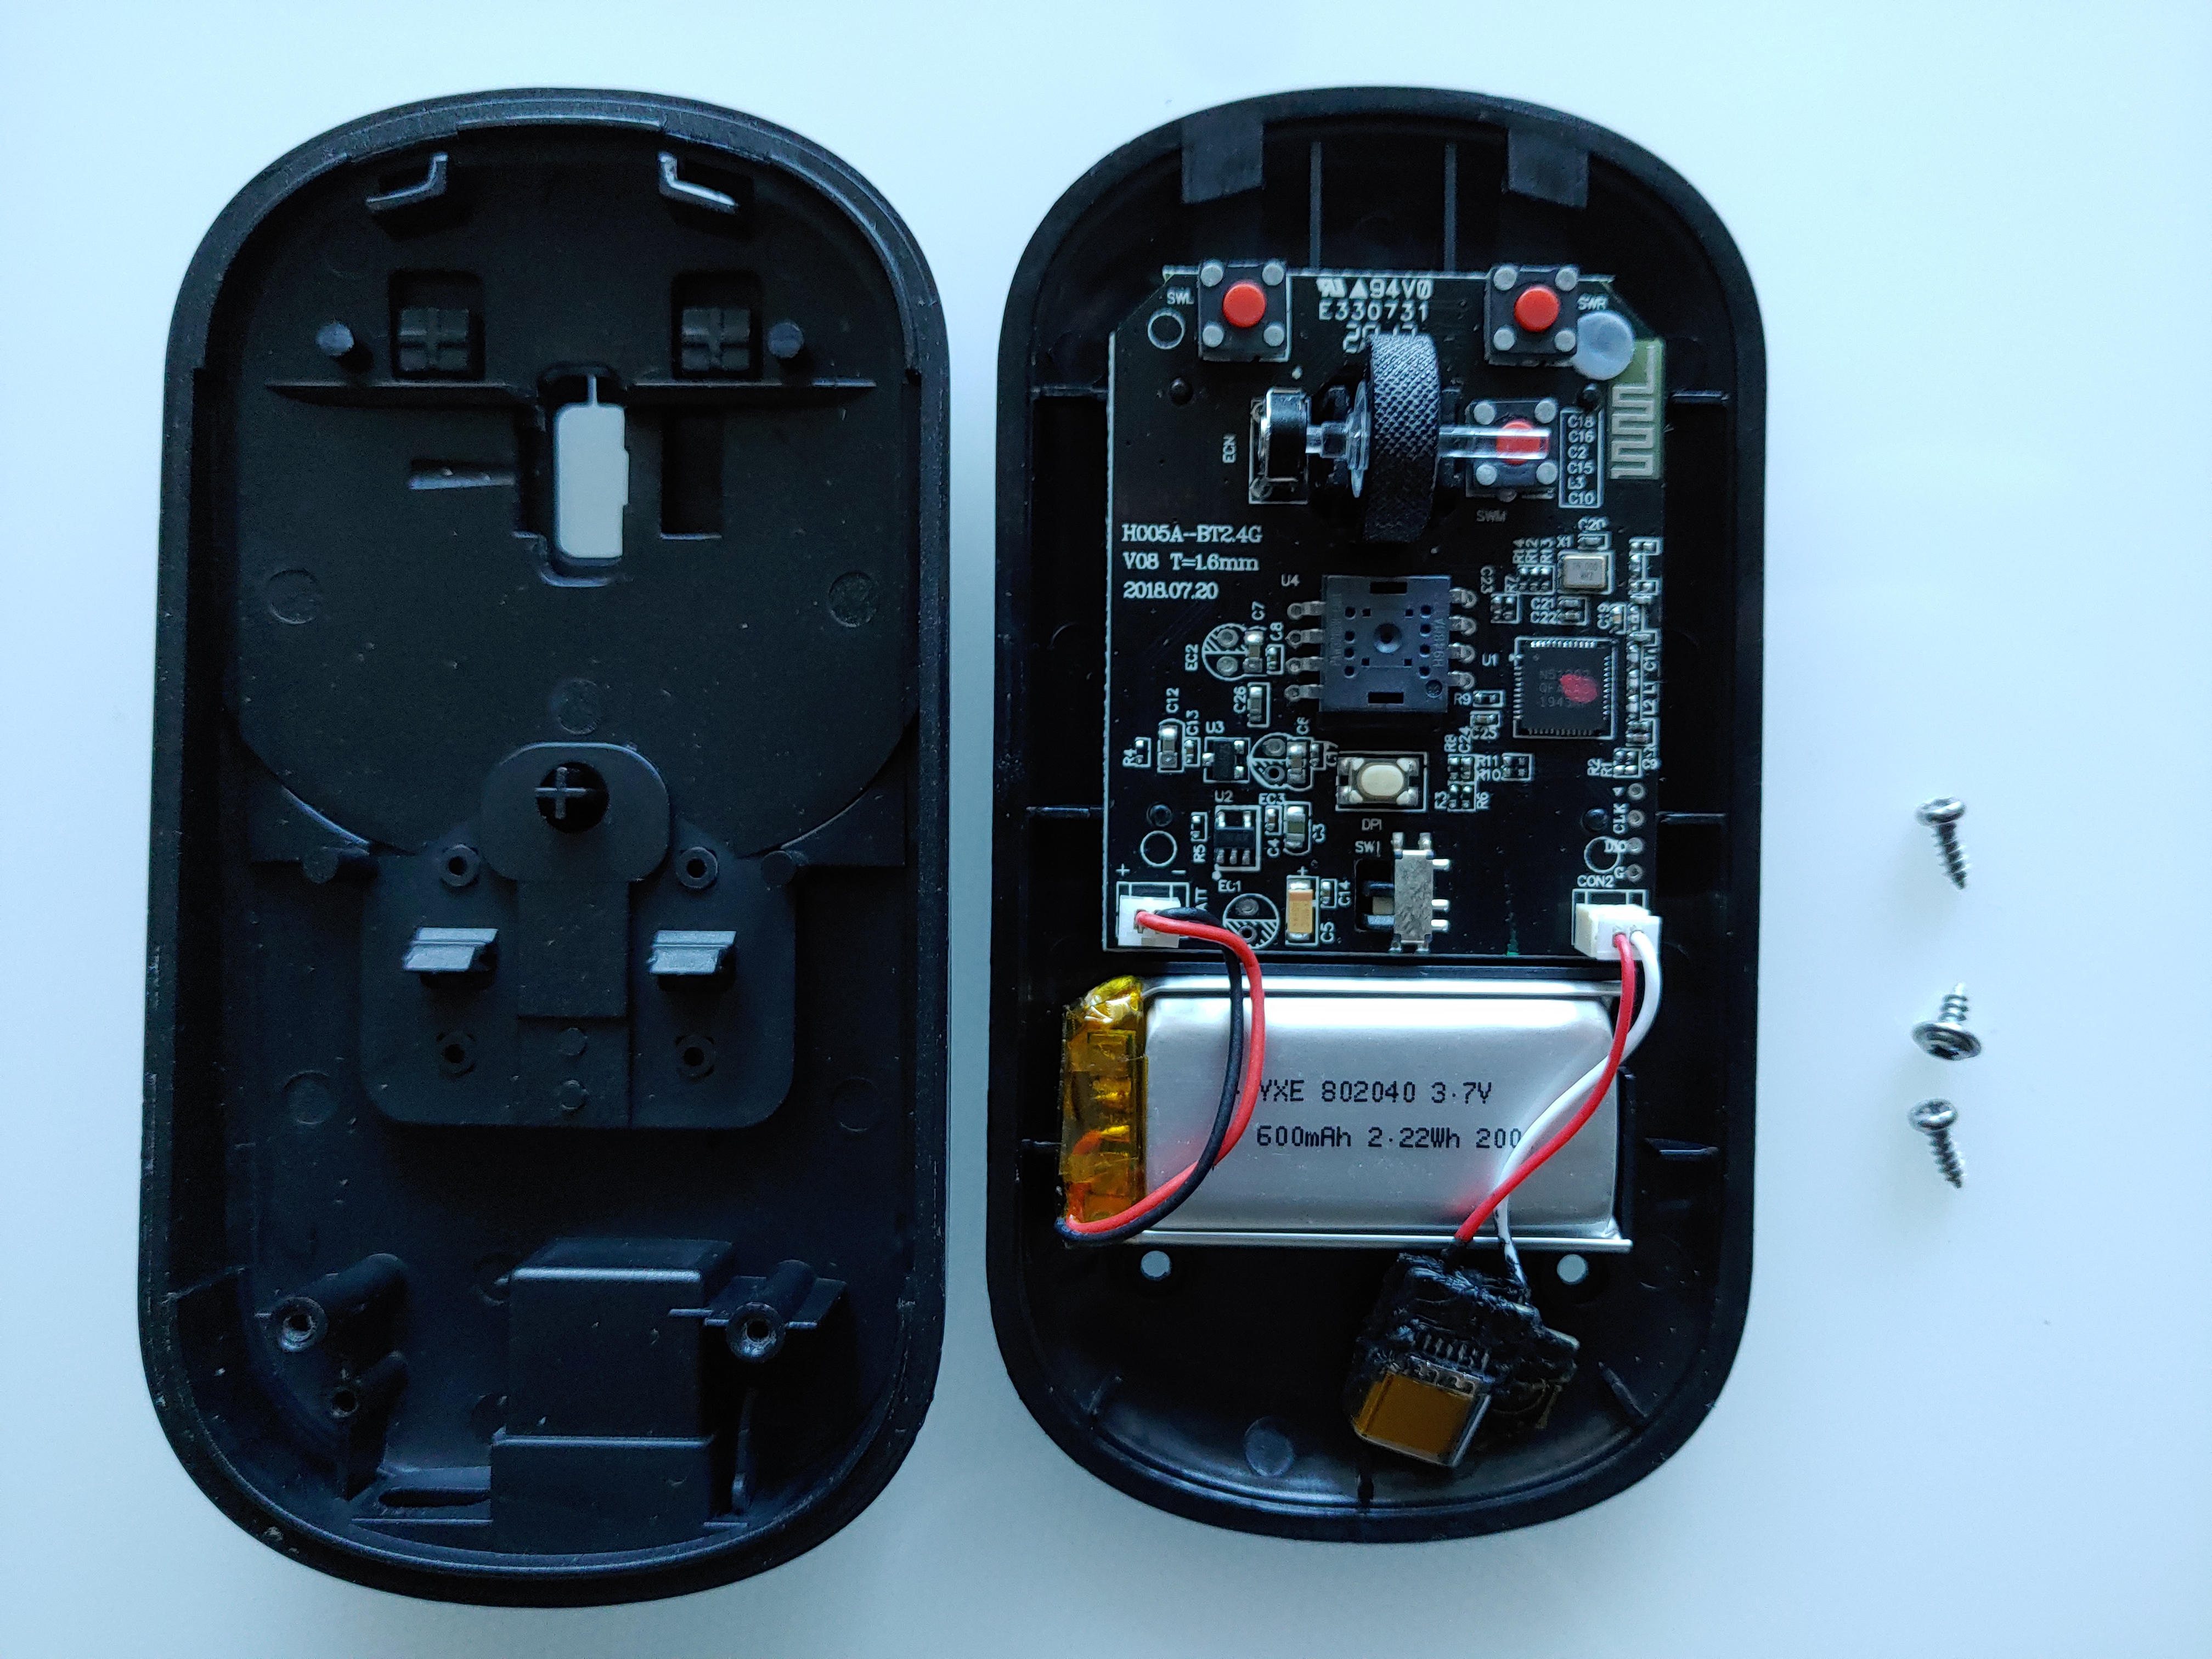
There are two screws on the bottom underneath the gliders, which I cut so that I wouldn't have to fully remove them.
I didn't know where the screws would be underneath the gliders, or if the whole thing would simply be clipped shut, so I used some plastic blades to pry open the housing. The backside wouldn't pry, so I knew there were screws there.

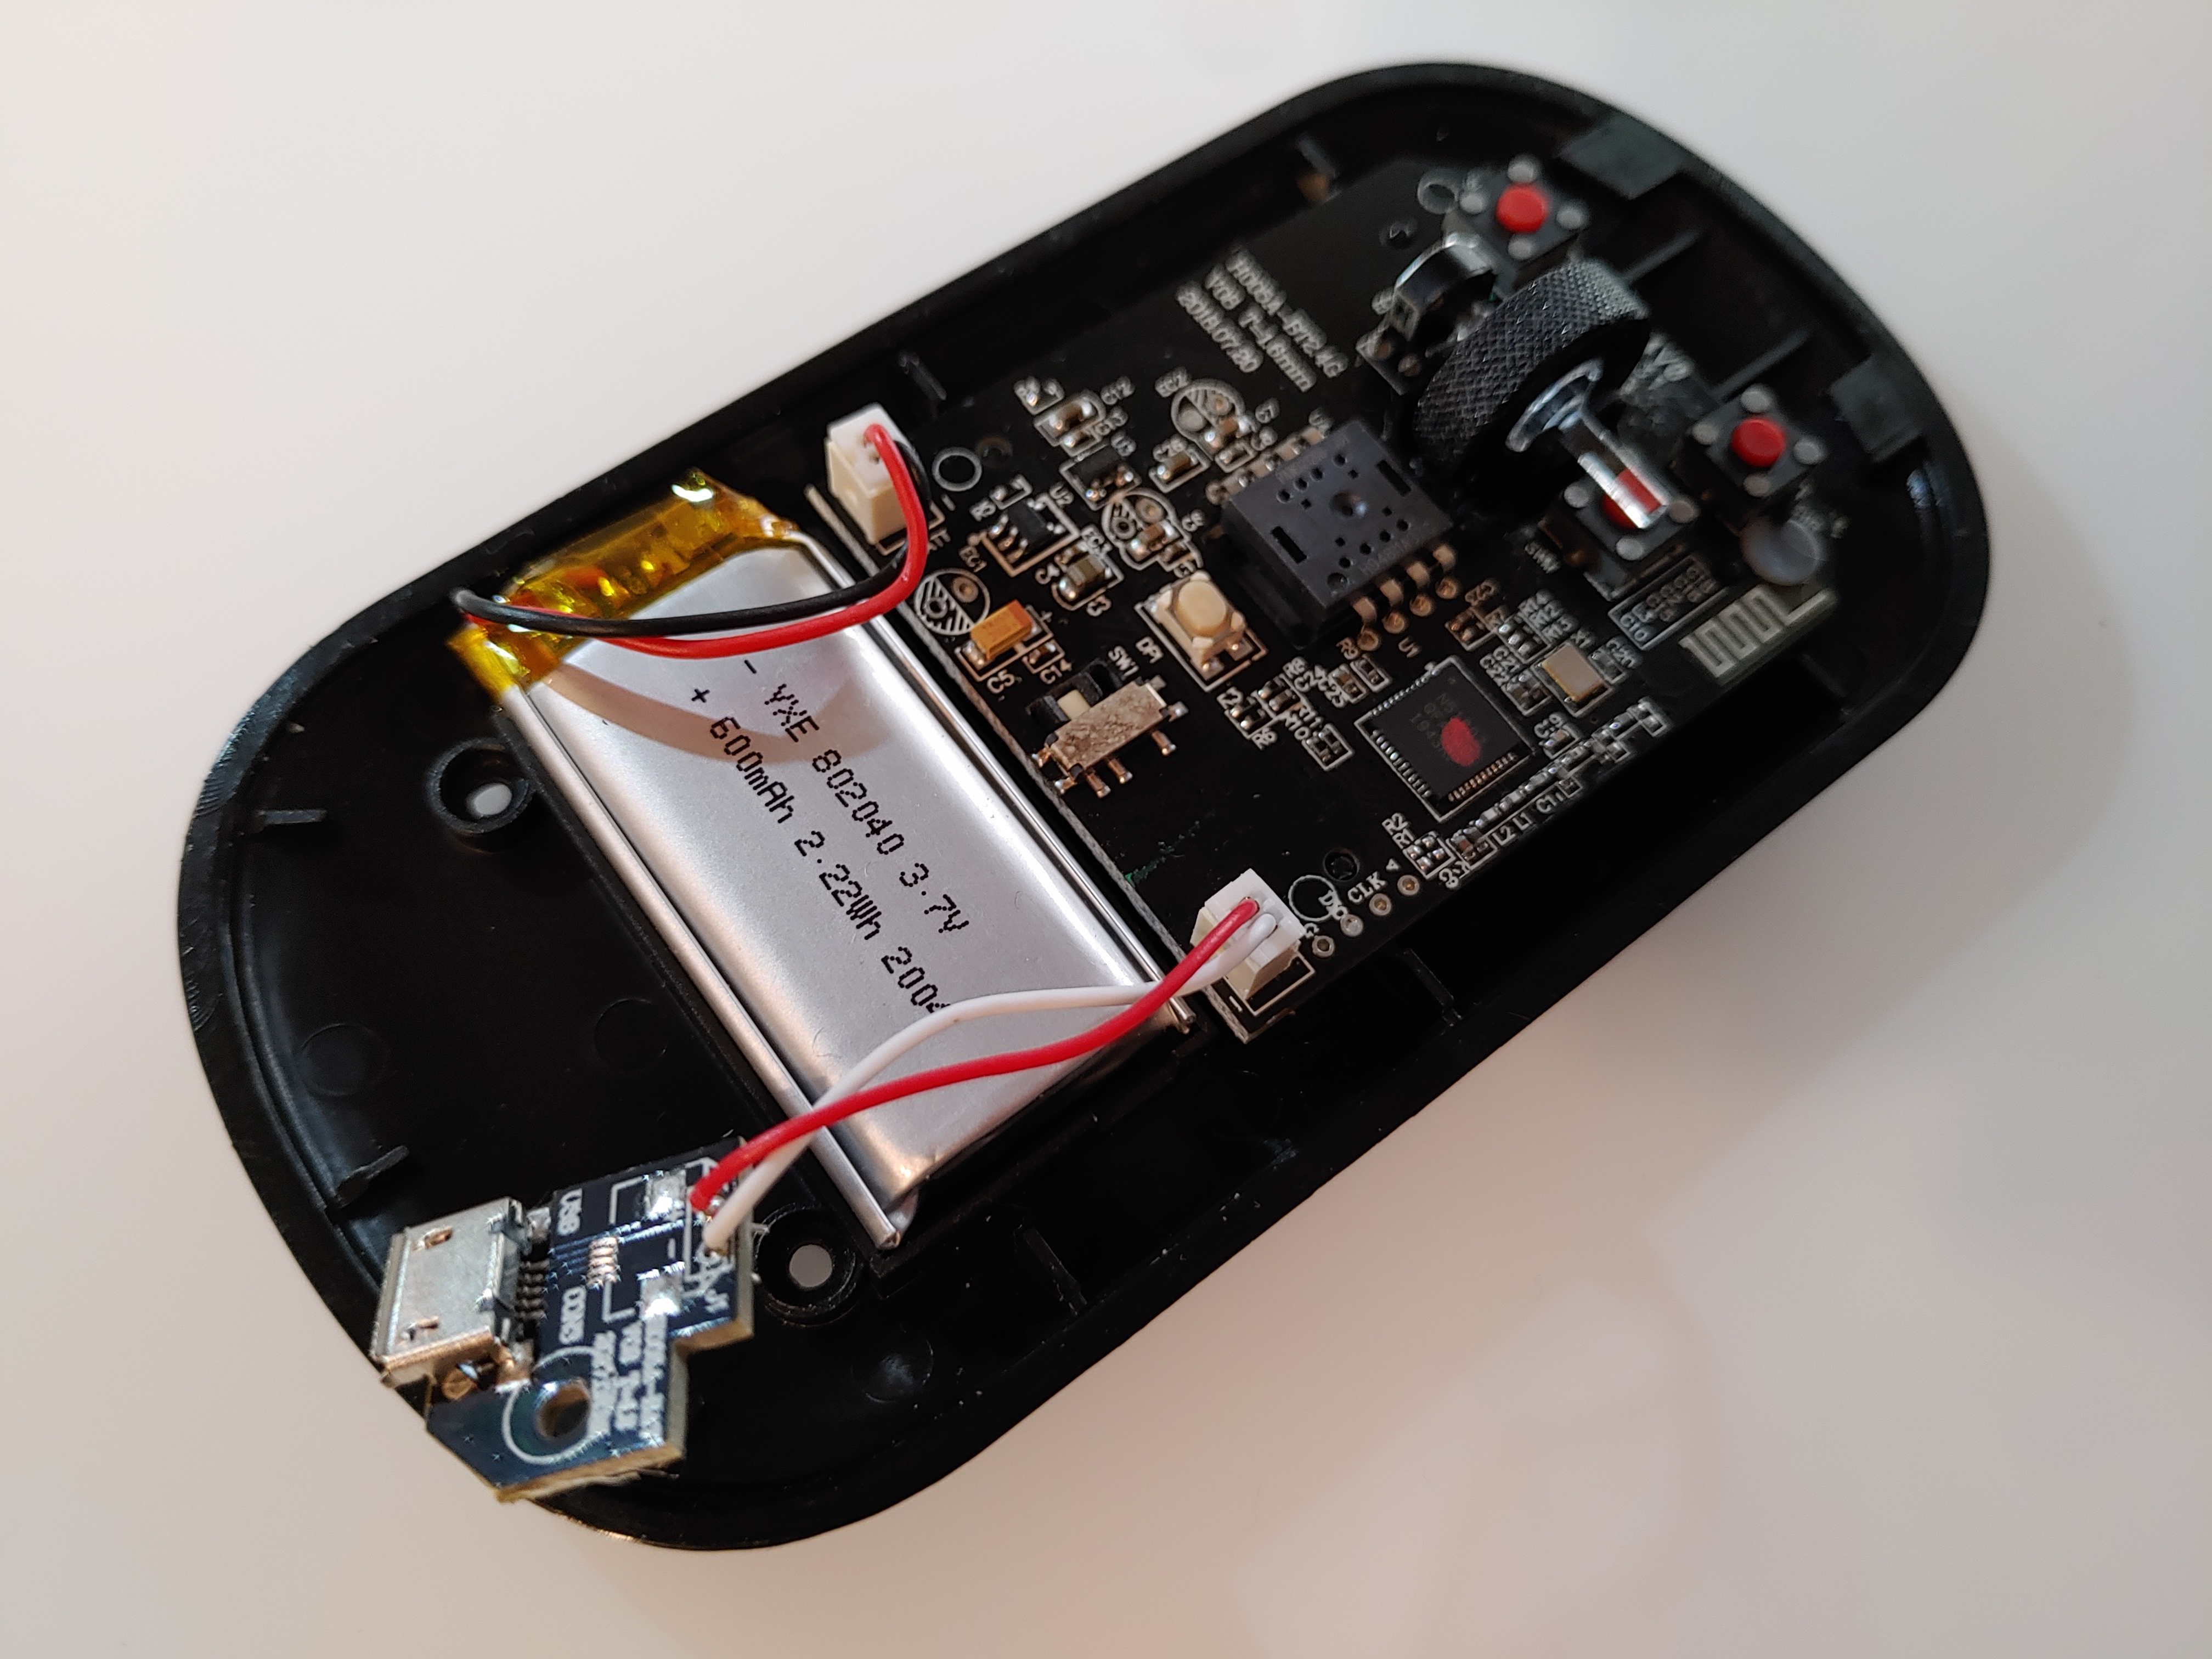
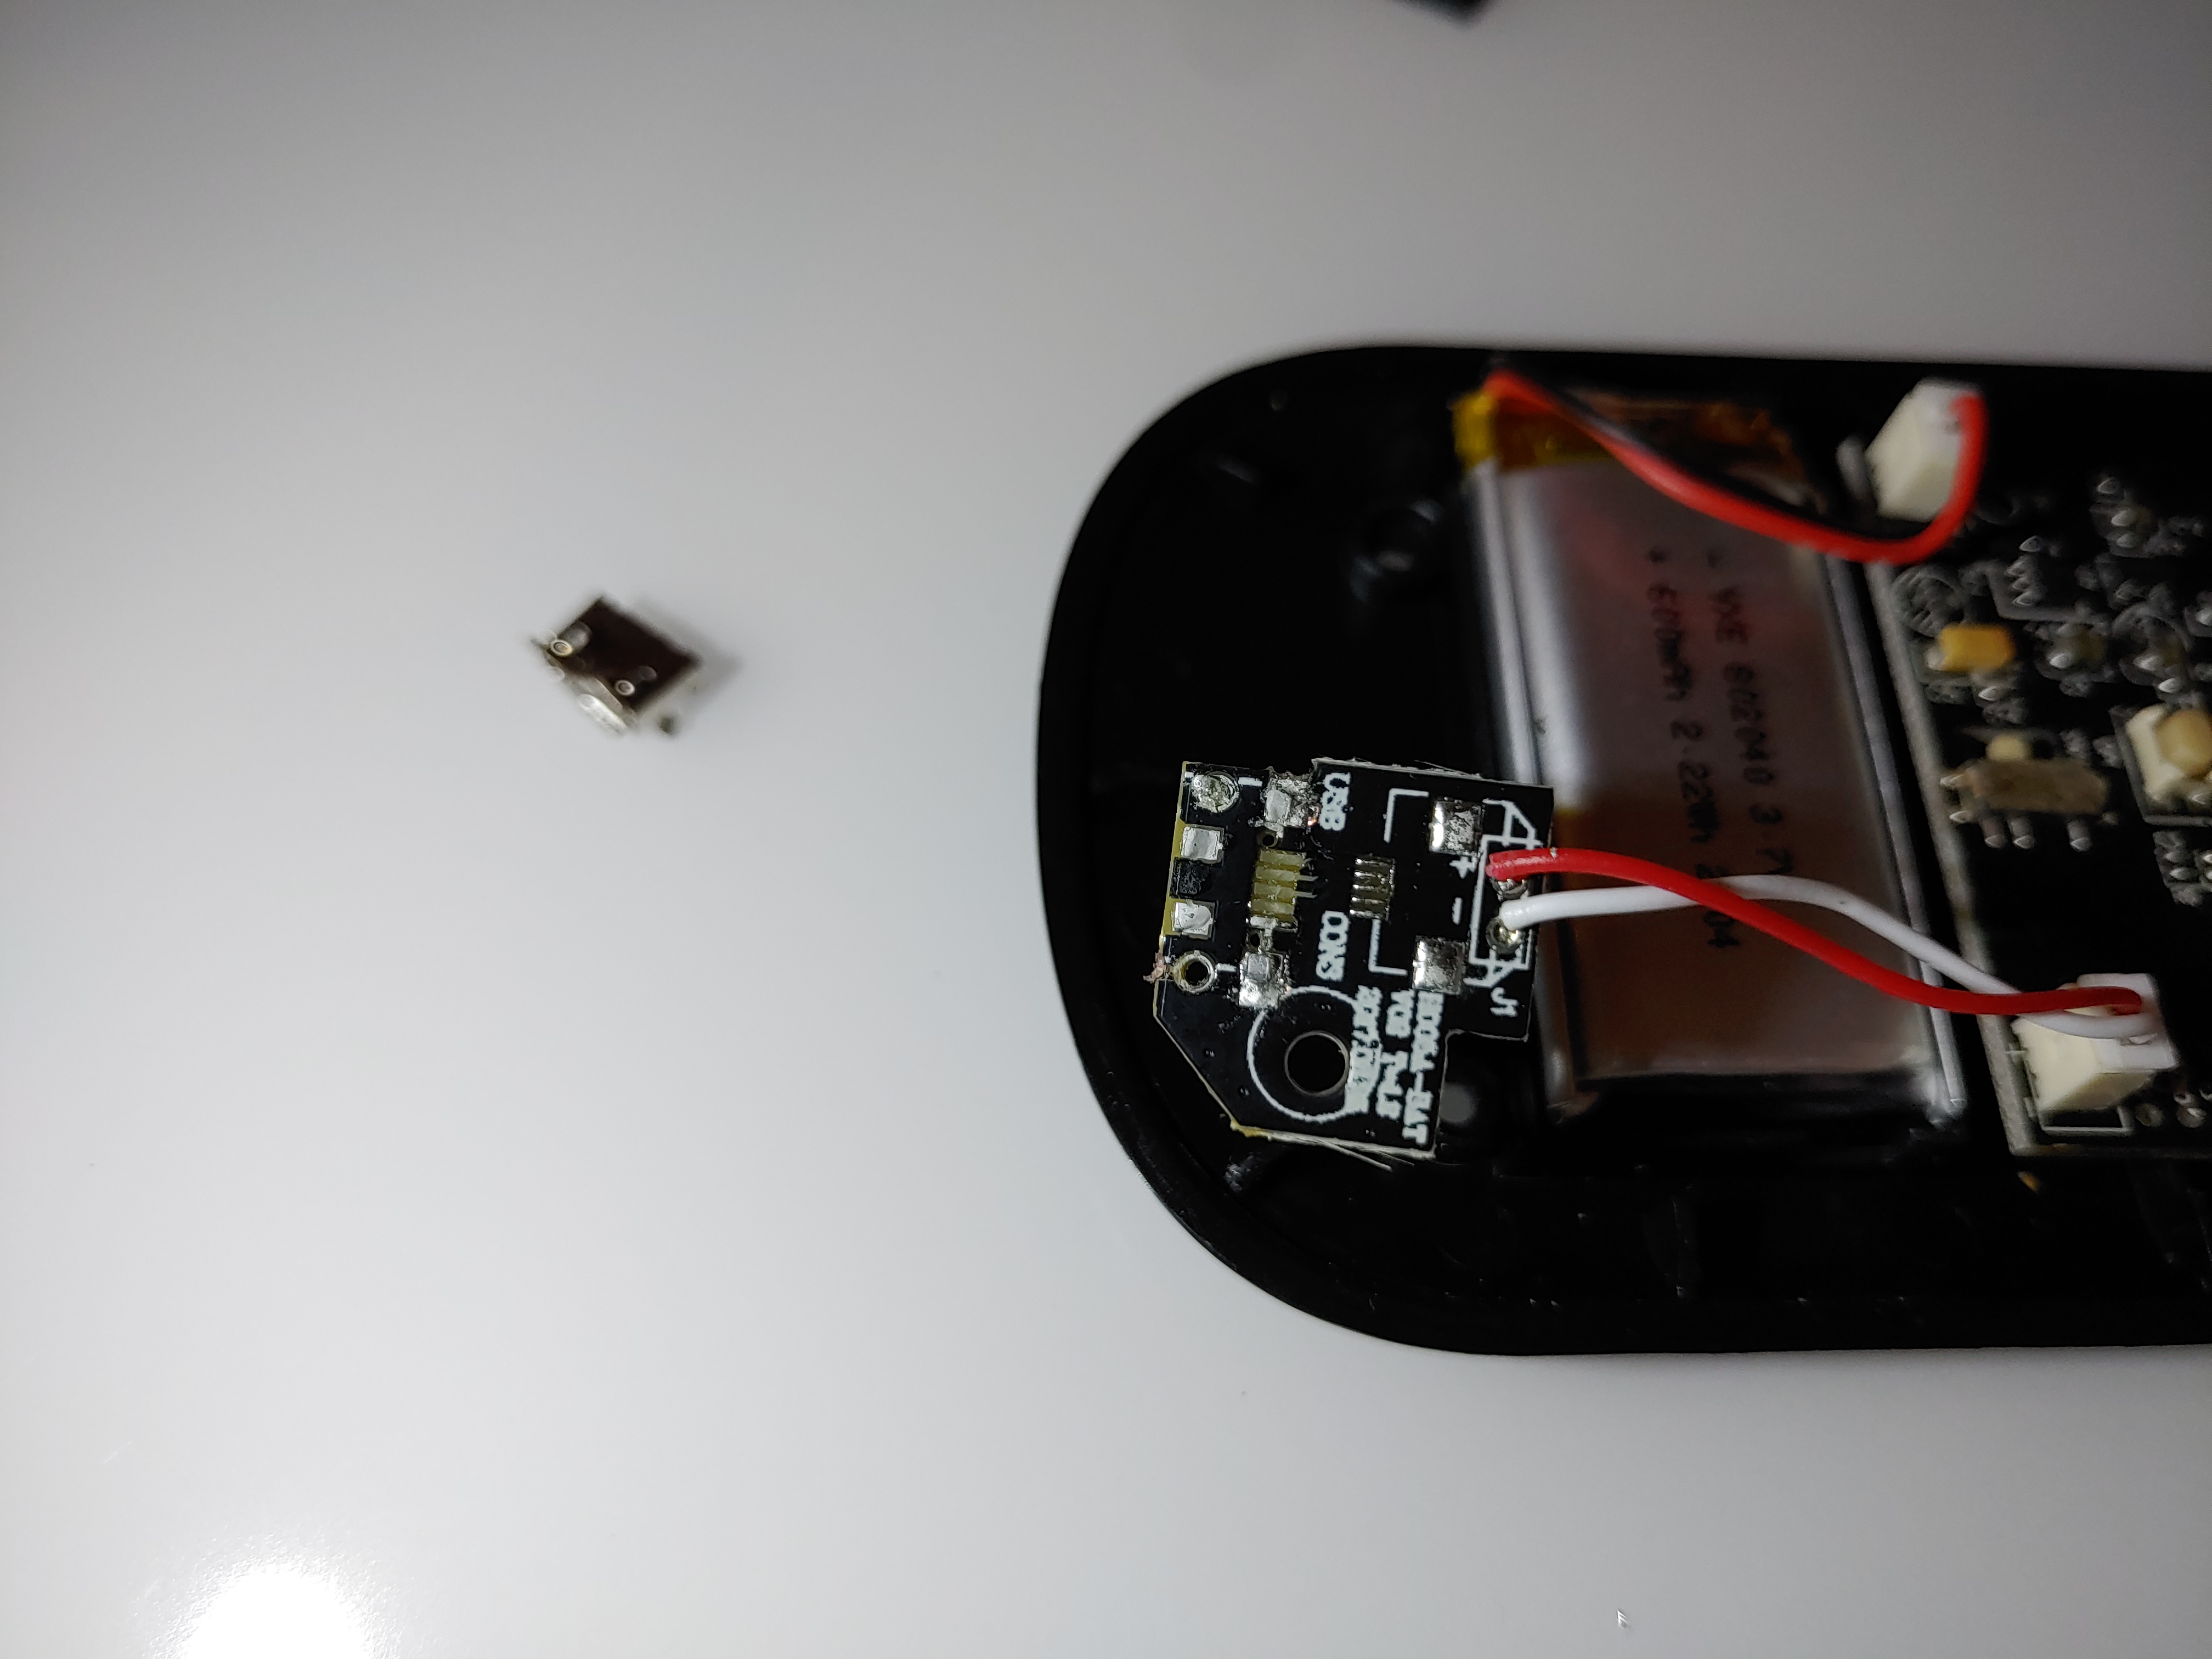
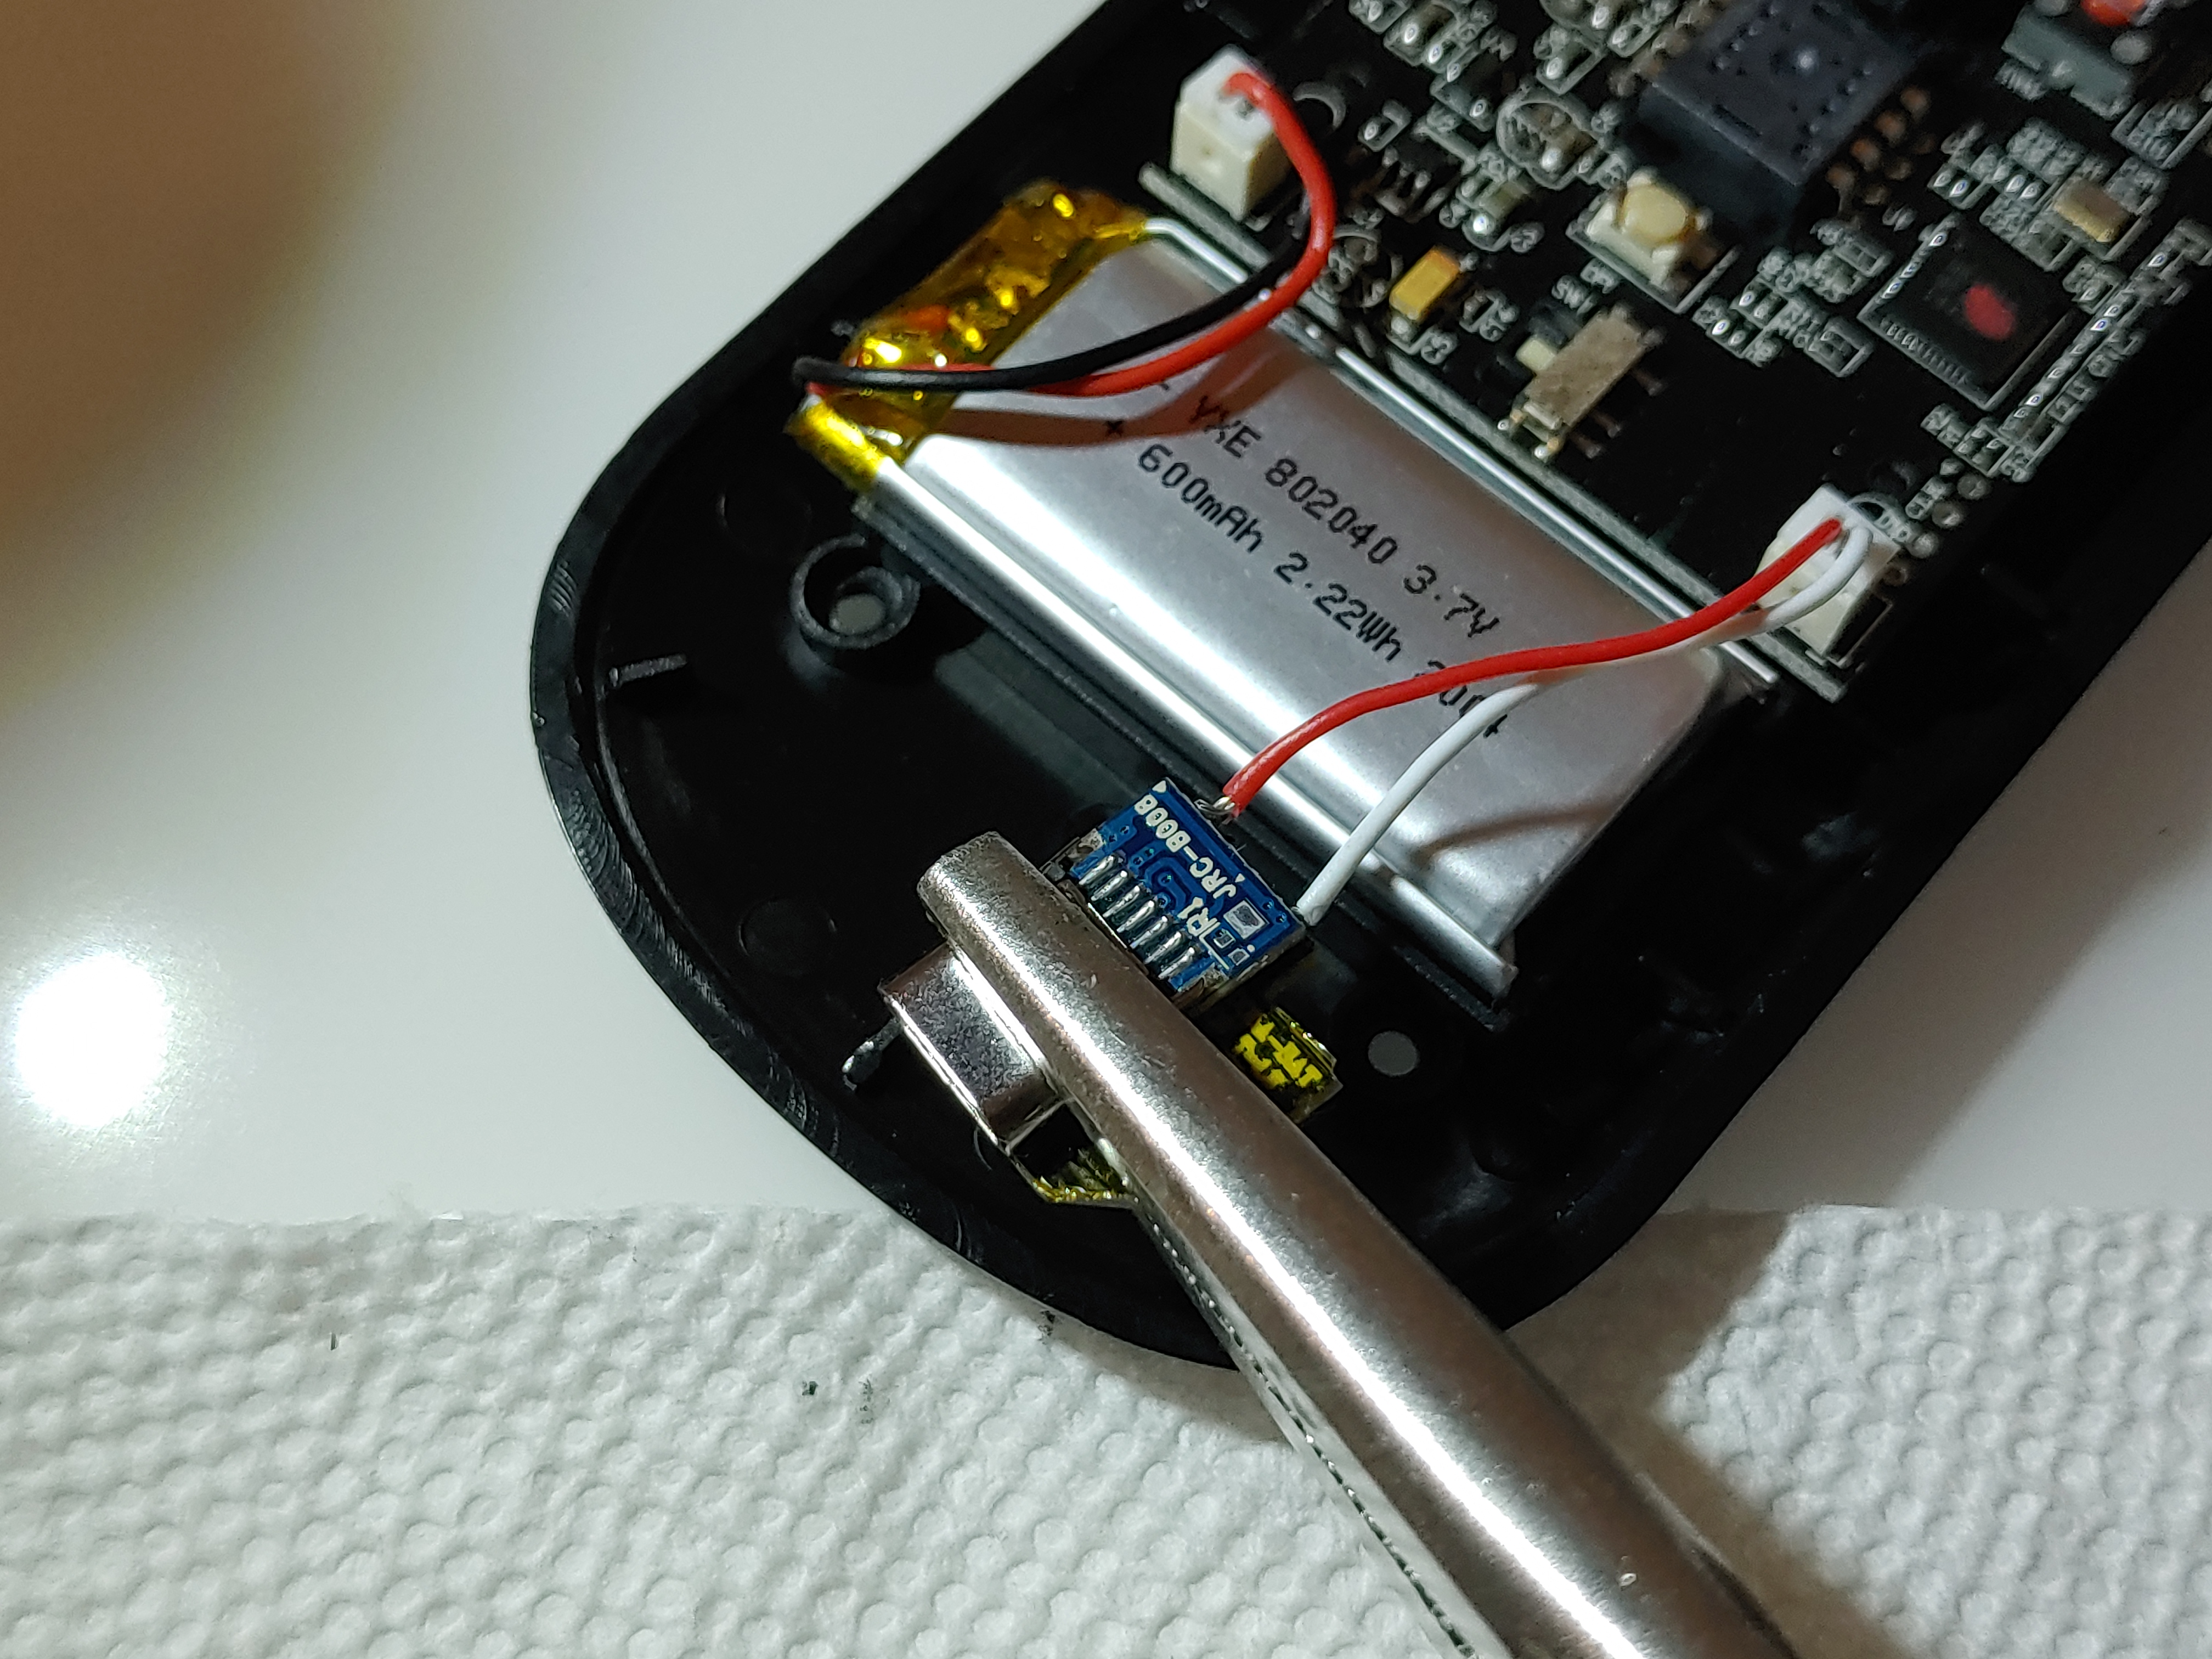
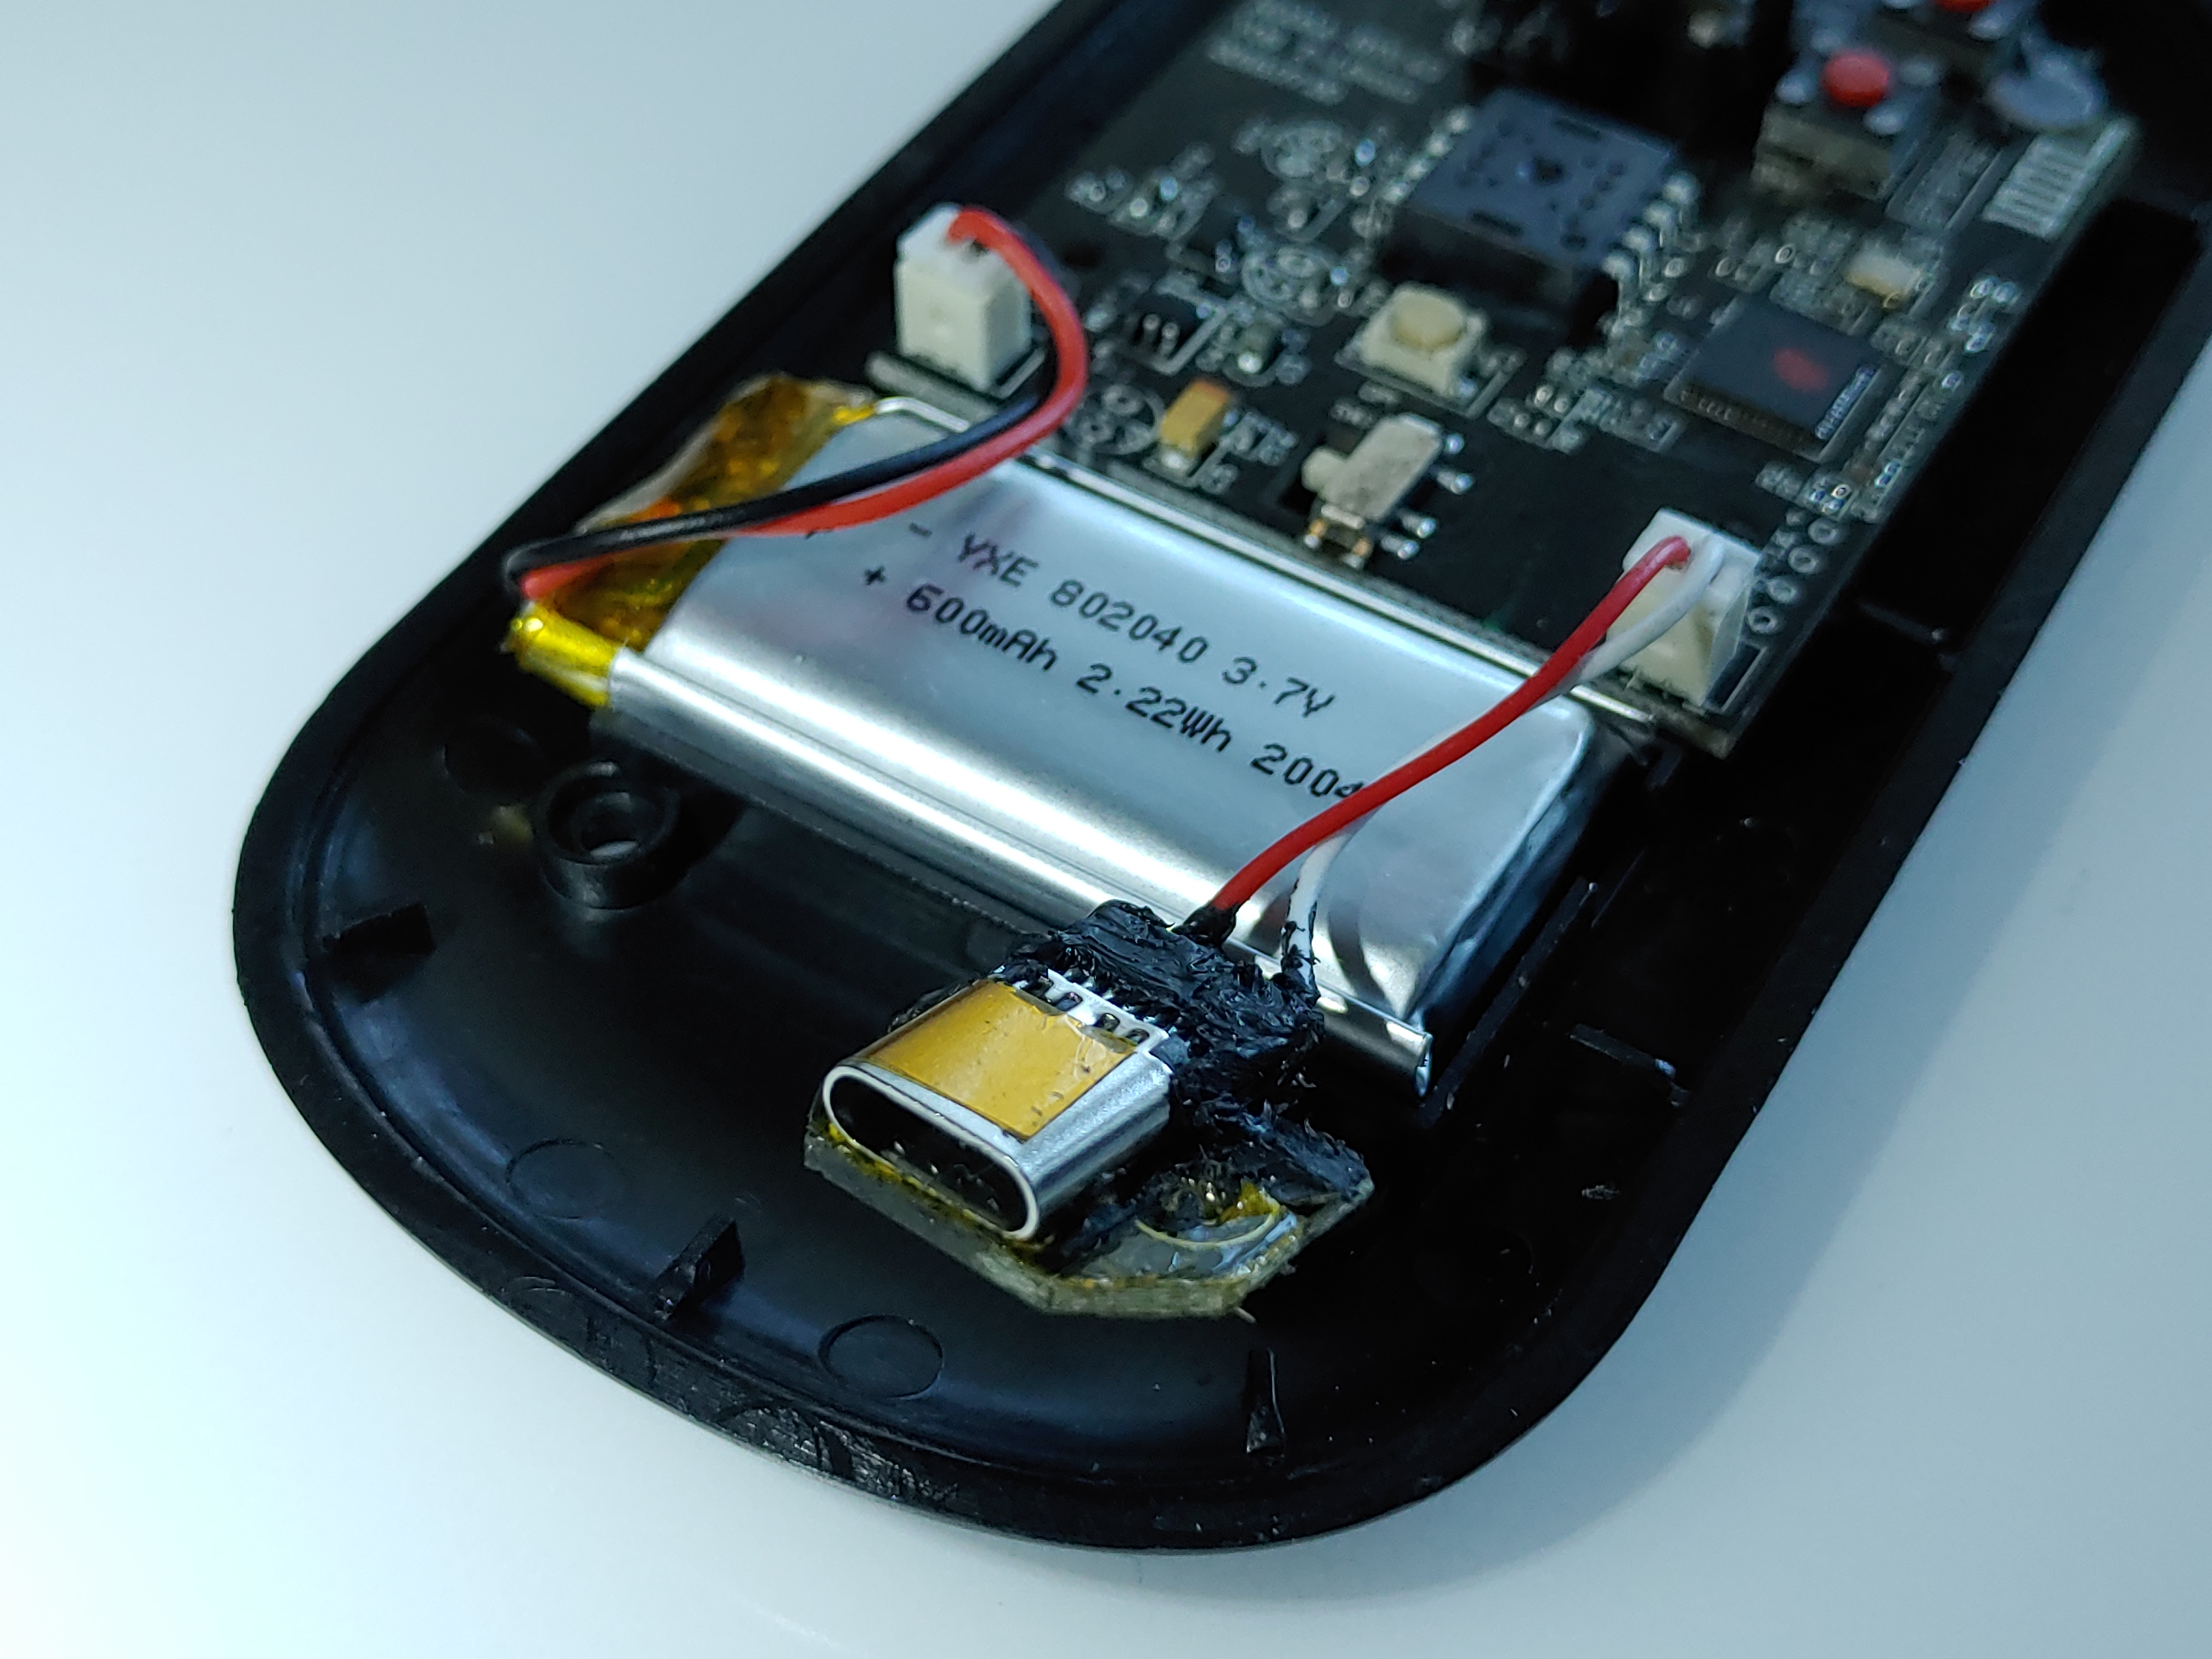
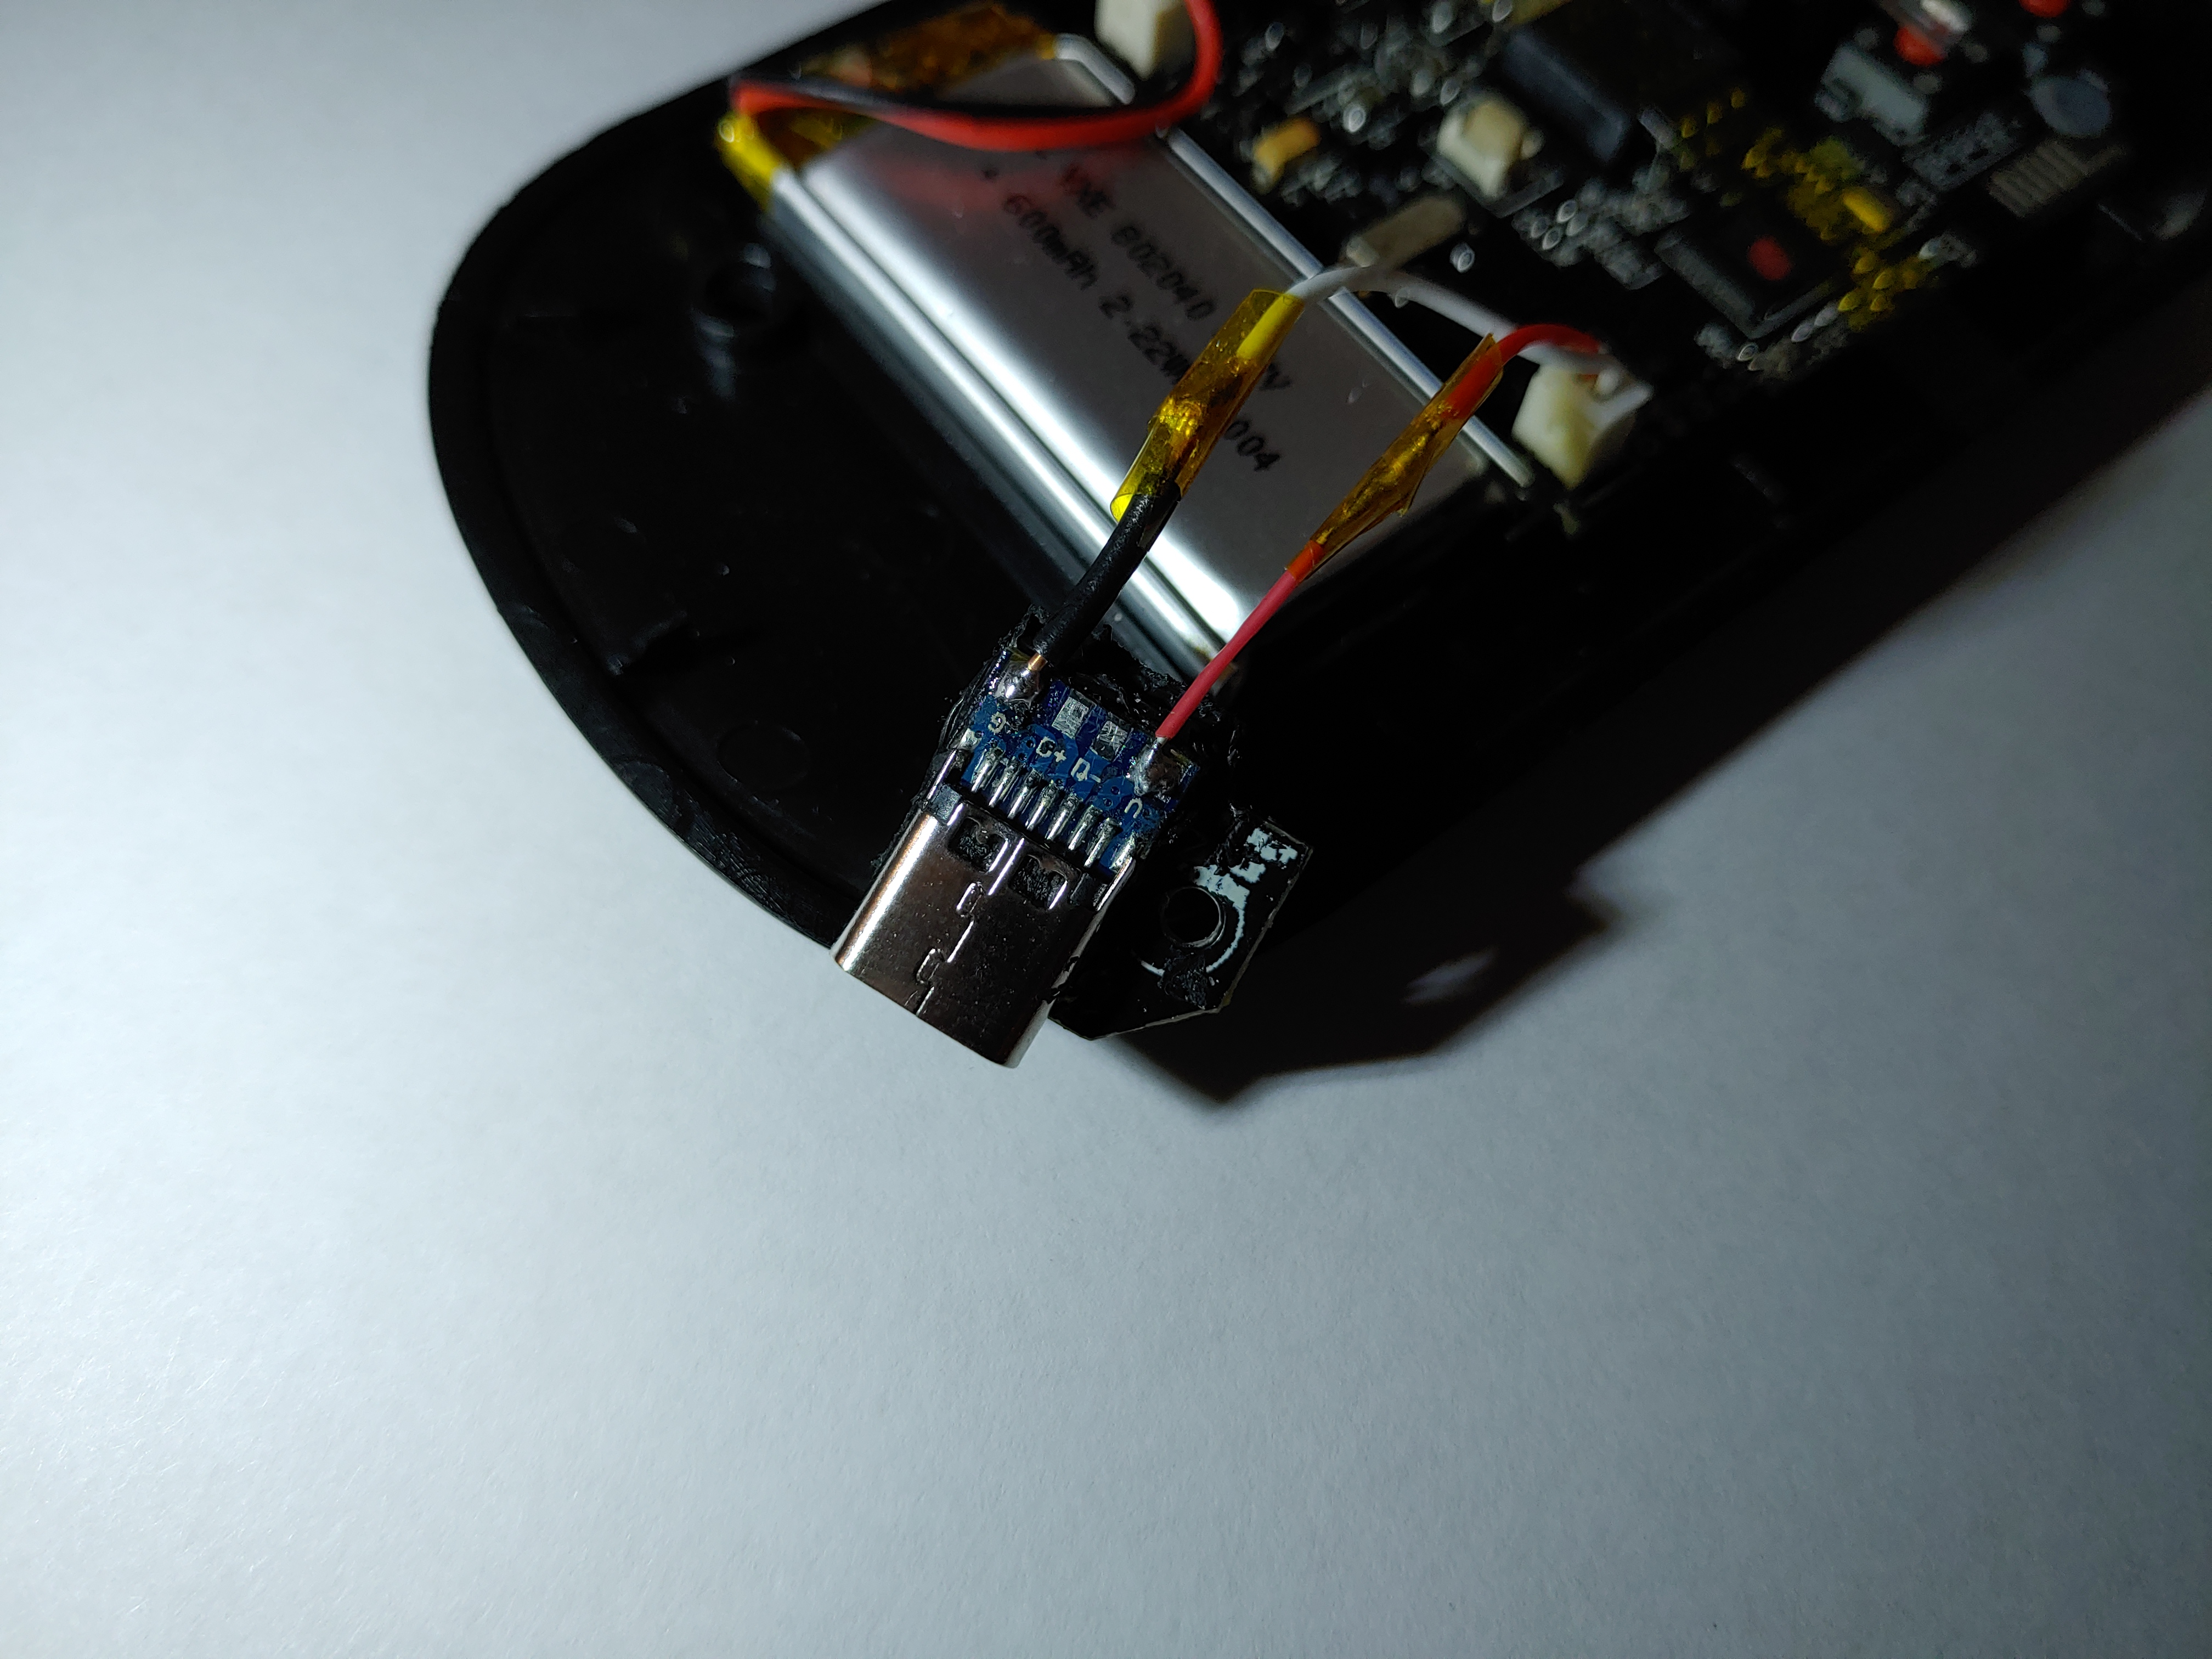
As you can see, the USB socket only provides power to recharge the battery. The data lines are not connected because the mouse uses its wireless transmitter all the time. This makes the replacement very easy.
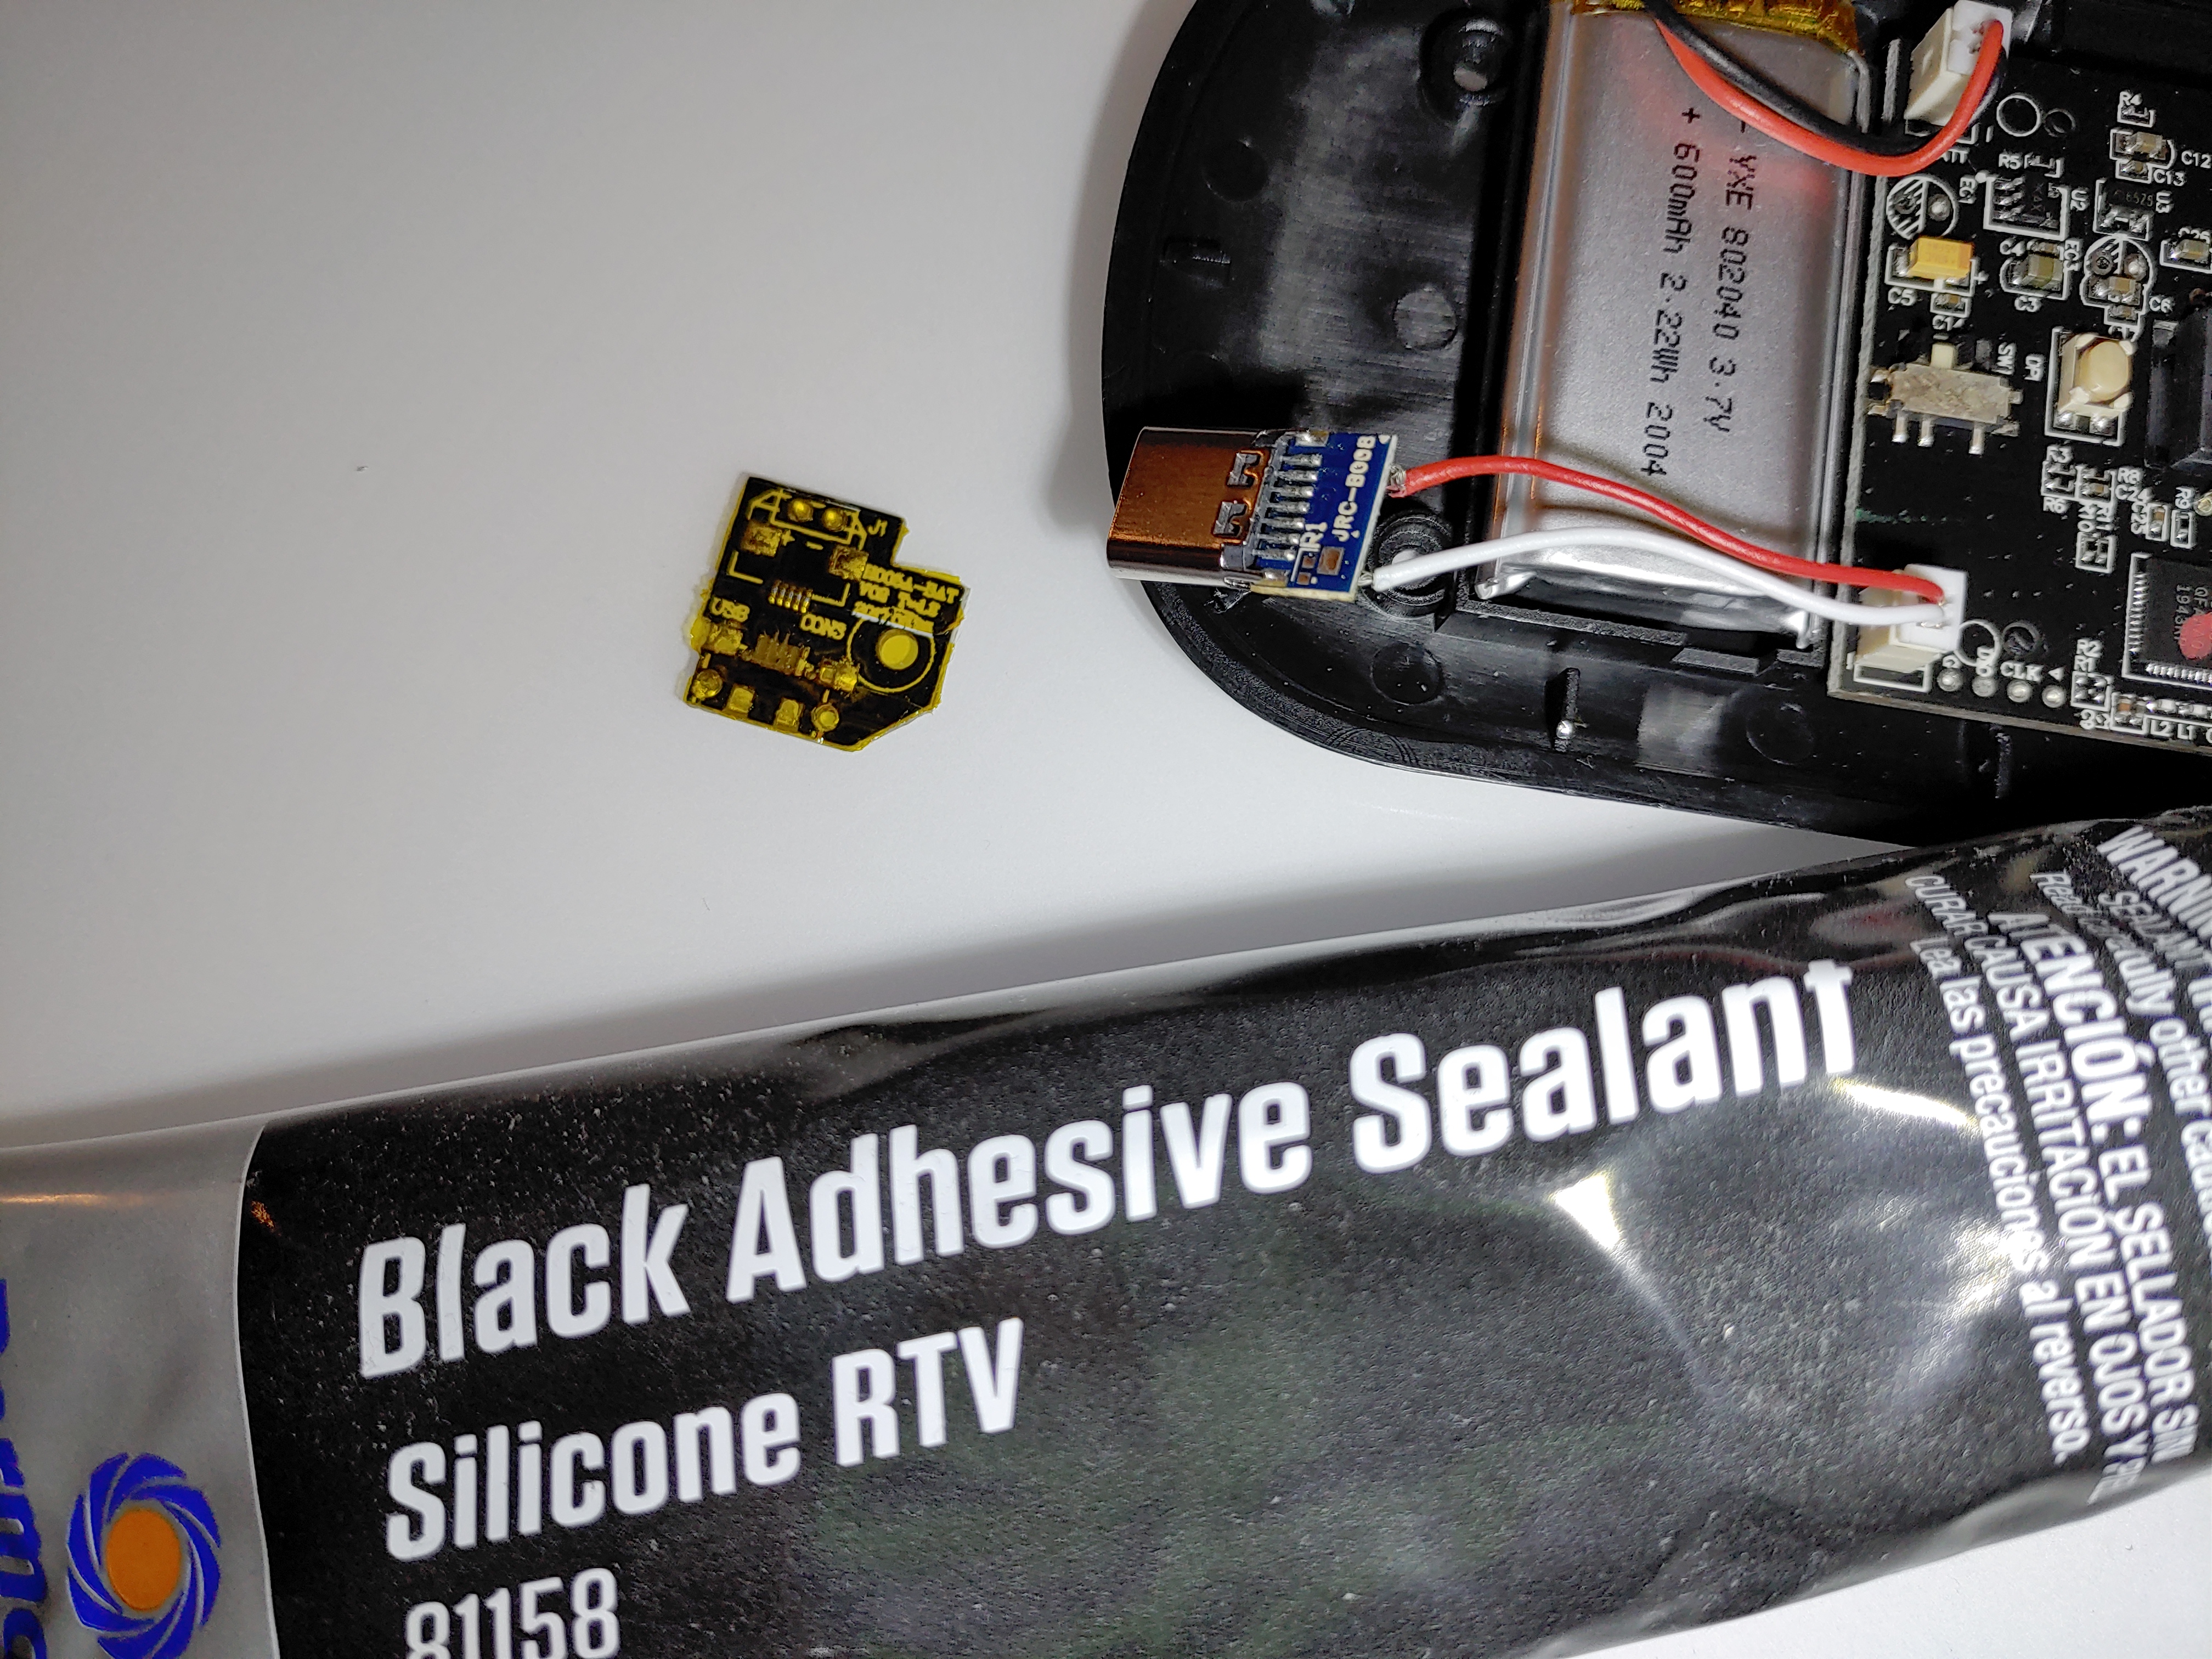
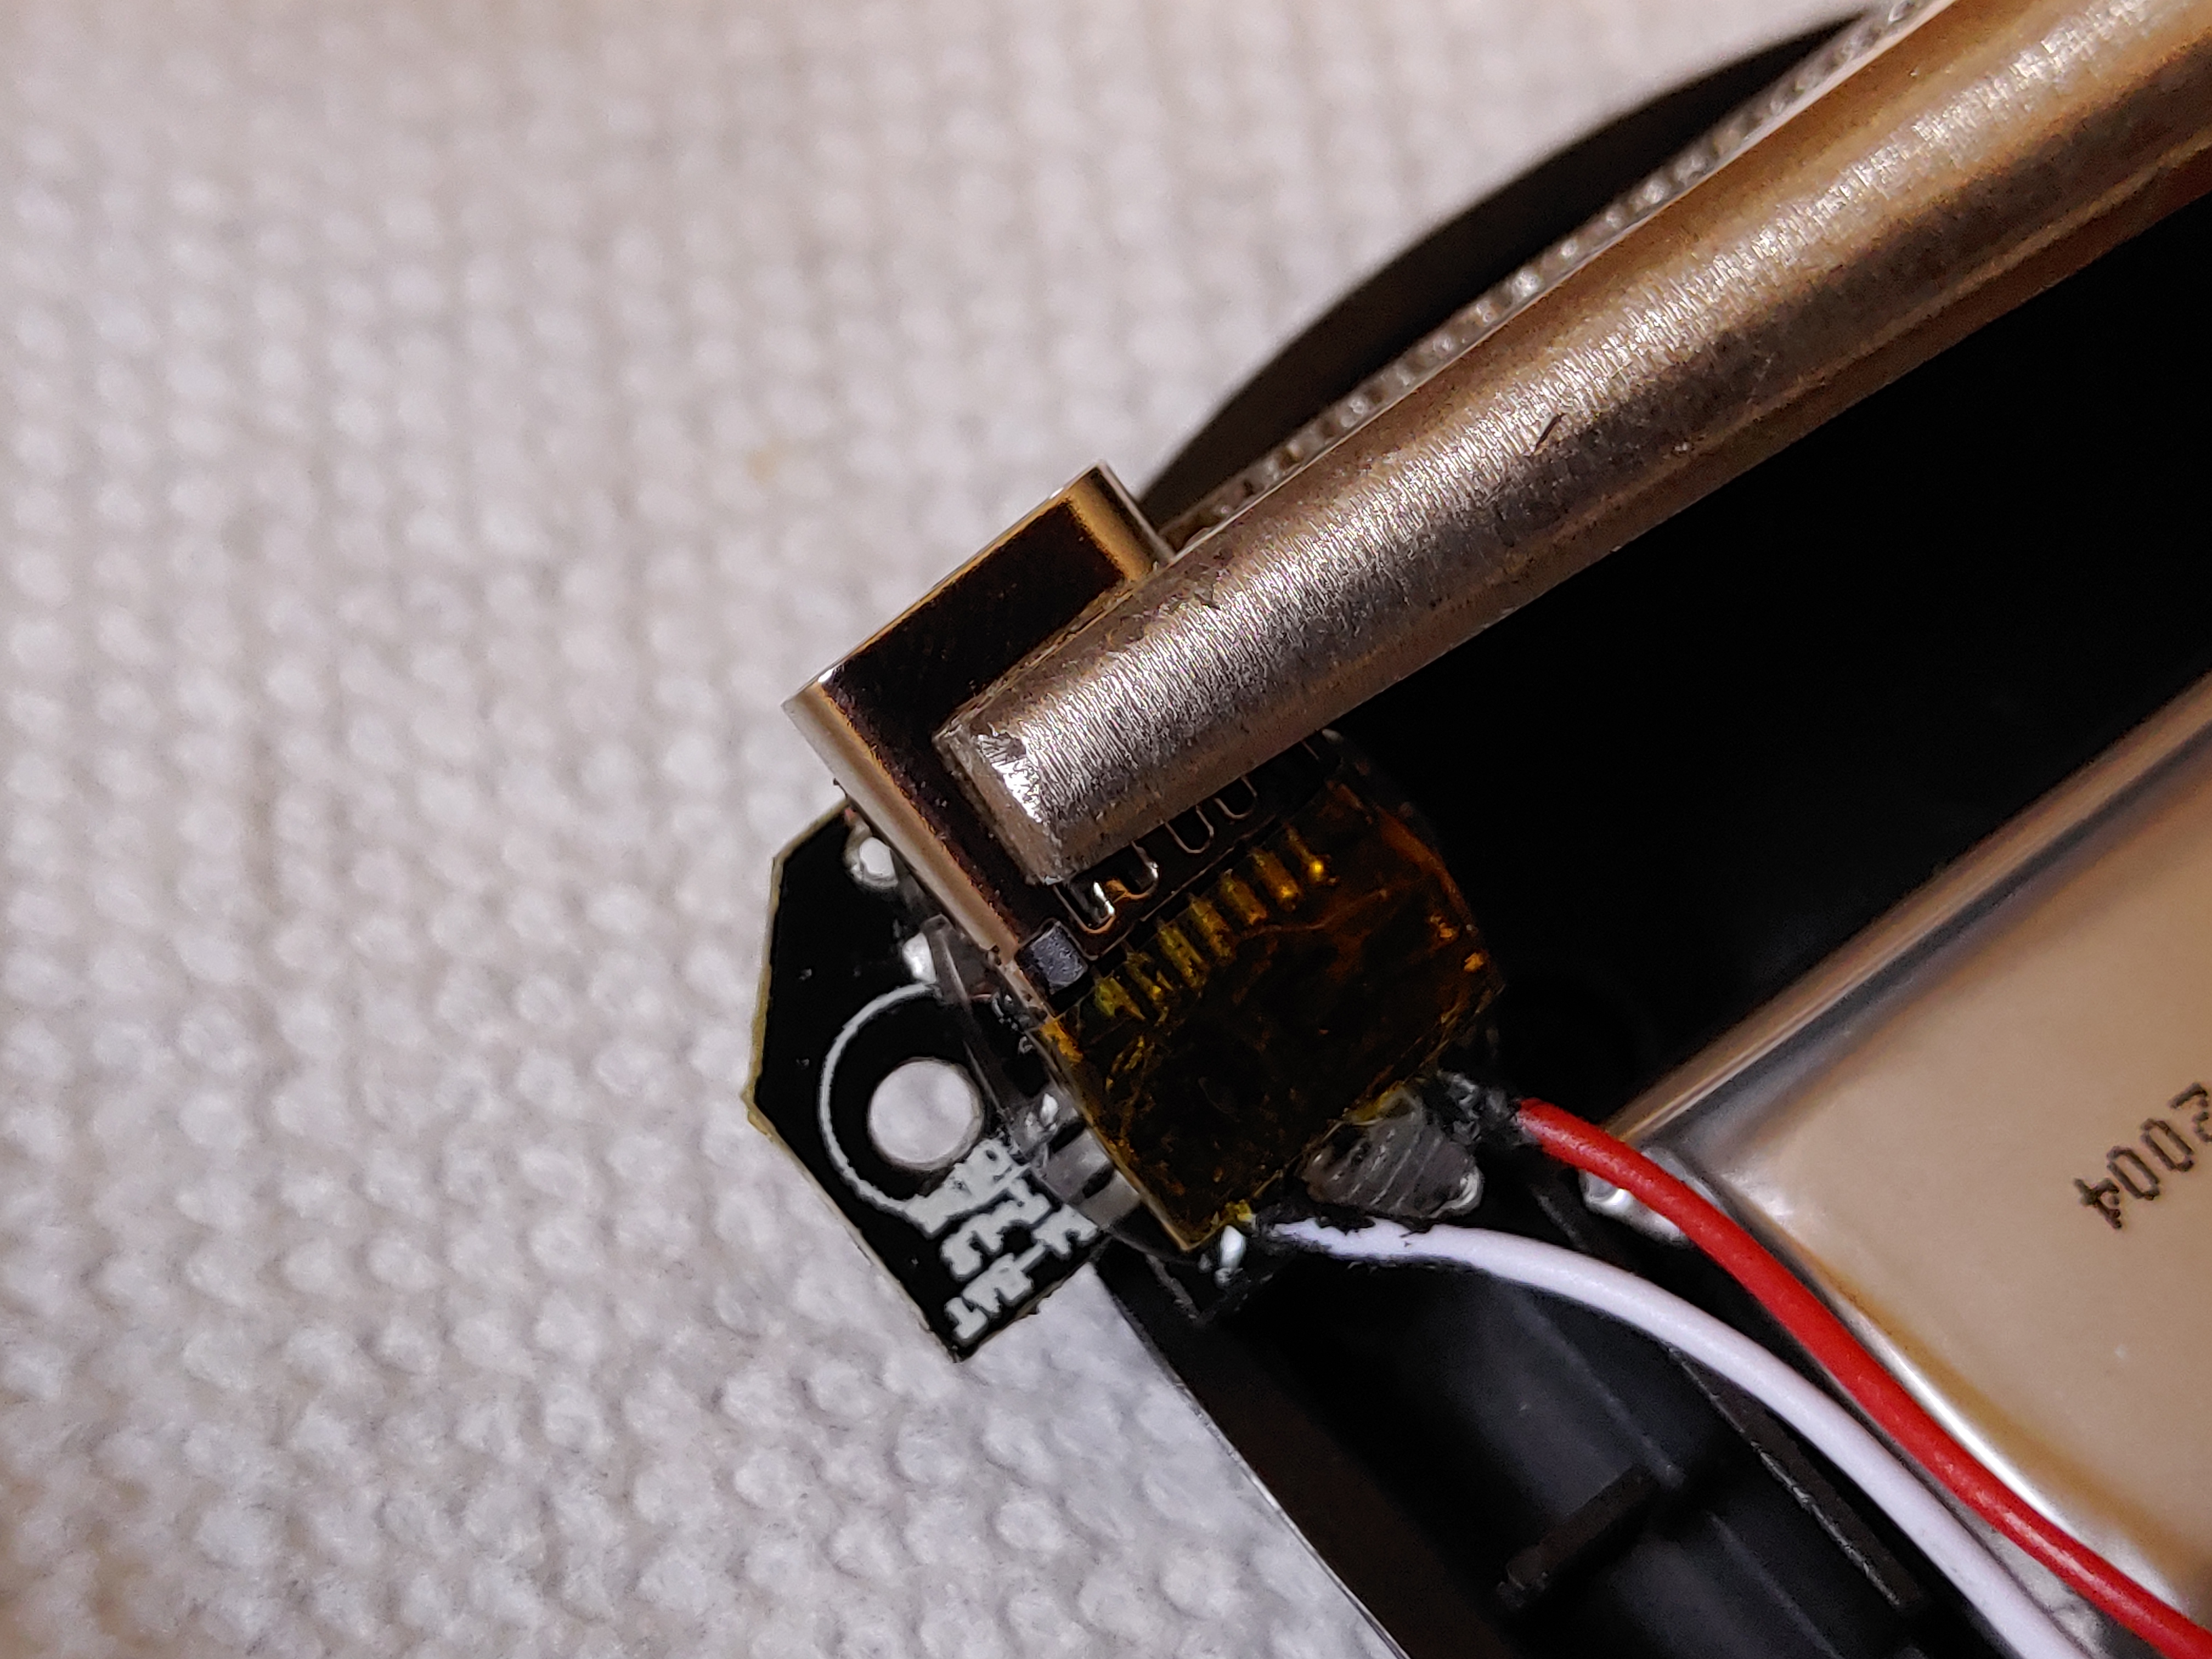
The type-C board that I used was conveniently sized to fit with the existing board. If you want to buy these, search for "USB type-C 2.0 receptacle". You should be able to find a 10-pack for one or two dollars plus shipping.
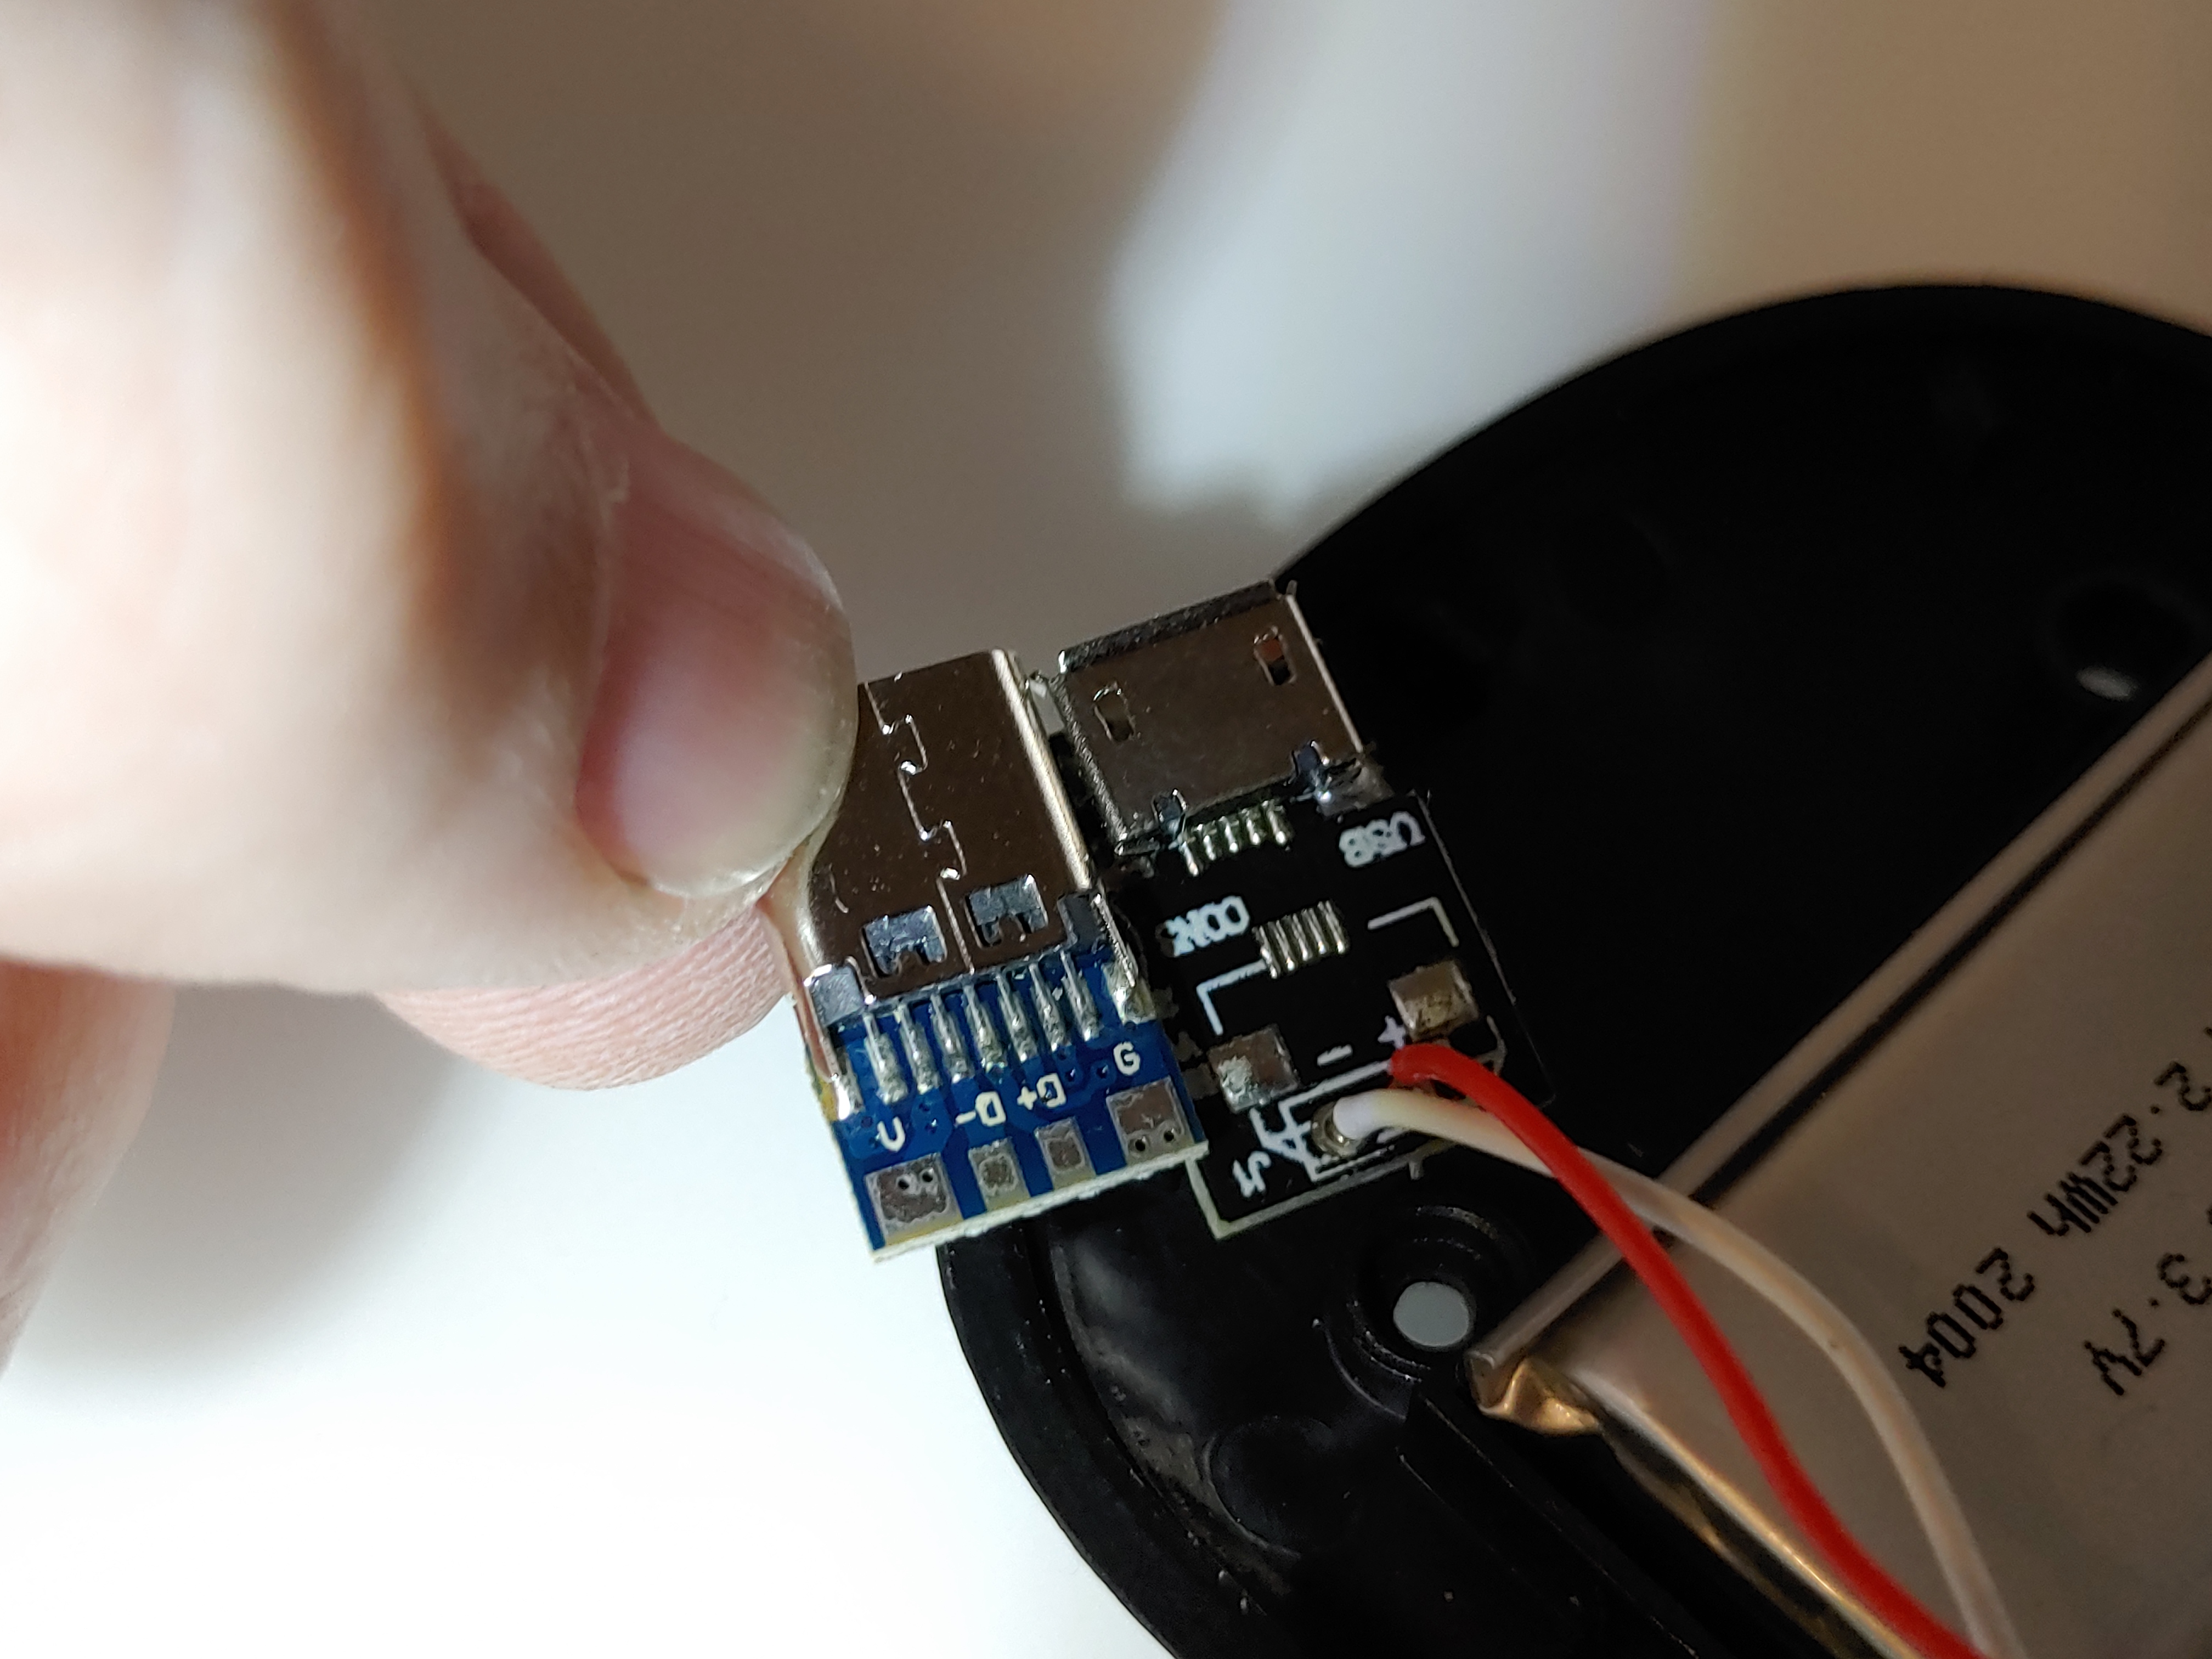
The micro-USB port was removed, then photographed with a shallow depth of field to make it feel unimportant.
The USB board has two intermediate solder pads between the socket and the wires. I'm not sure what they're for and the incomprehensible text didn't help.
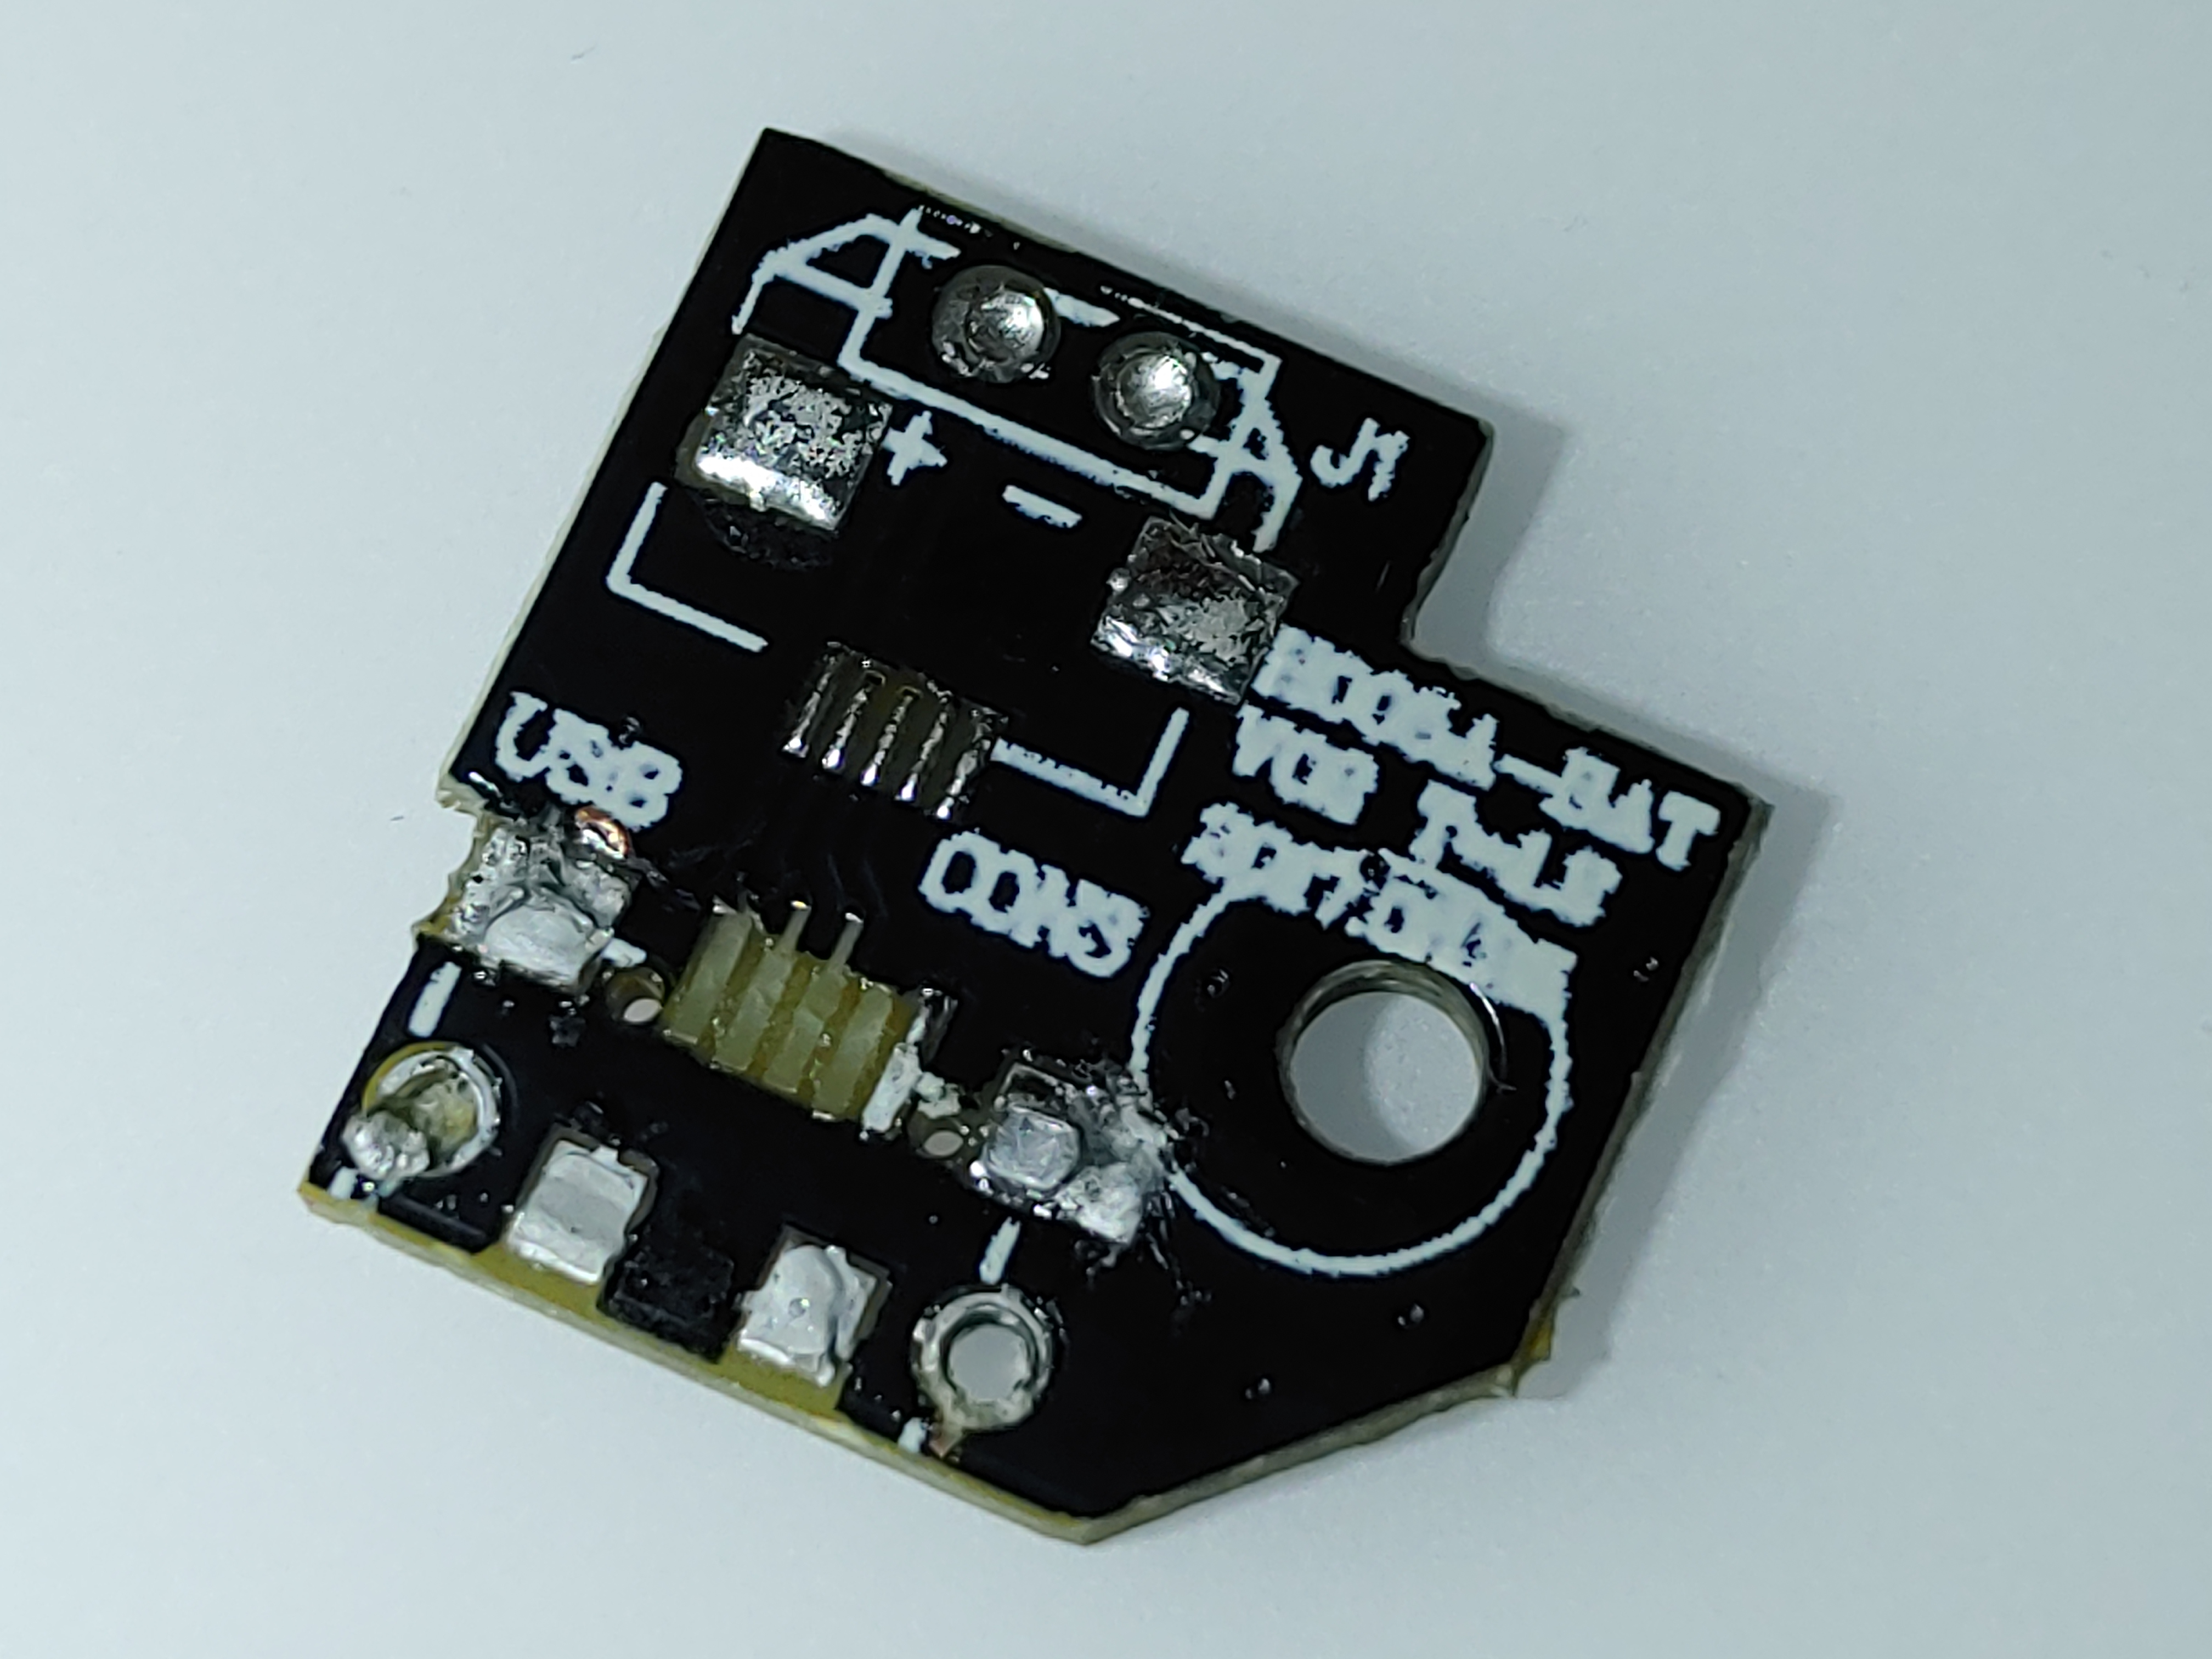
I decided to assume they were unnecessary and soldered the type-C socket directly to the wires.
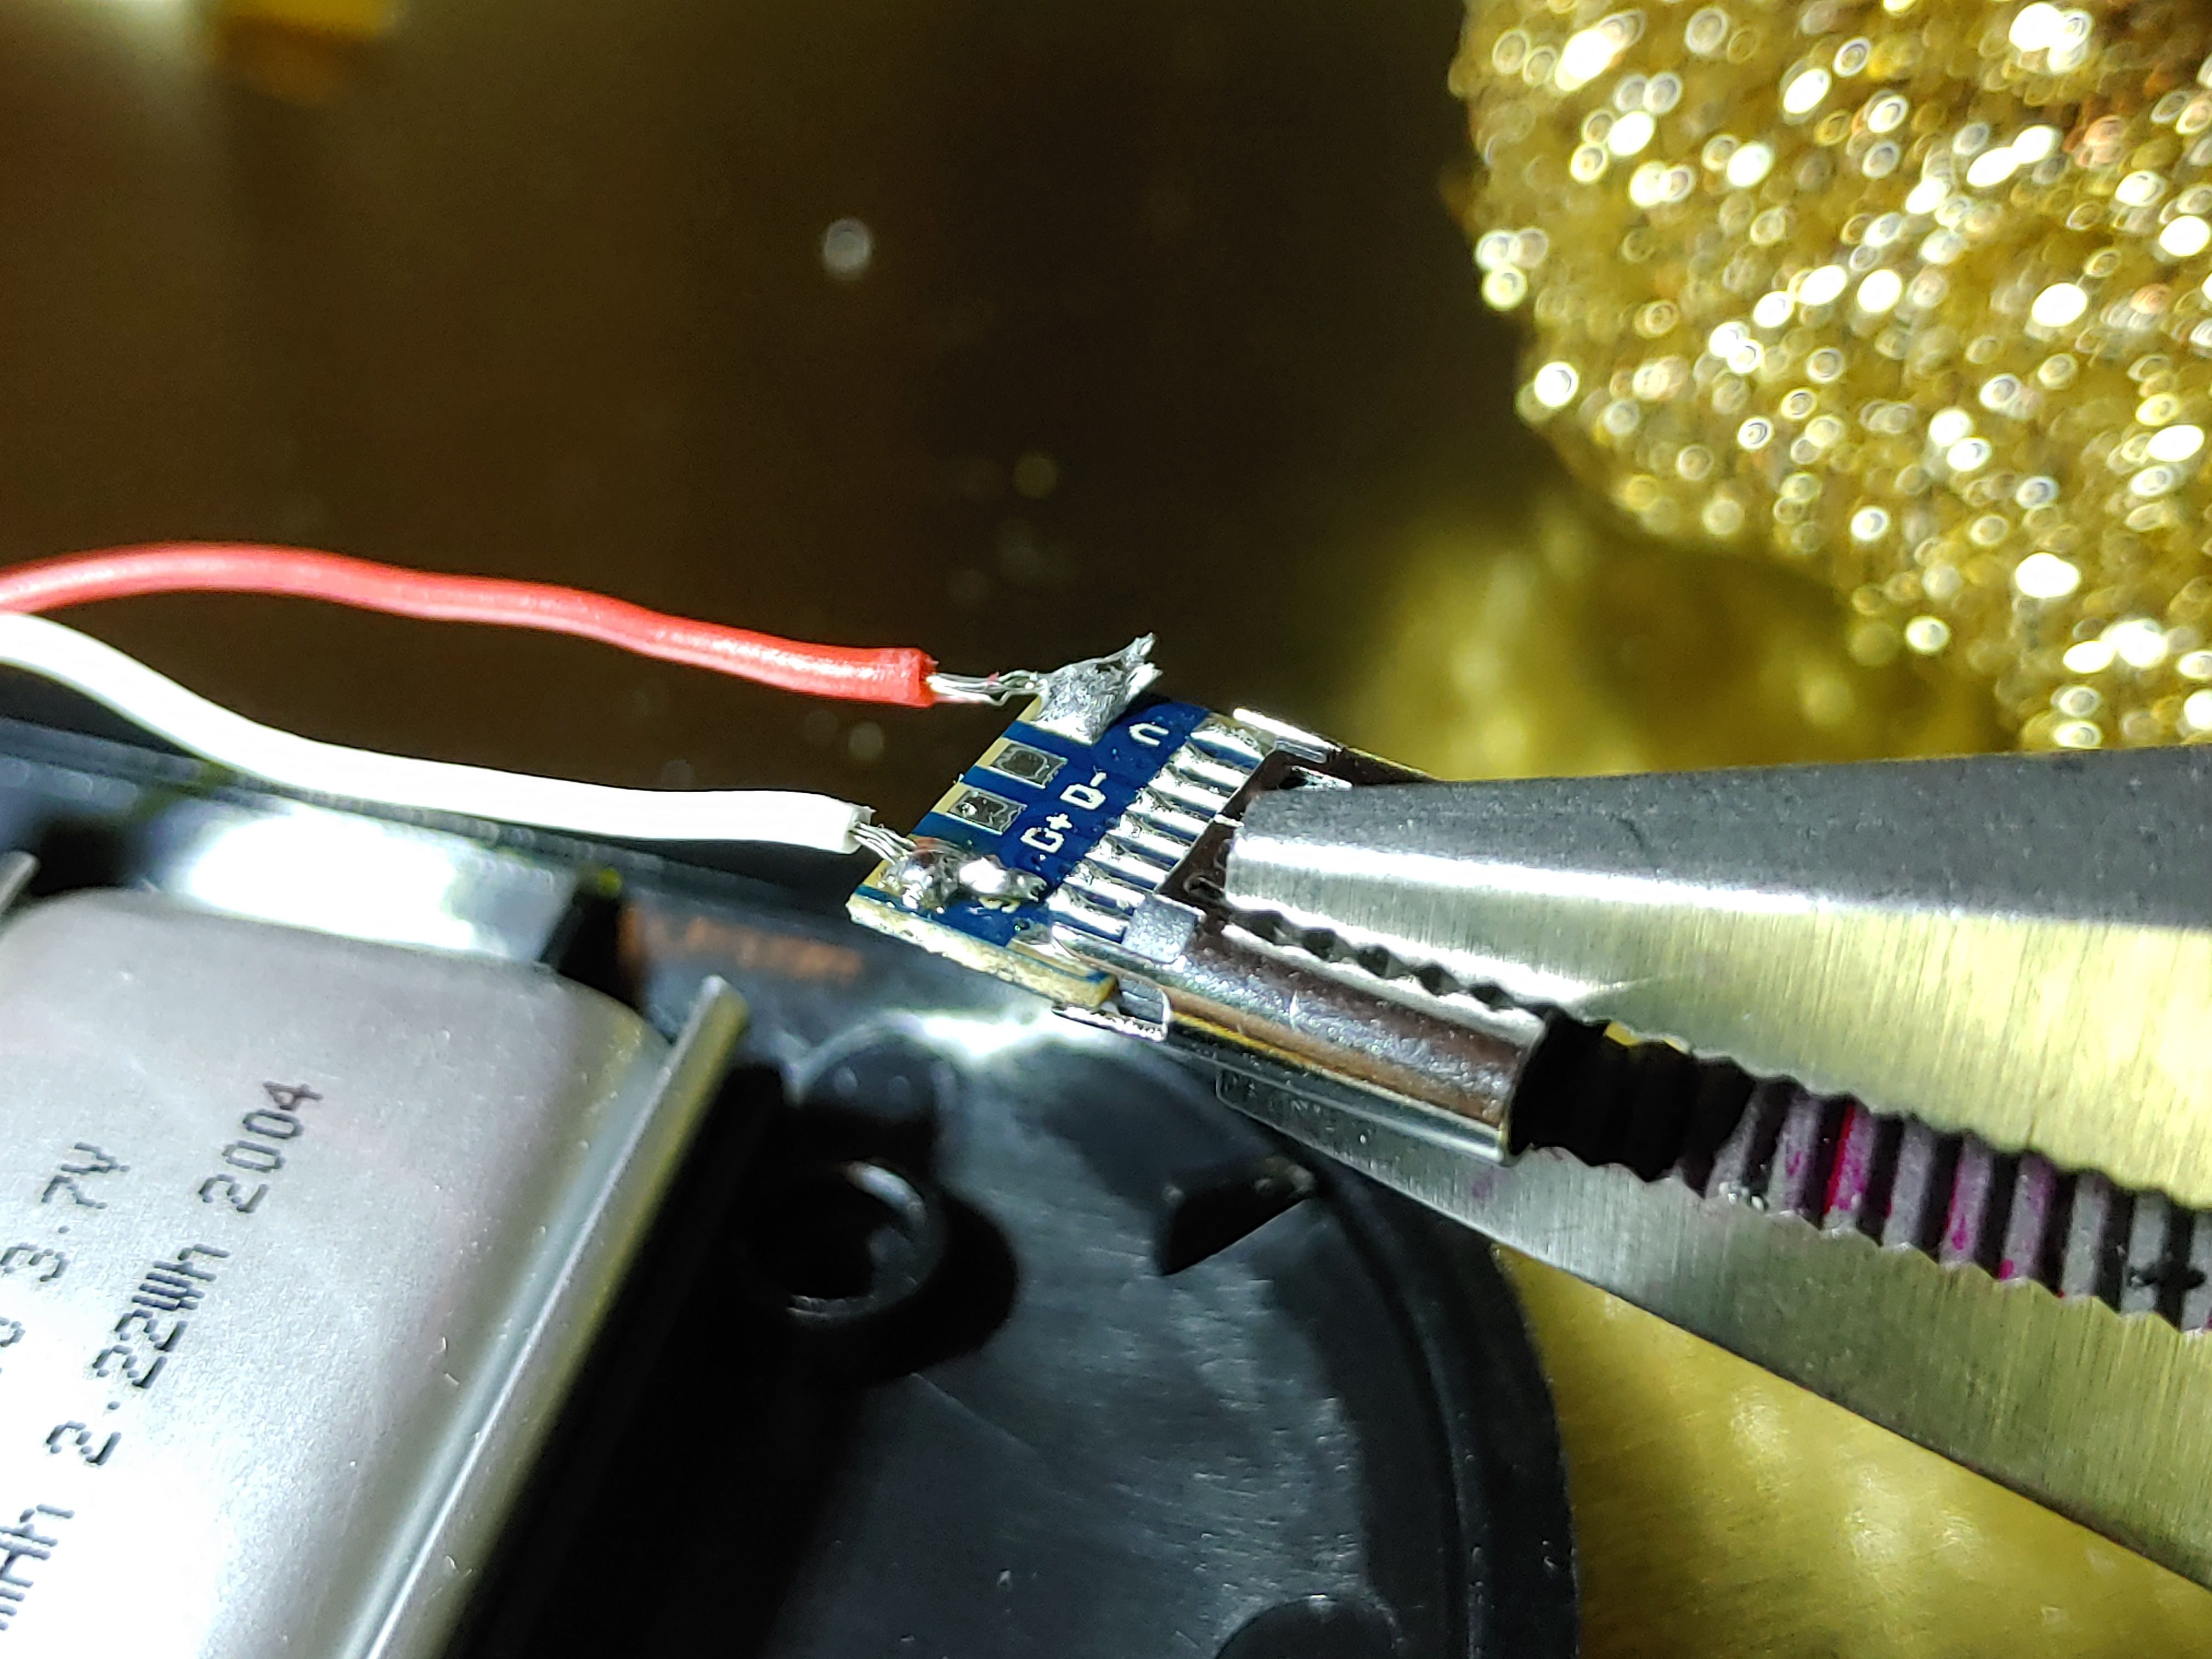
I plugged it in and it charged just fine.
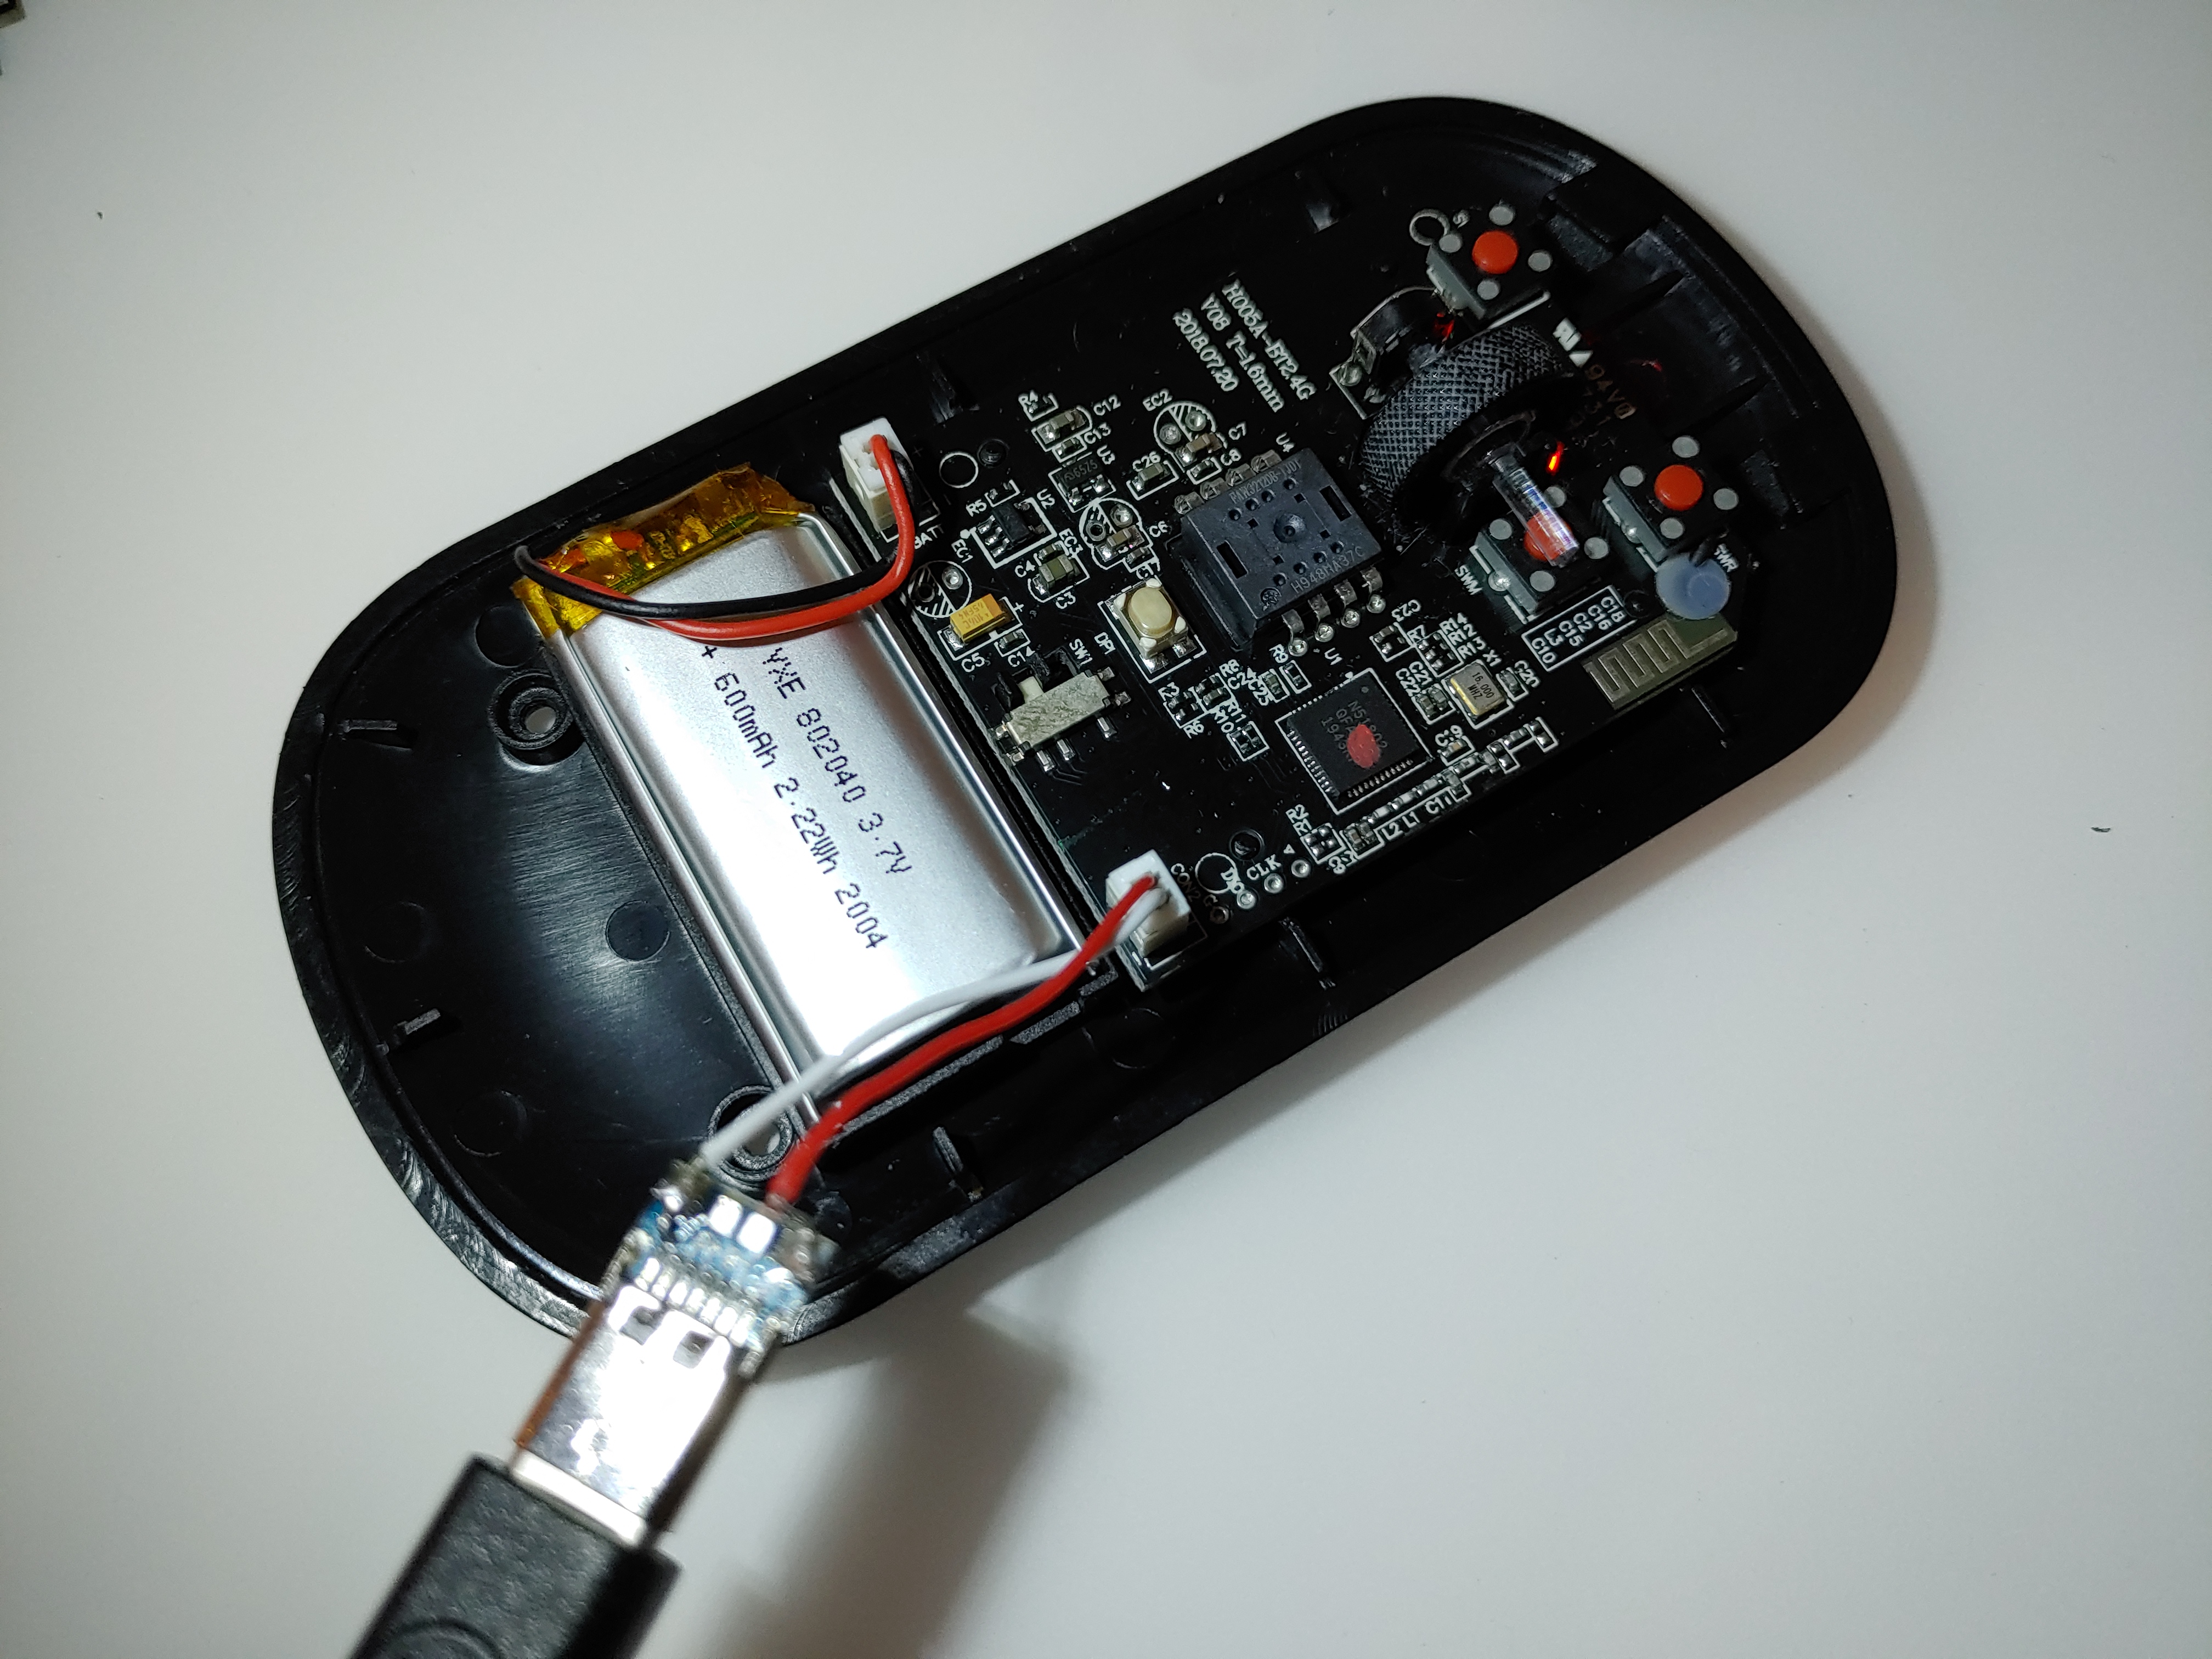
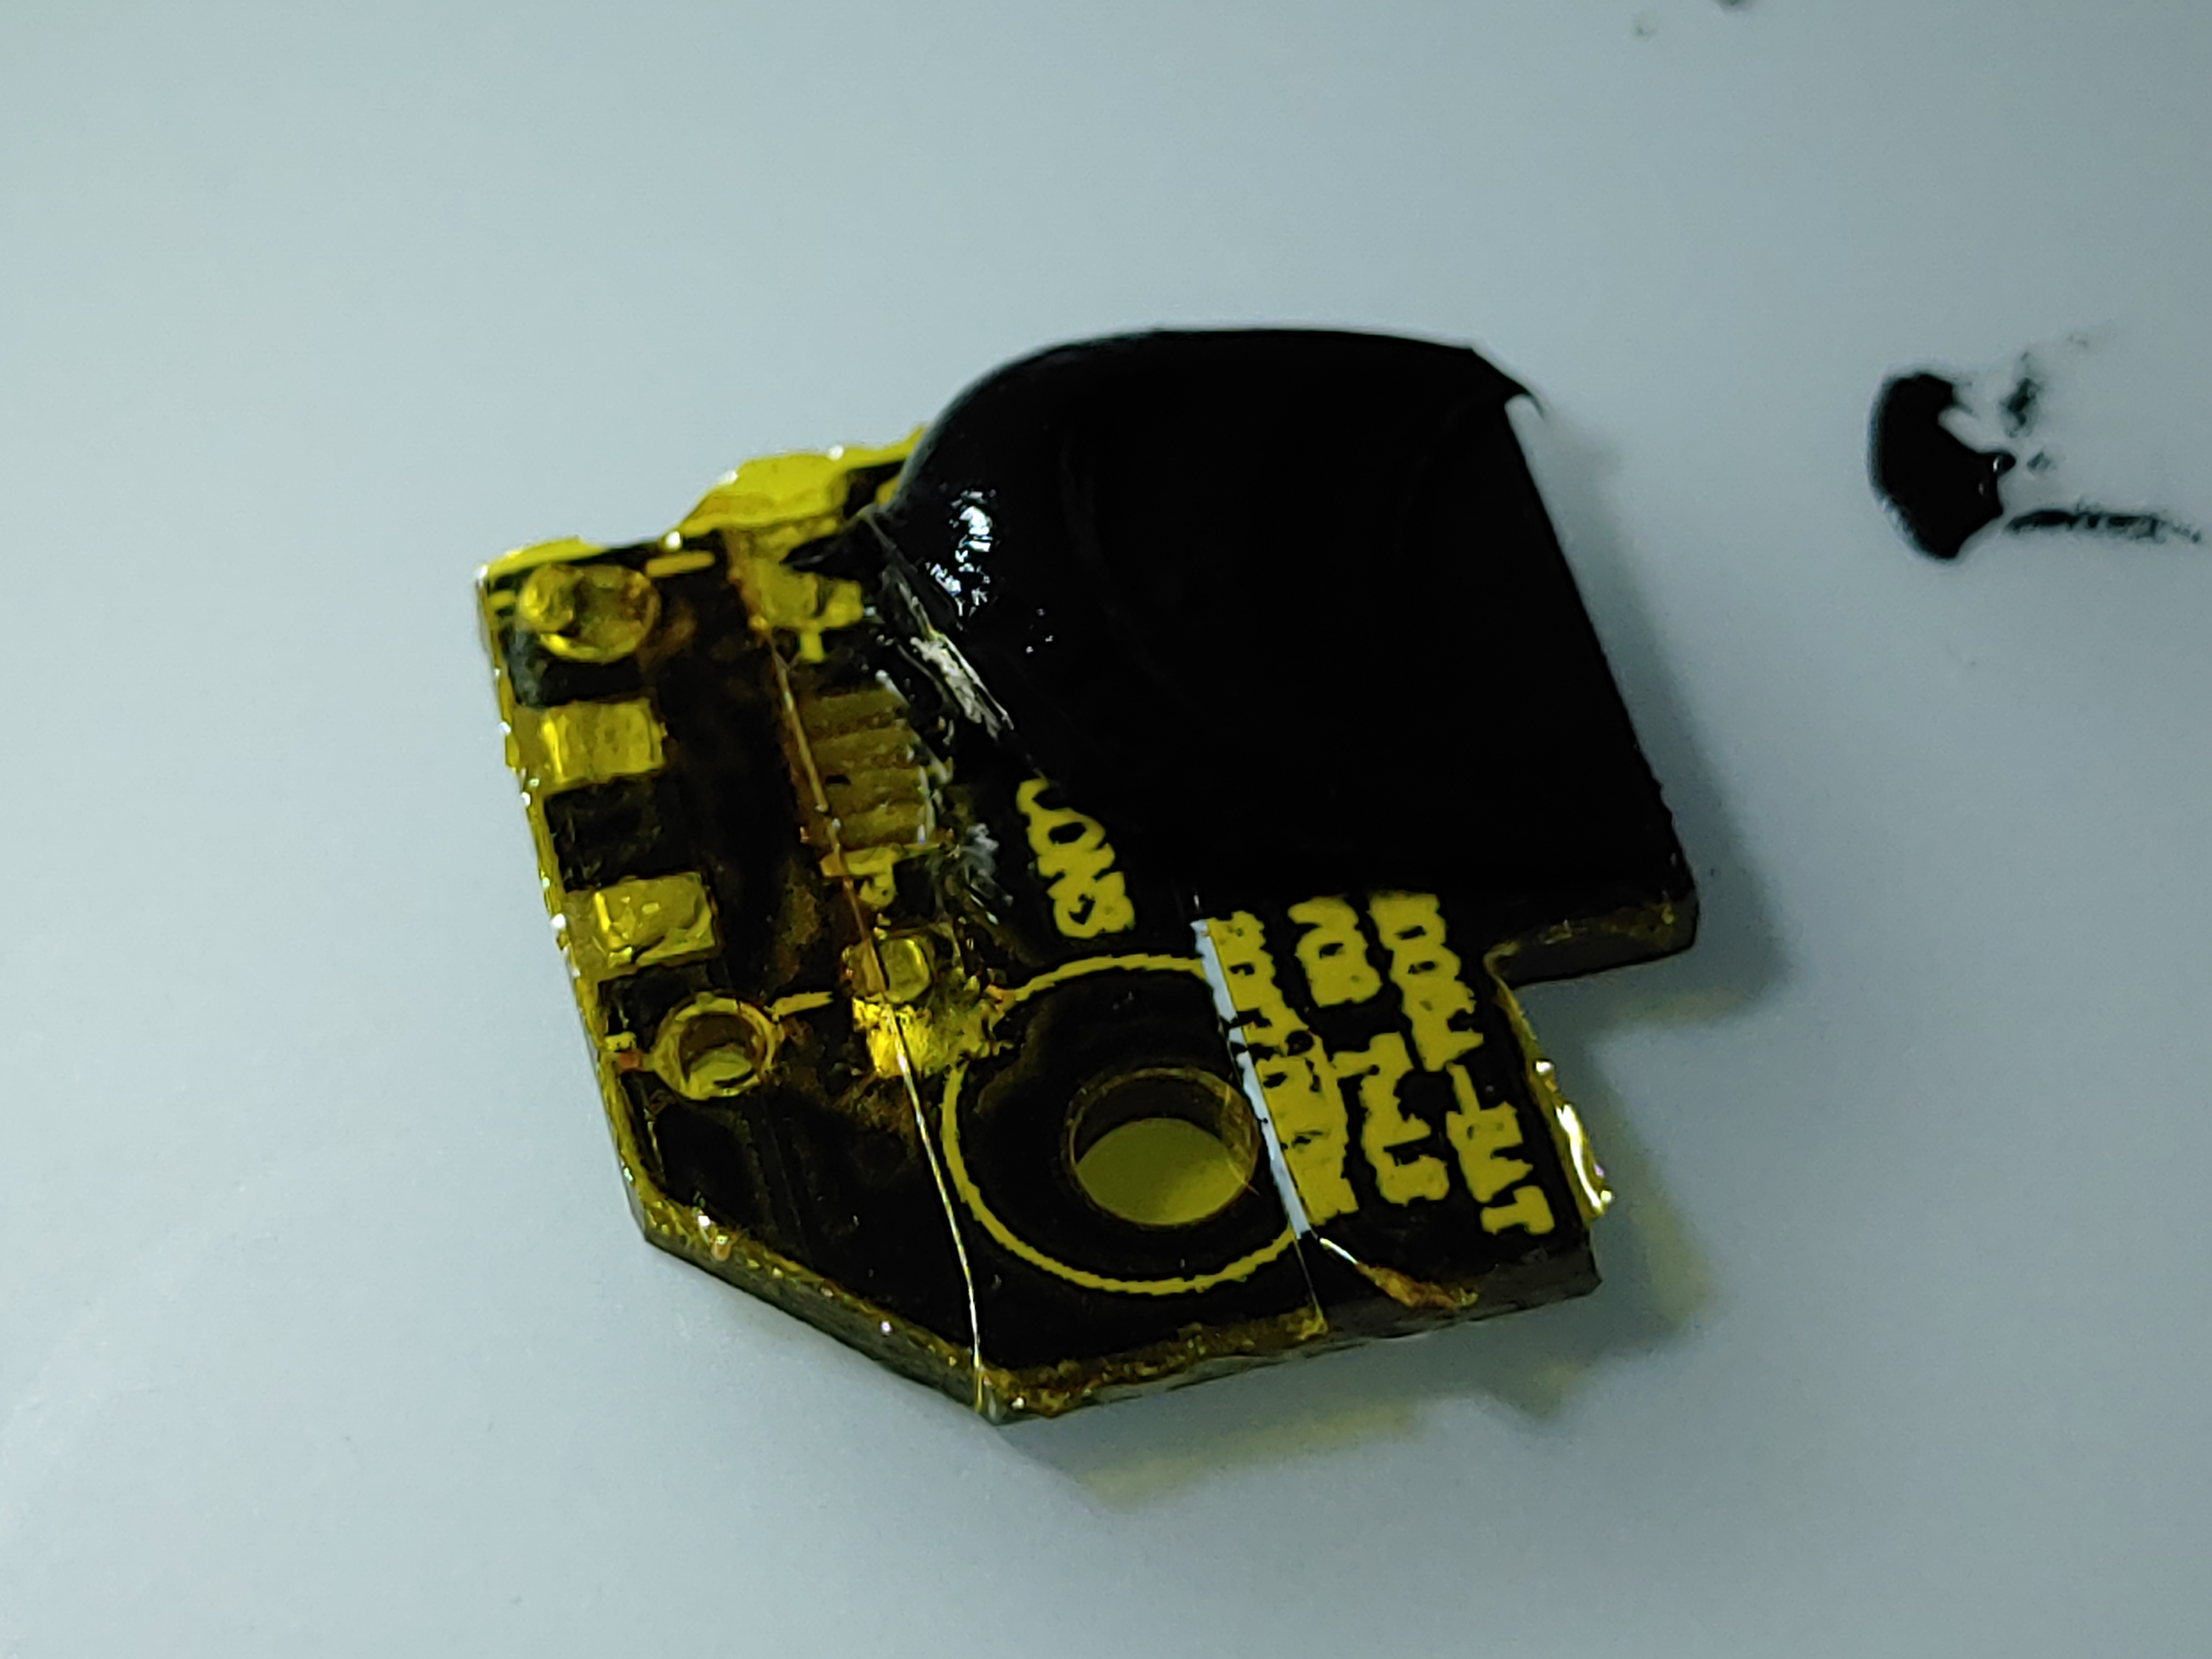
However, I knew I needed to keep the other board because it has the screw hole which will keep the socket secure. I had to glue my type-C socket onto that board. I covered the old board with insulating tape to avoid short circuits and glued the pieces together with silicone, which I heard is good at bonding PCBs.
A minor disaster occured in which the white wire was decapitated.
I cut and stripped both wires and tried again.
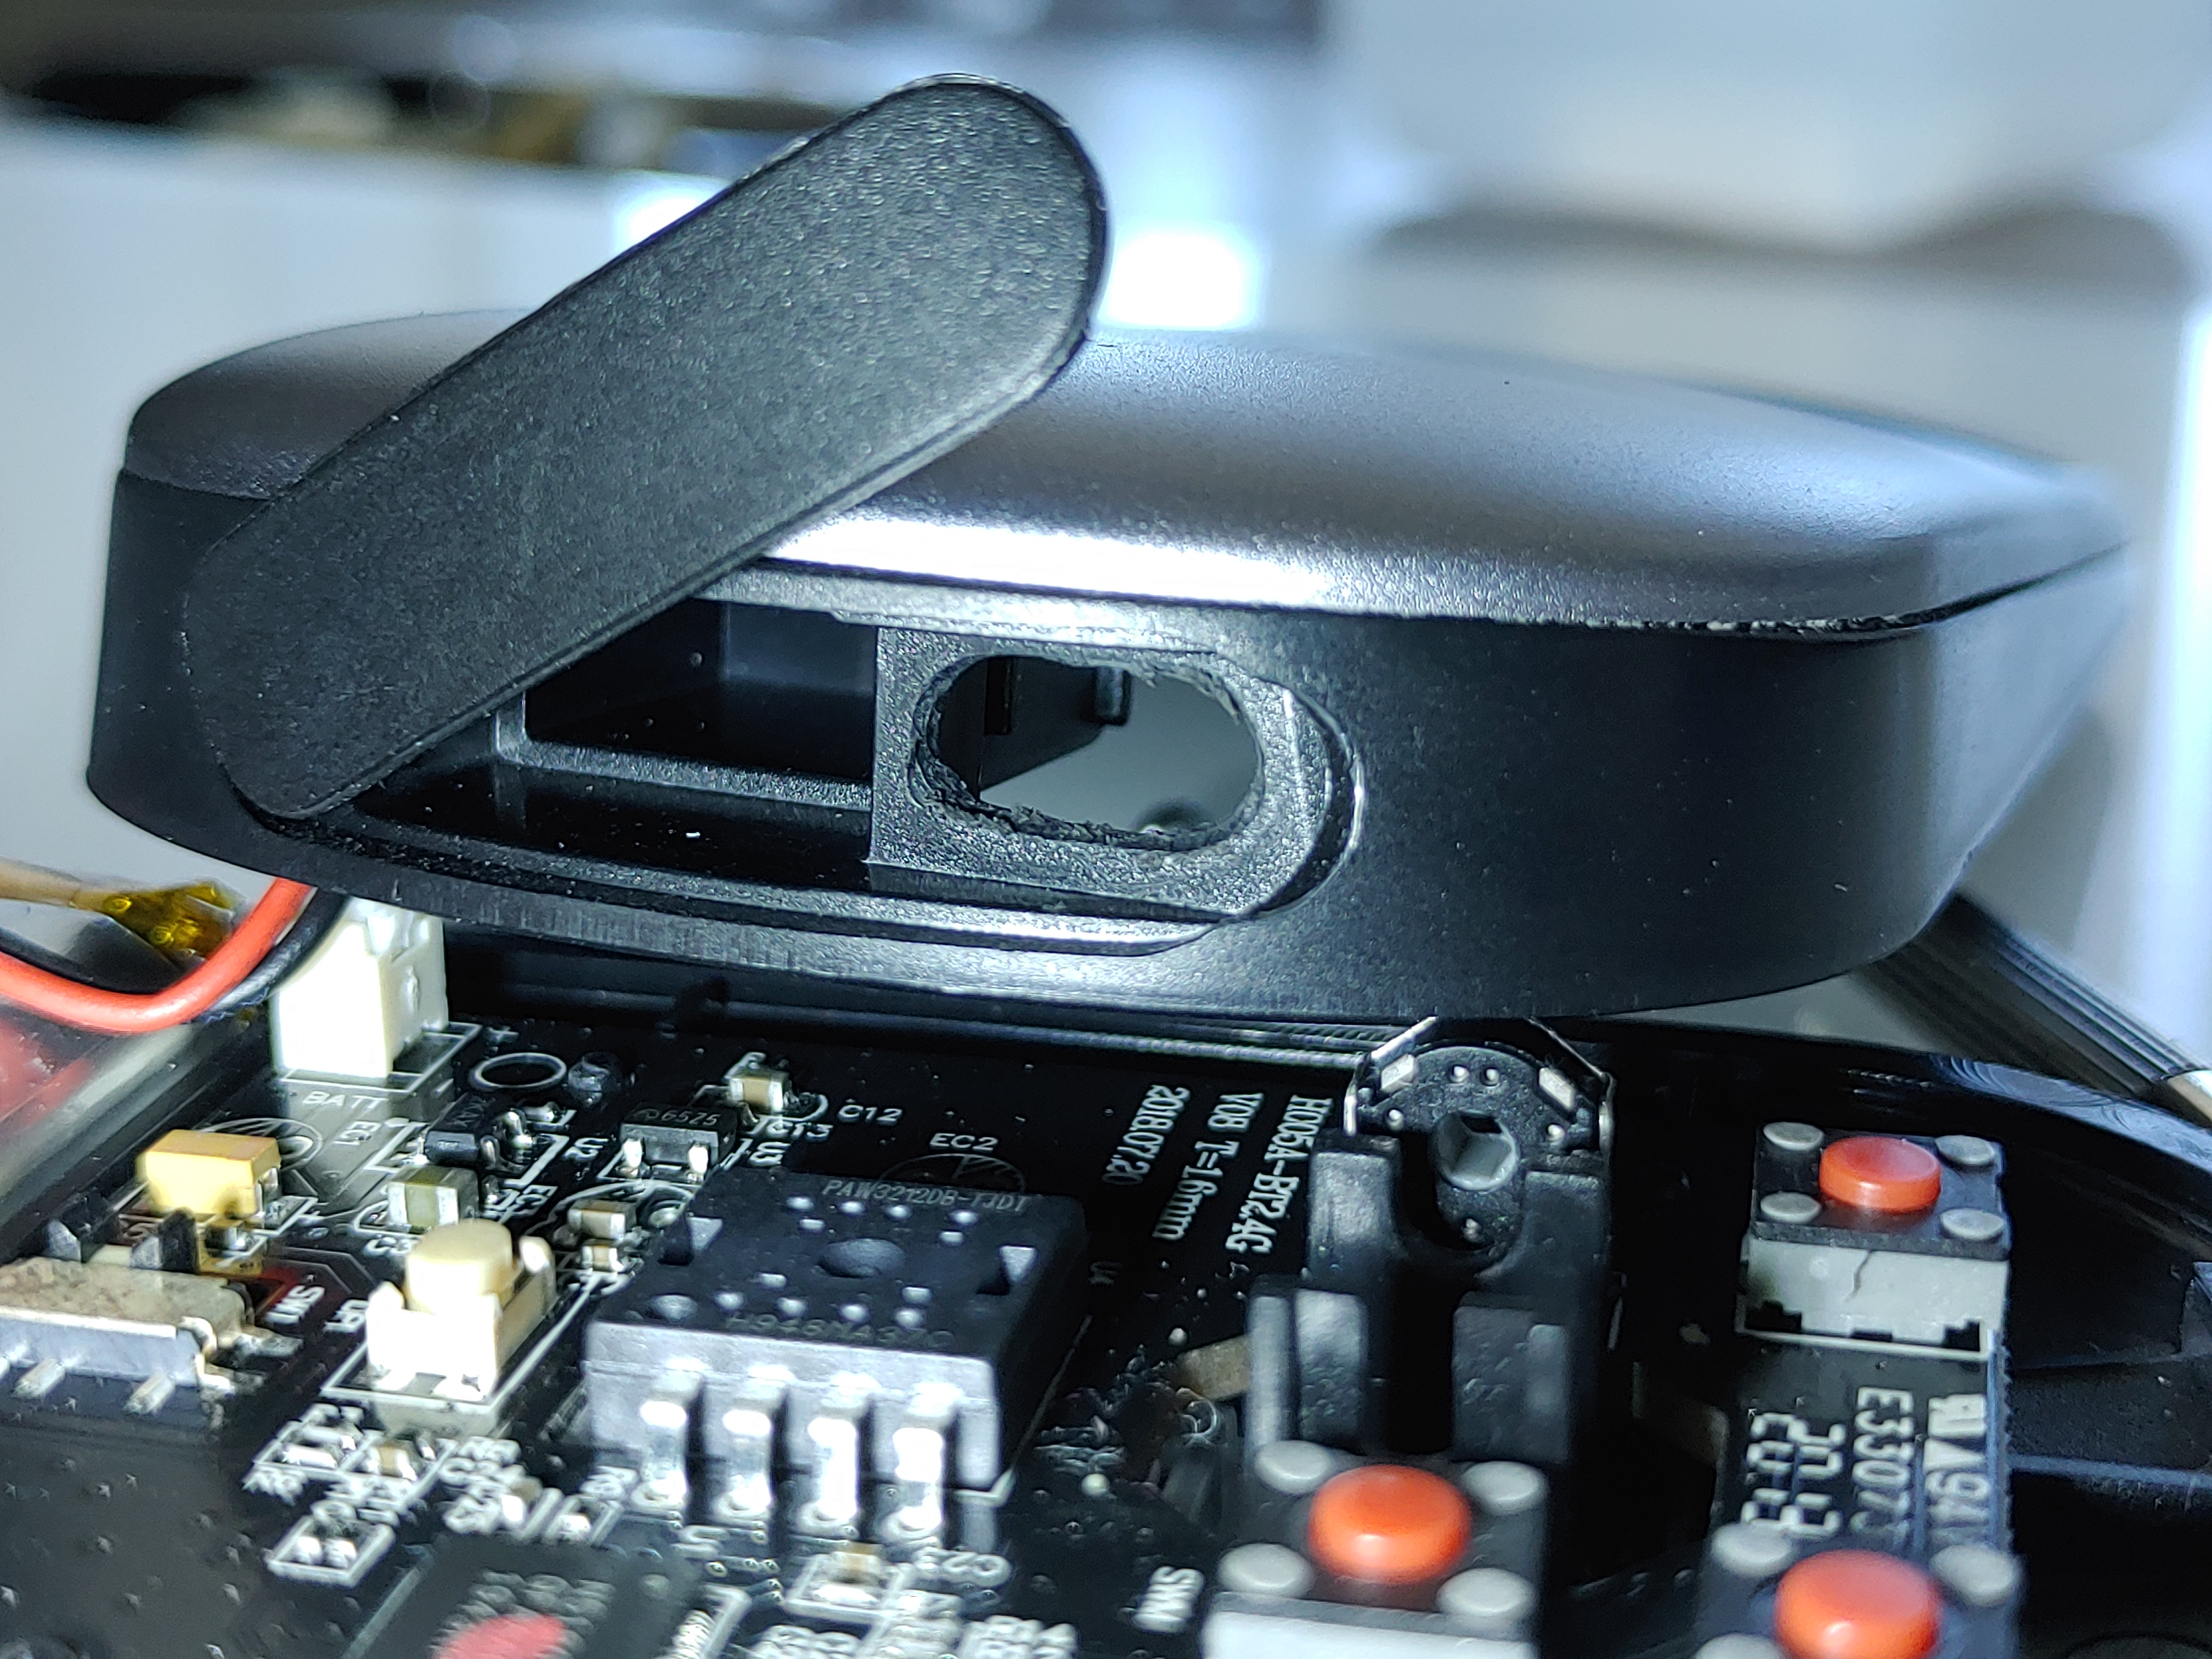
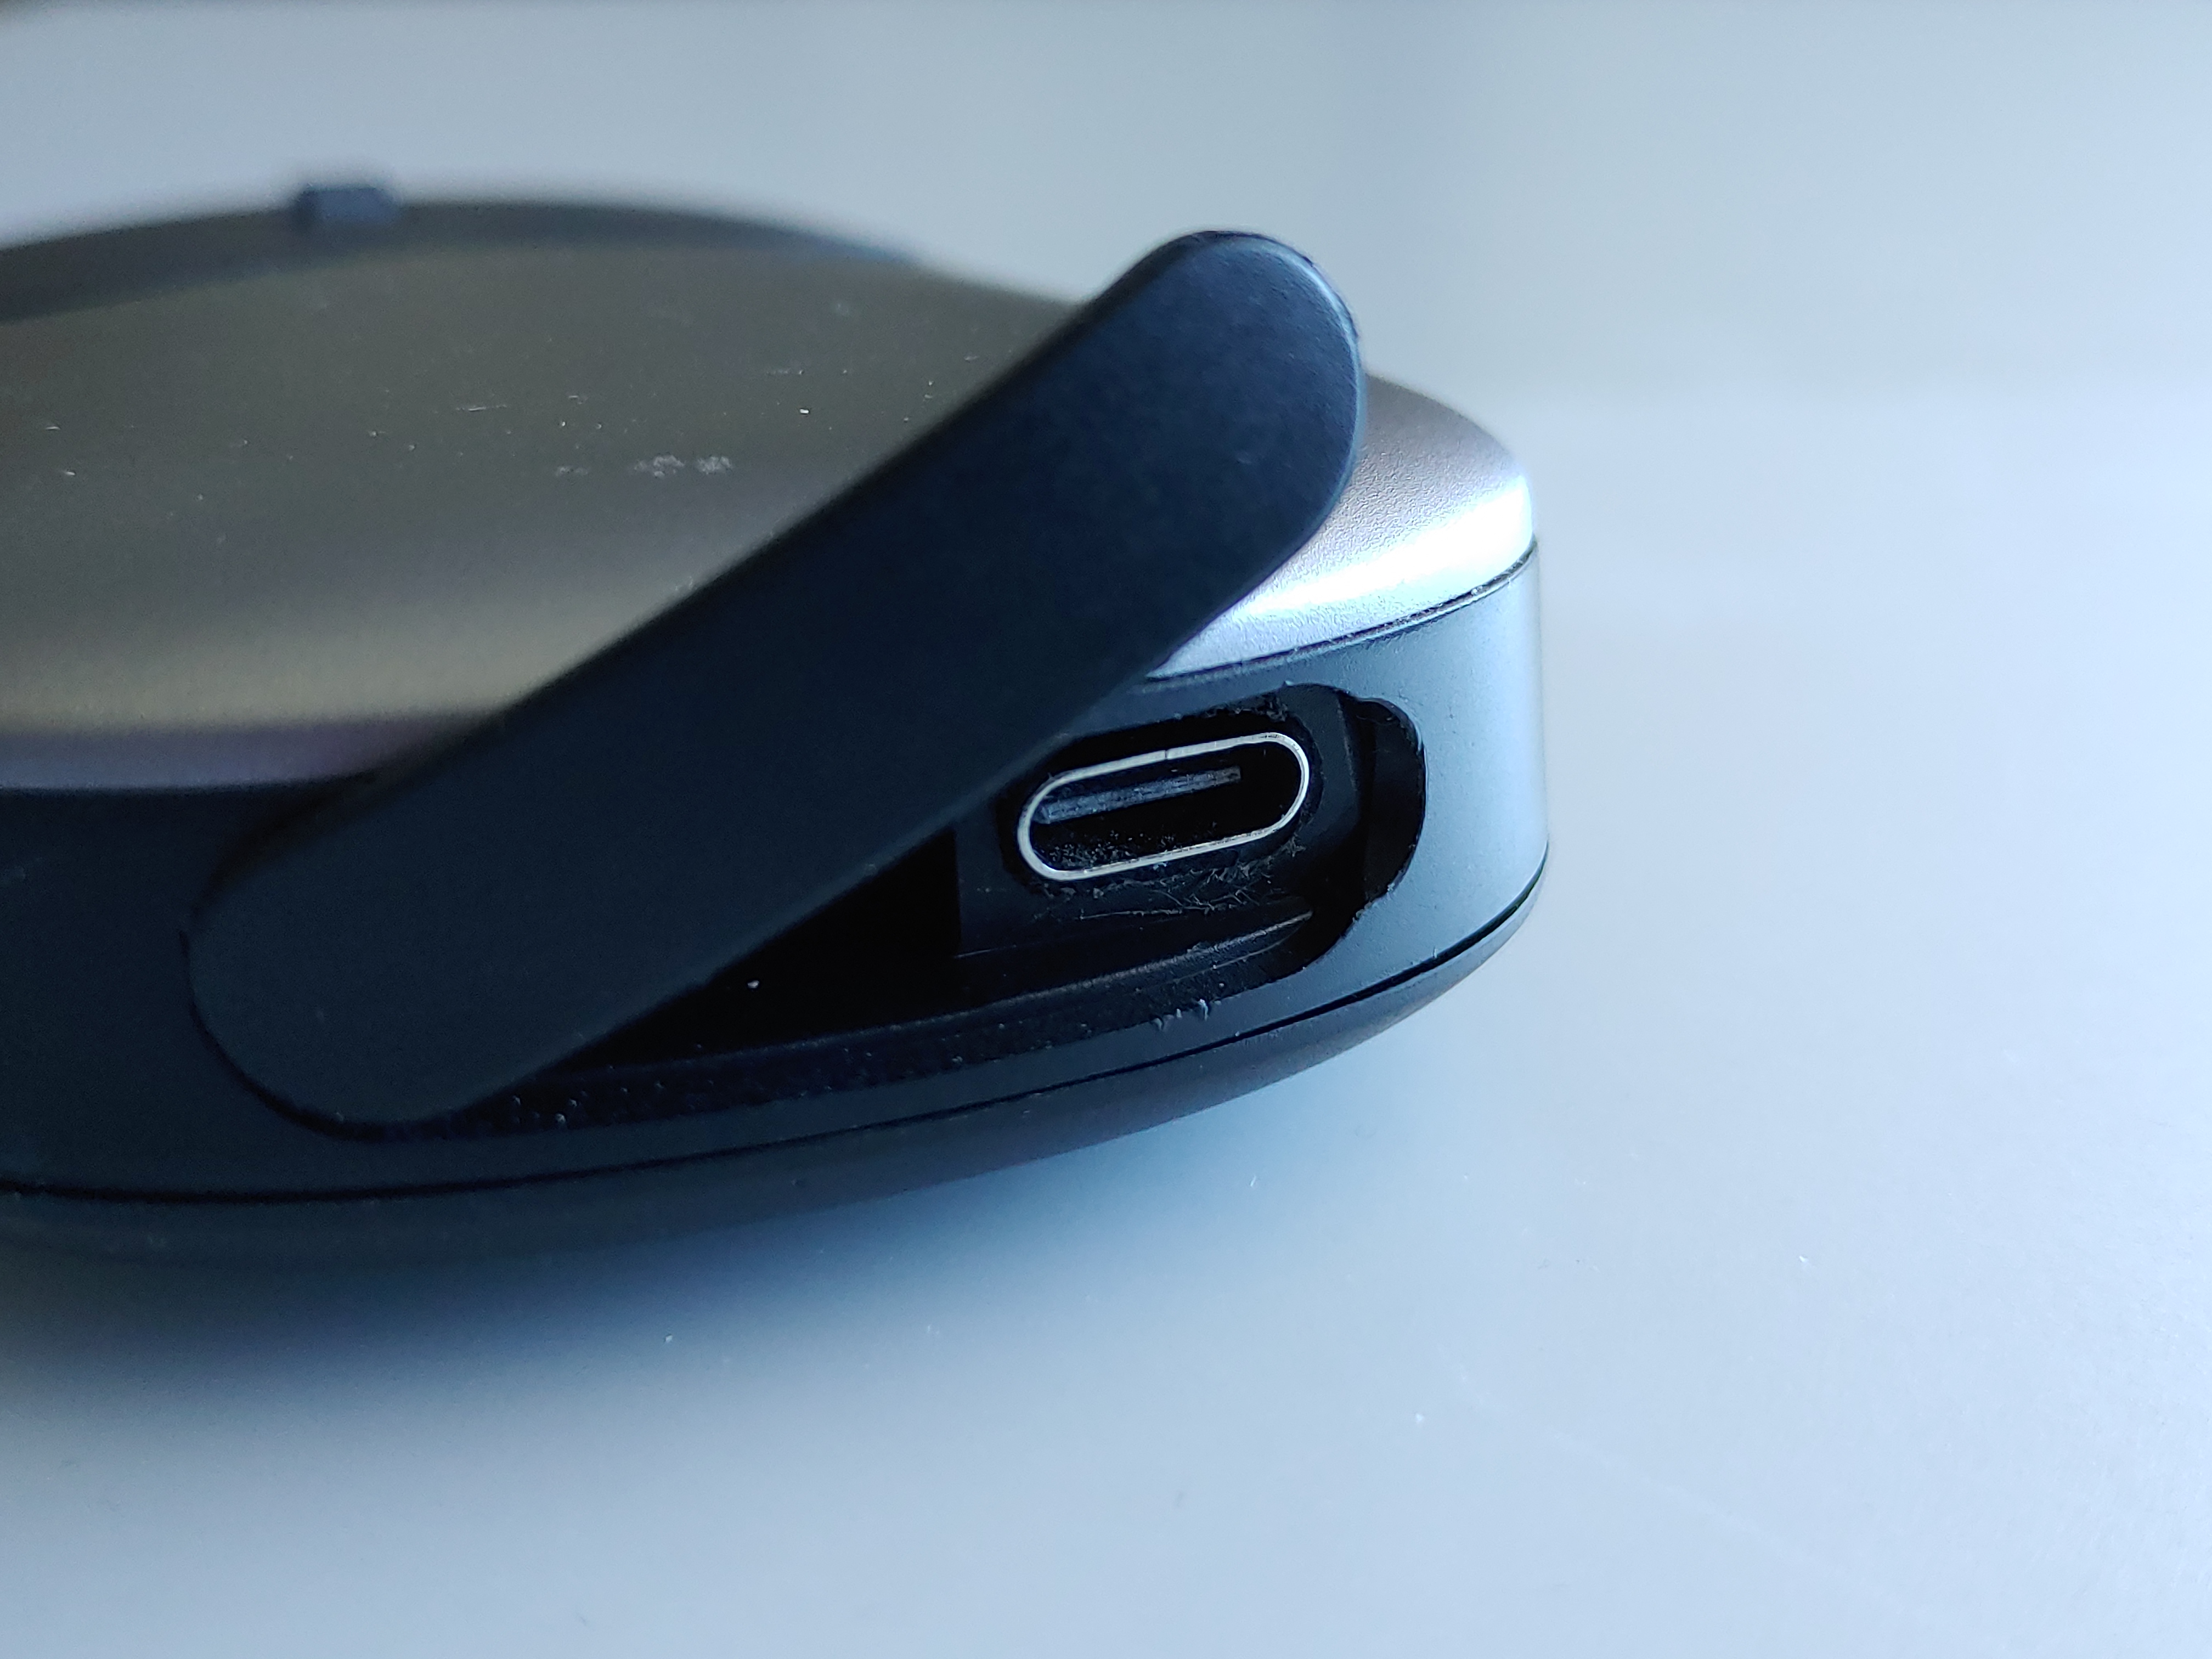
The hole in the plastic housing was widened with a rotary tool to fit the type-C socket.
However, I had attached the socket to the other board with the fronts flush, whereas the original micro-USB socket had protruded from the board. My charging cables were not able to reach the new socket through the plastic housing. Not photographed.
I took the glue apart and tried again, this time with hot glue instead of silicone because the silicone took a very long time to become firm.
The problem with the hot glue attempt was that the glue made a very thick layer between the board and new socket, so it did not sit flush against the board. This took it out of alignment with the hole on the housing. Not photographed.
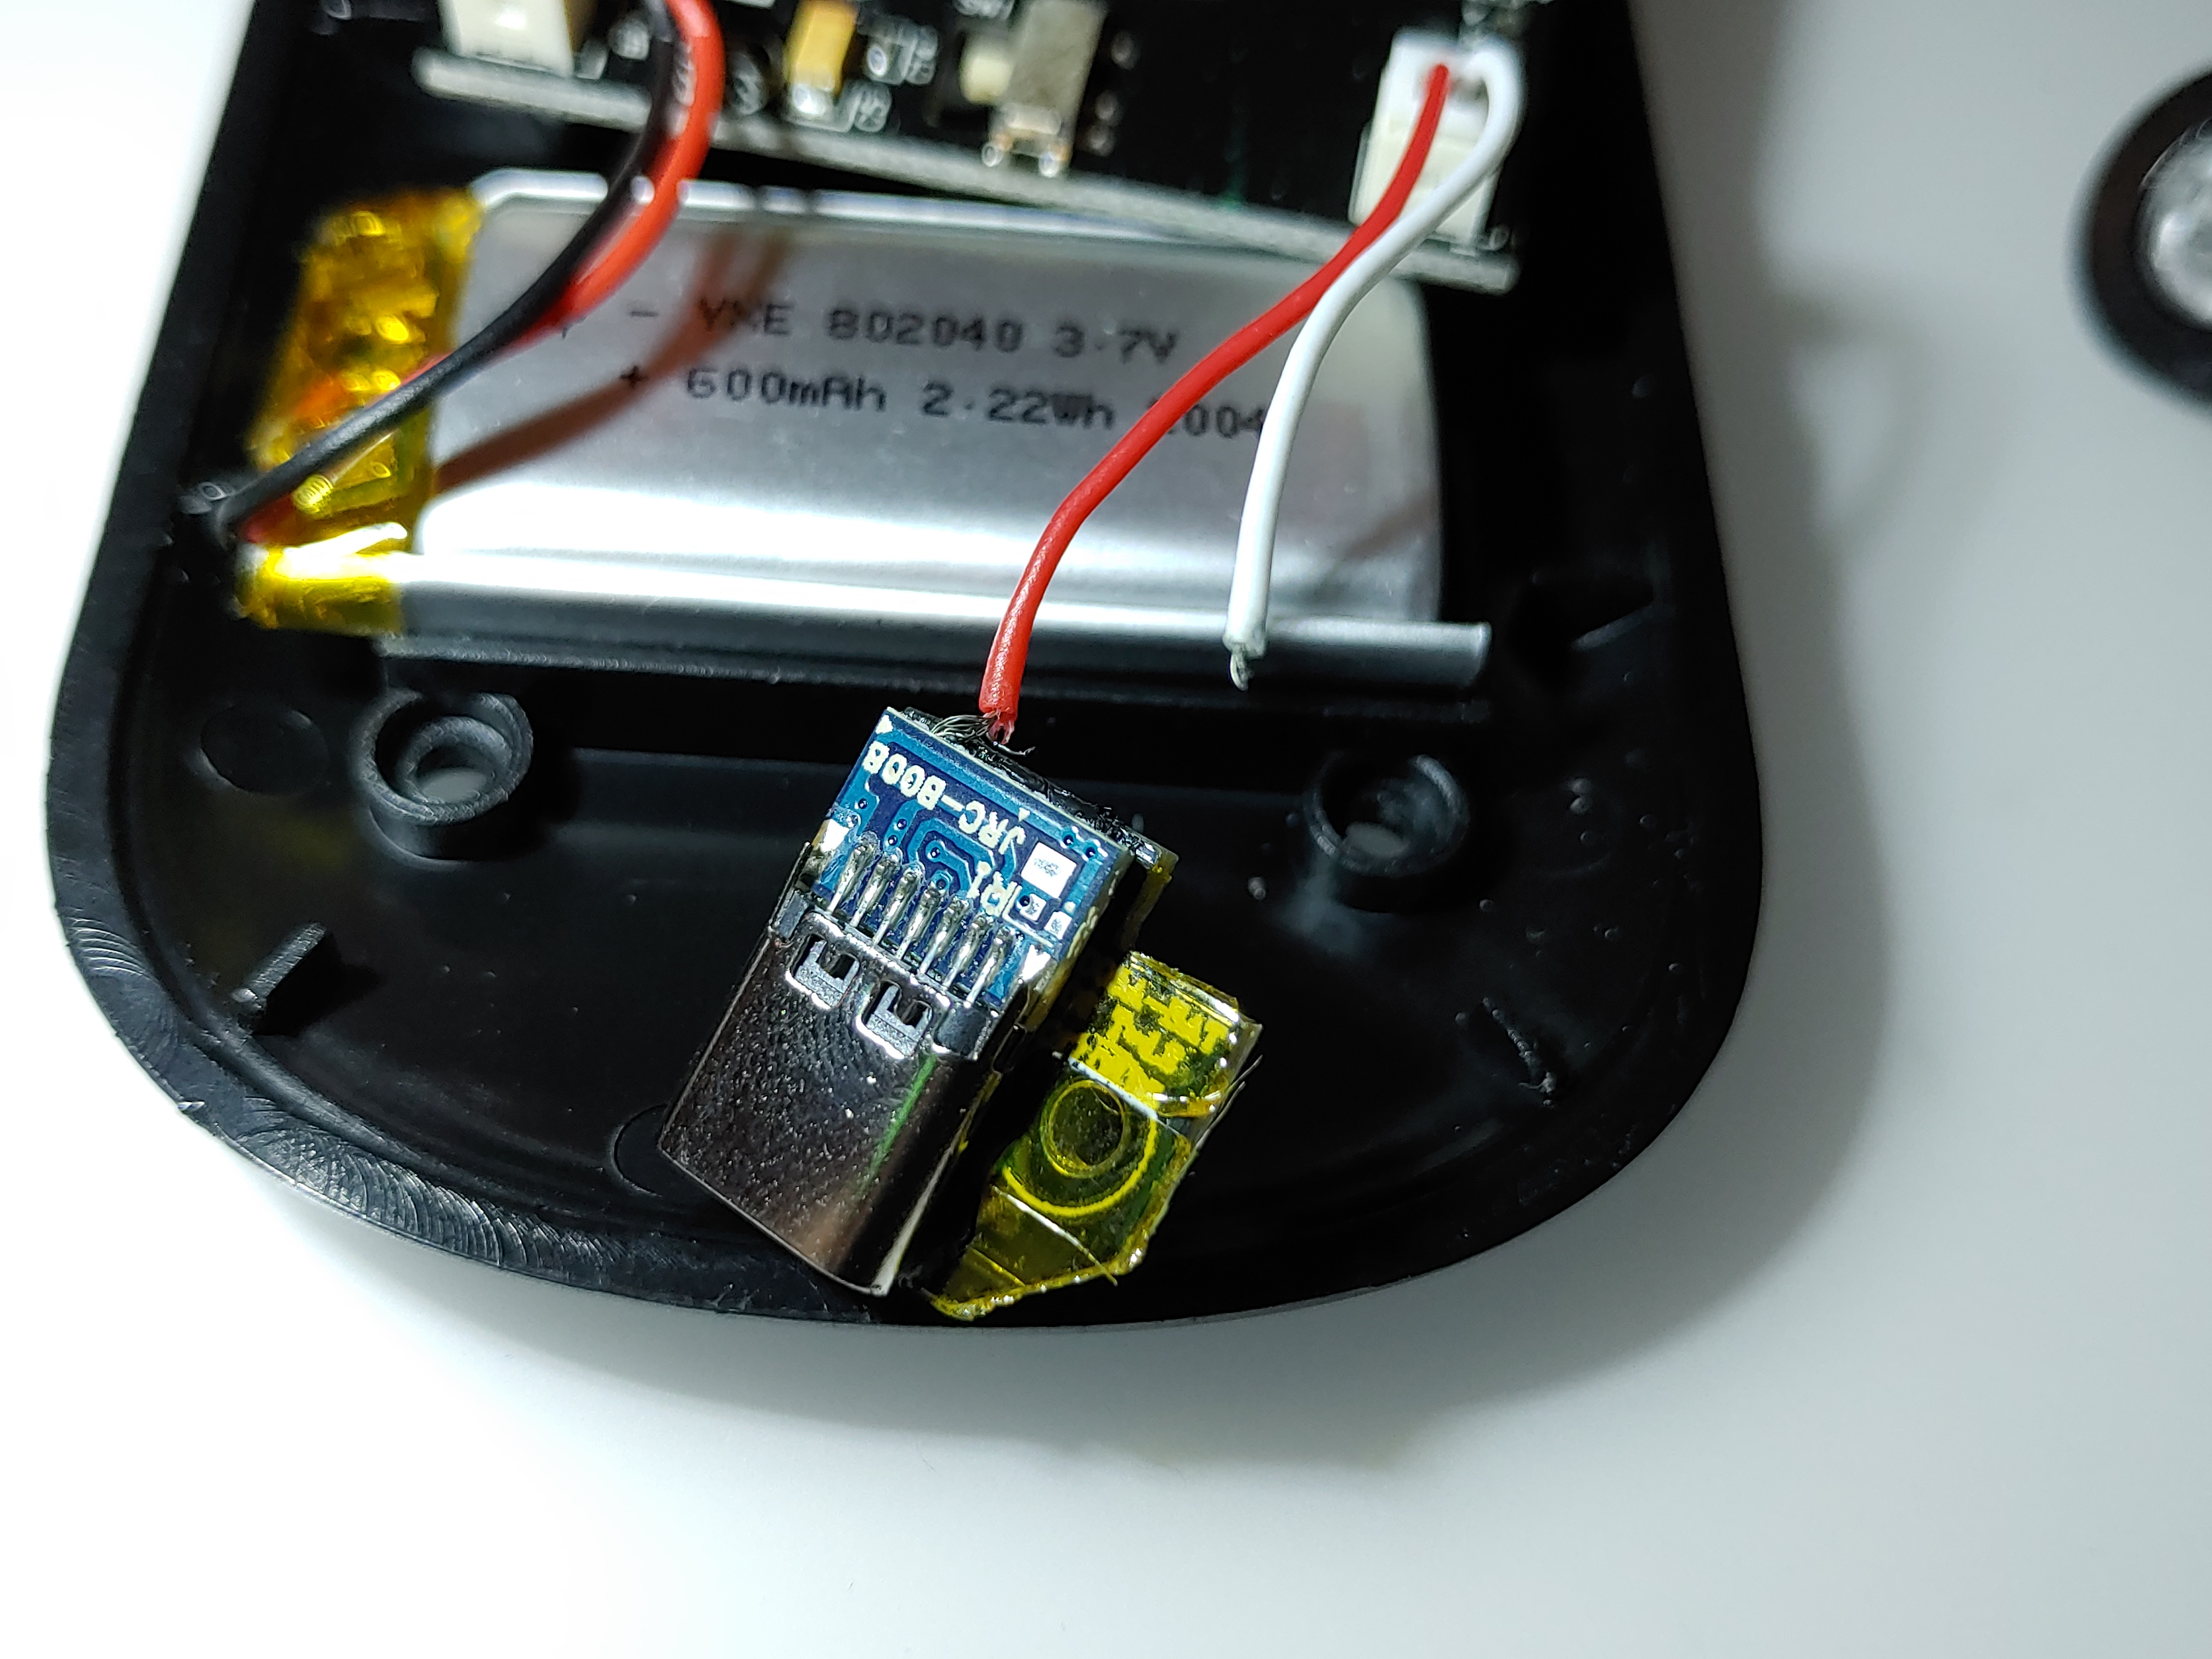
That didn't matter, because another minor disaster occured in which the red wire was decapitated. I was sick of these wires' weak heads and did a cranial transplant with some wire I could trust. I would have replaced them entirely but I don't have the metal bits to re-crimp a JST connector. So, I embraced the jank.
![]()
If you went into this article assuming I would know what I was doing, you were wrong.
I glued the type-C socket back onto the other board, first using superglue to tack them together, then adding the slow-drying silicone.
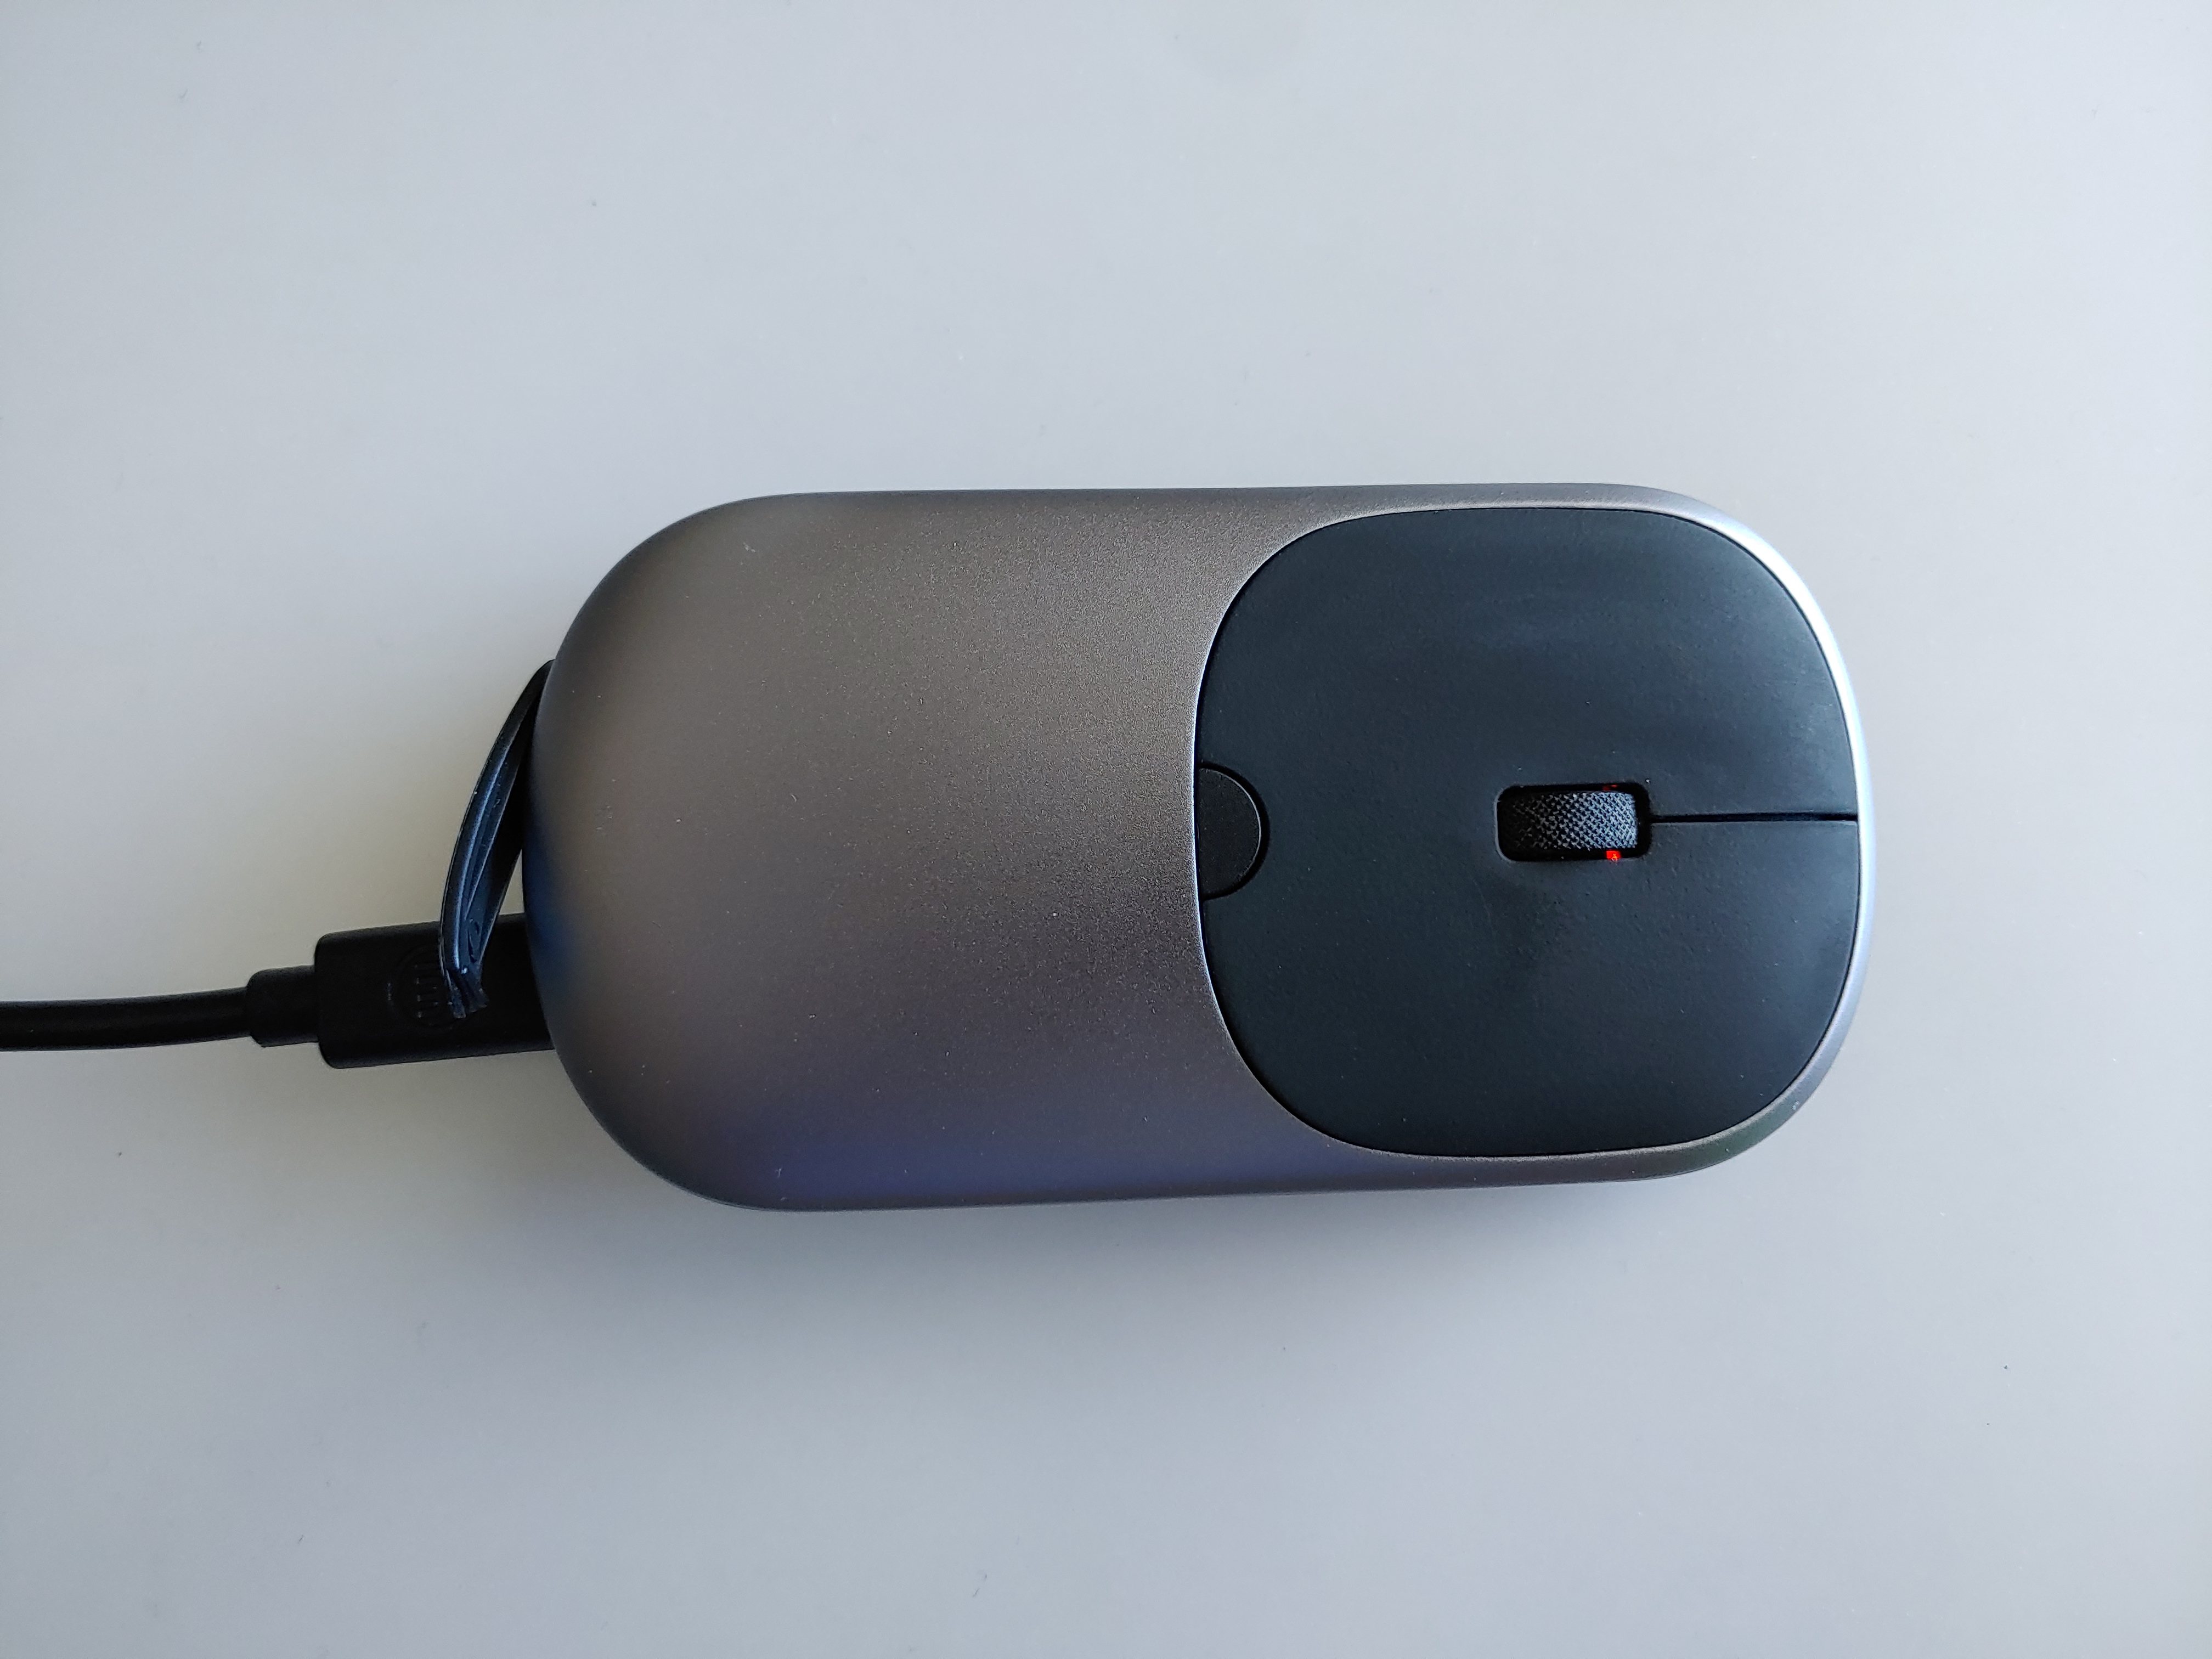
In the end, it works. I'm glad I got some practice on a low-stakes item like this, so that if I do it again on something else I'll be more prepared. One less micro-USB cable to deal with.
Contact me: writing@voussoir.net
If you would like to subscribe for more, add this to your RSS reader: https://voussoir.net/writing/writing.atom